%20web.jpg)
2011 Oakhaven Garden
Oakhaven Weather Updated Every 30 min
July 12, 2011
No rain here since June 21st with 100+ temps and the garden is pretty much all dead now. A few scattered tomatoes are coming in but not much else. I've given up until fall. I did harvest and process sunflower seeds last week and here is the process to get that done. These taste great and are pretty easy to do. The most important thing is to pick the right variety of seeds to grow. Some sunflowers are grown specifically for their seeds and you need to look for those.
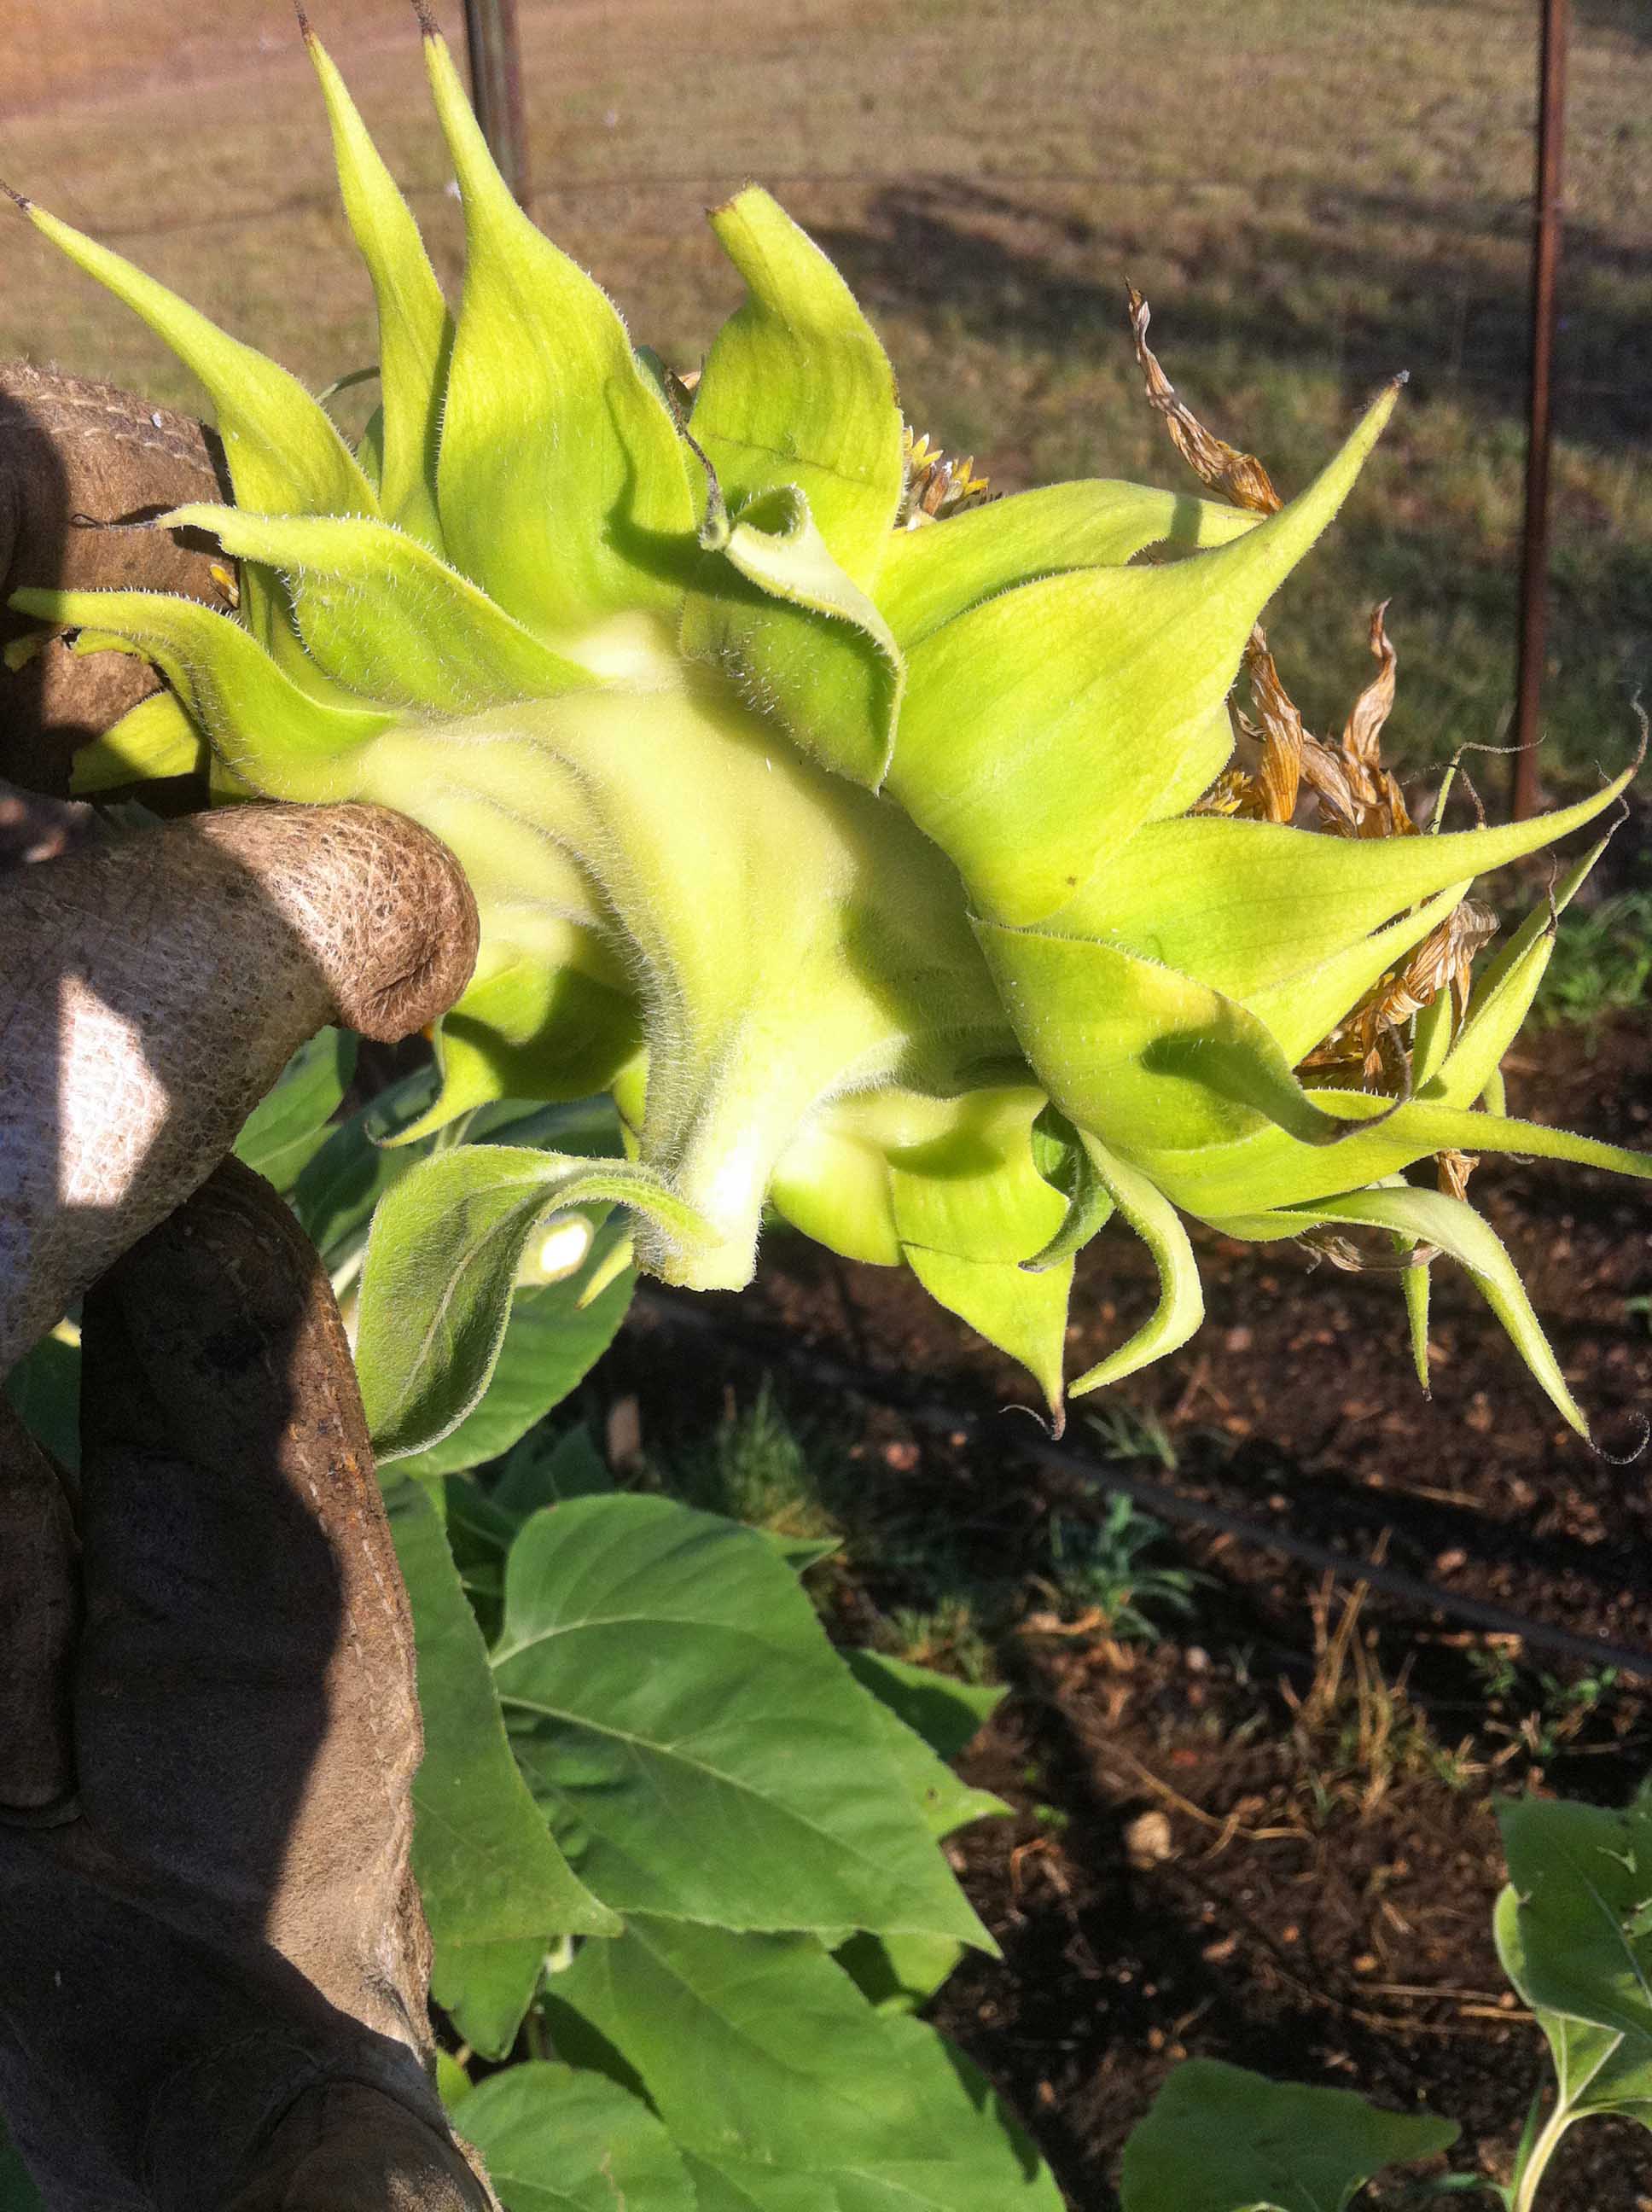
Once the sunflowers are fully grown and the flowers are beginning to drop petals, you can harvest the seeds. If you brush away the flower tops with your hand you can see the seeds underneath.
%20web.jpg)
Once they are to that point you can cut off the flowers. This can make a pretty big mess in the house so brush off all the flower tops before you bring these in for processing.
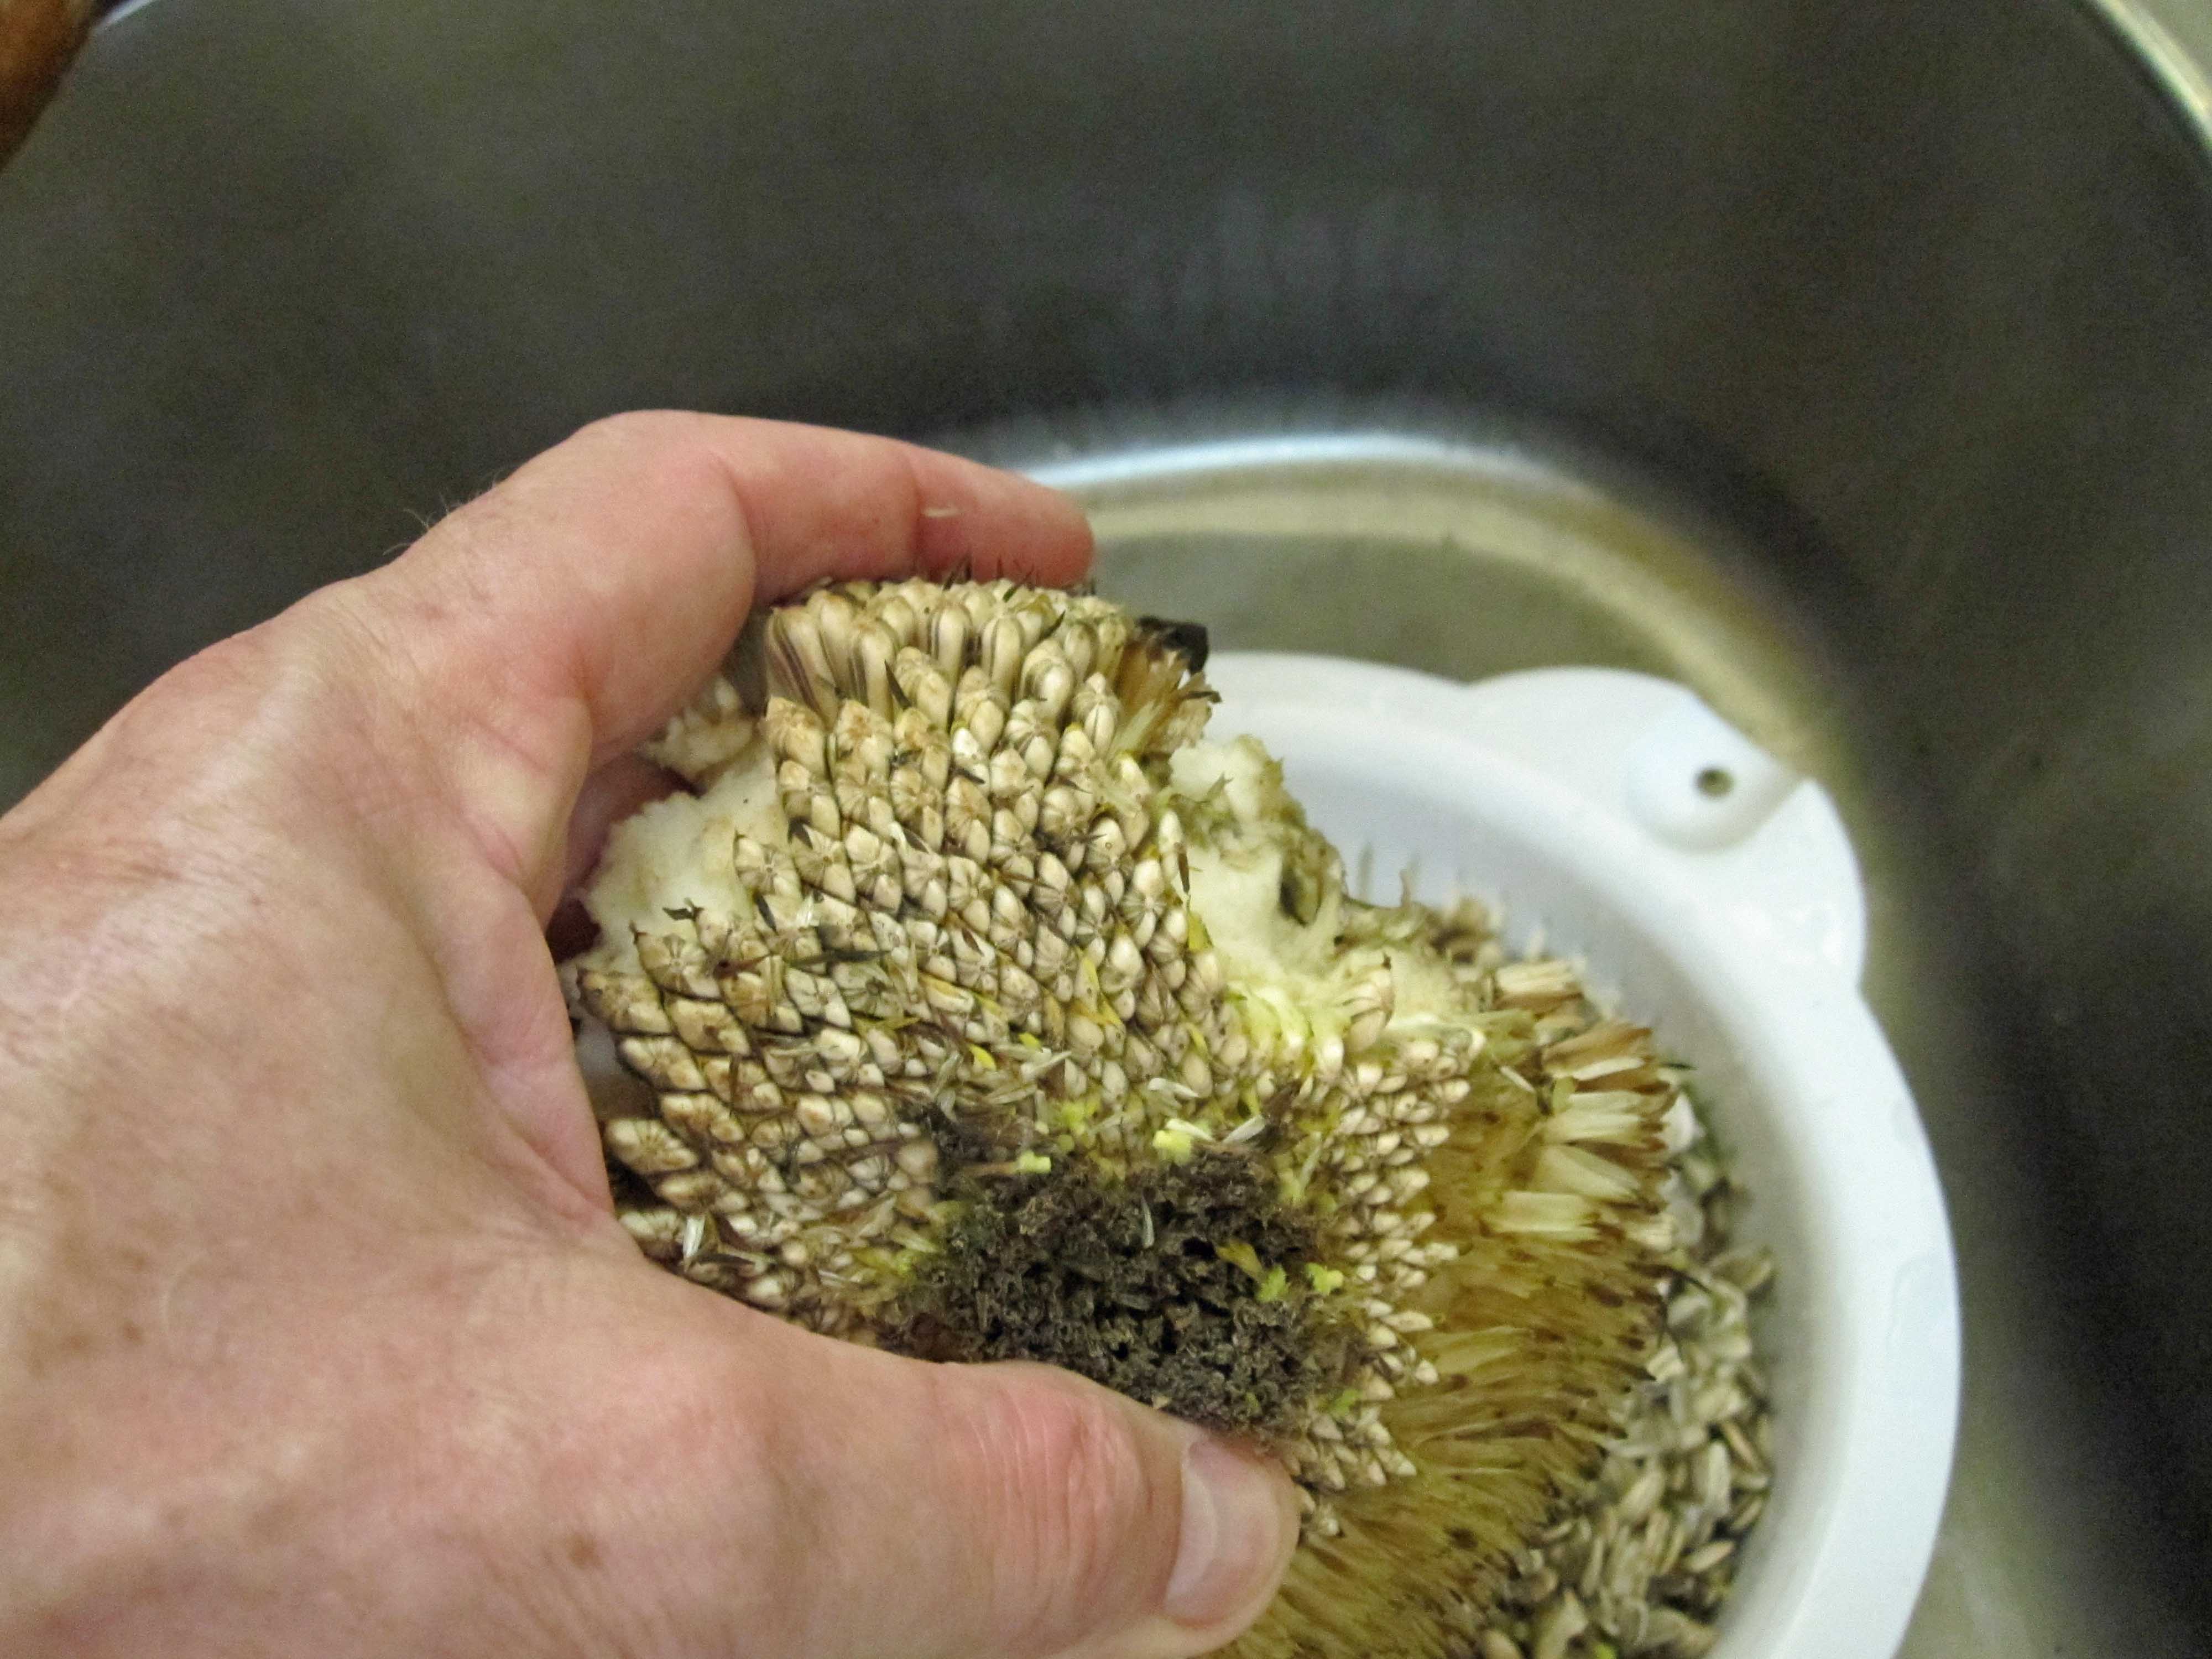
You can break the seed pods in half to make removing the seeds easier. Then just brush against the seeds with your fingers and they will fall off. I catch them in a colander for cleanup later.
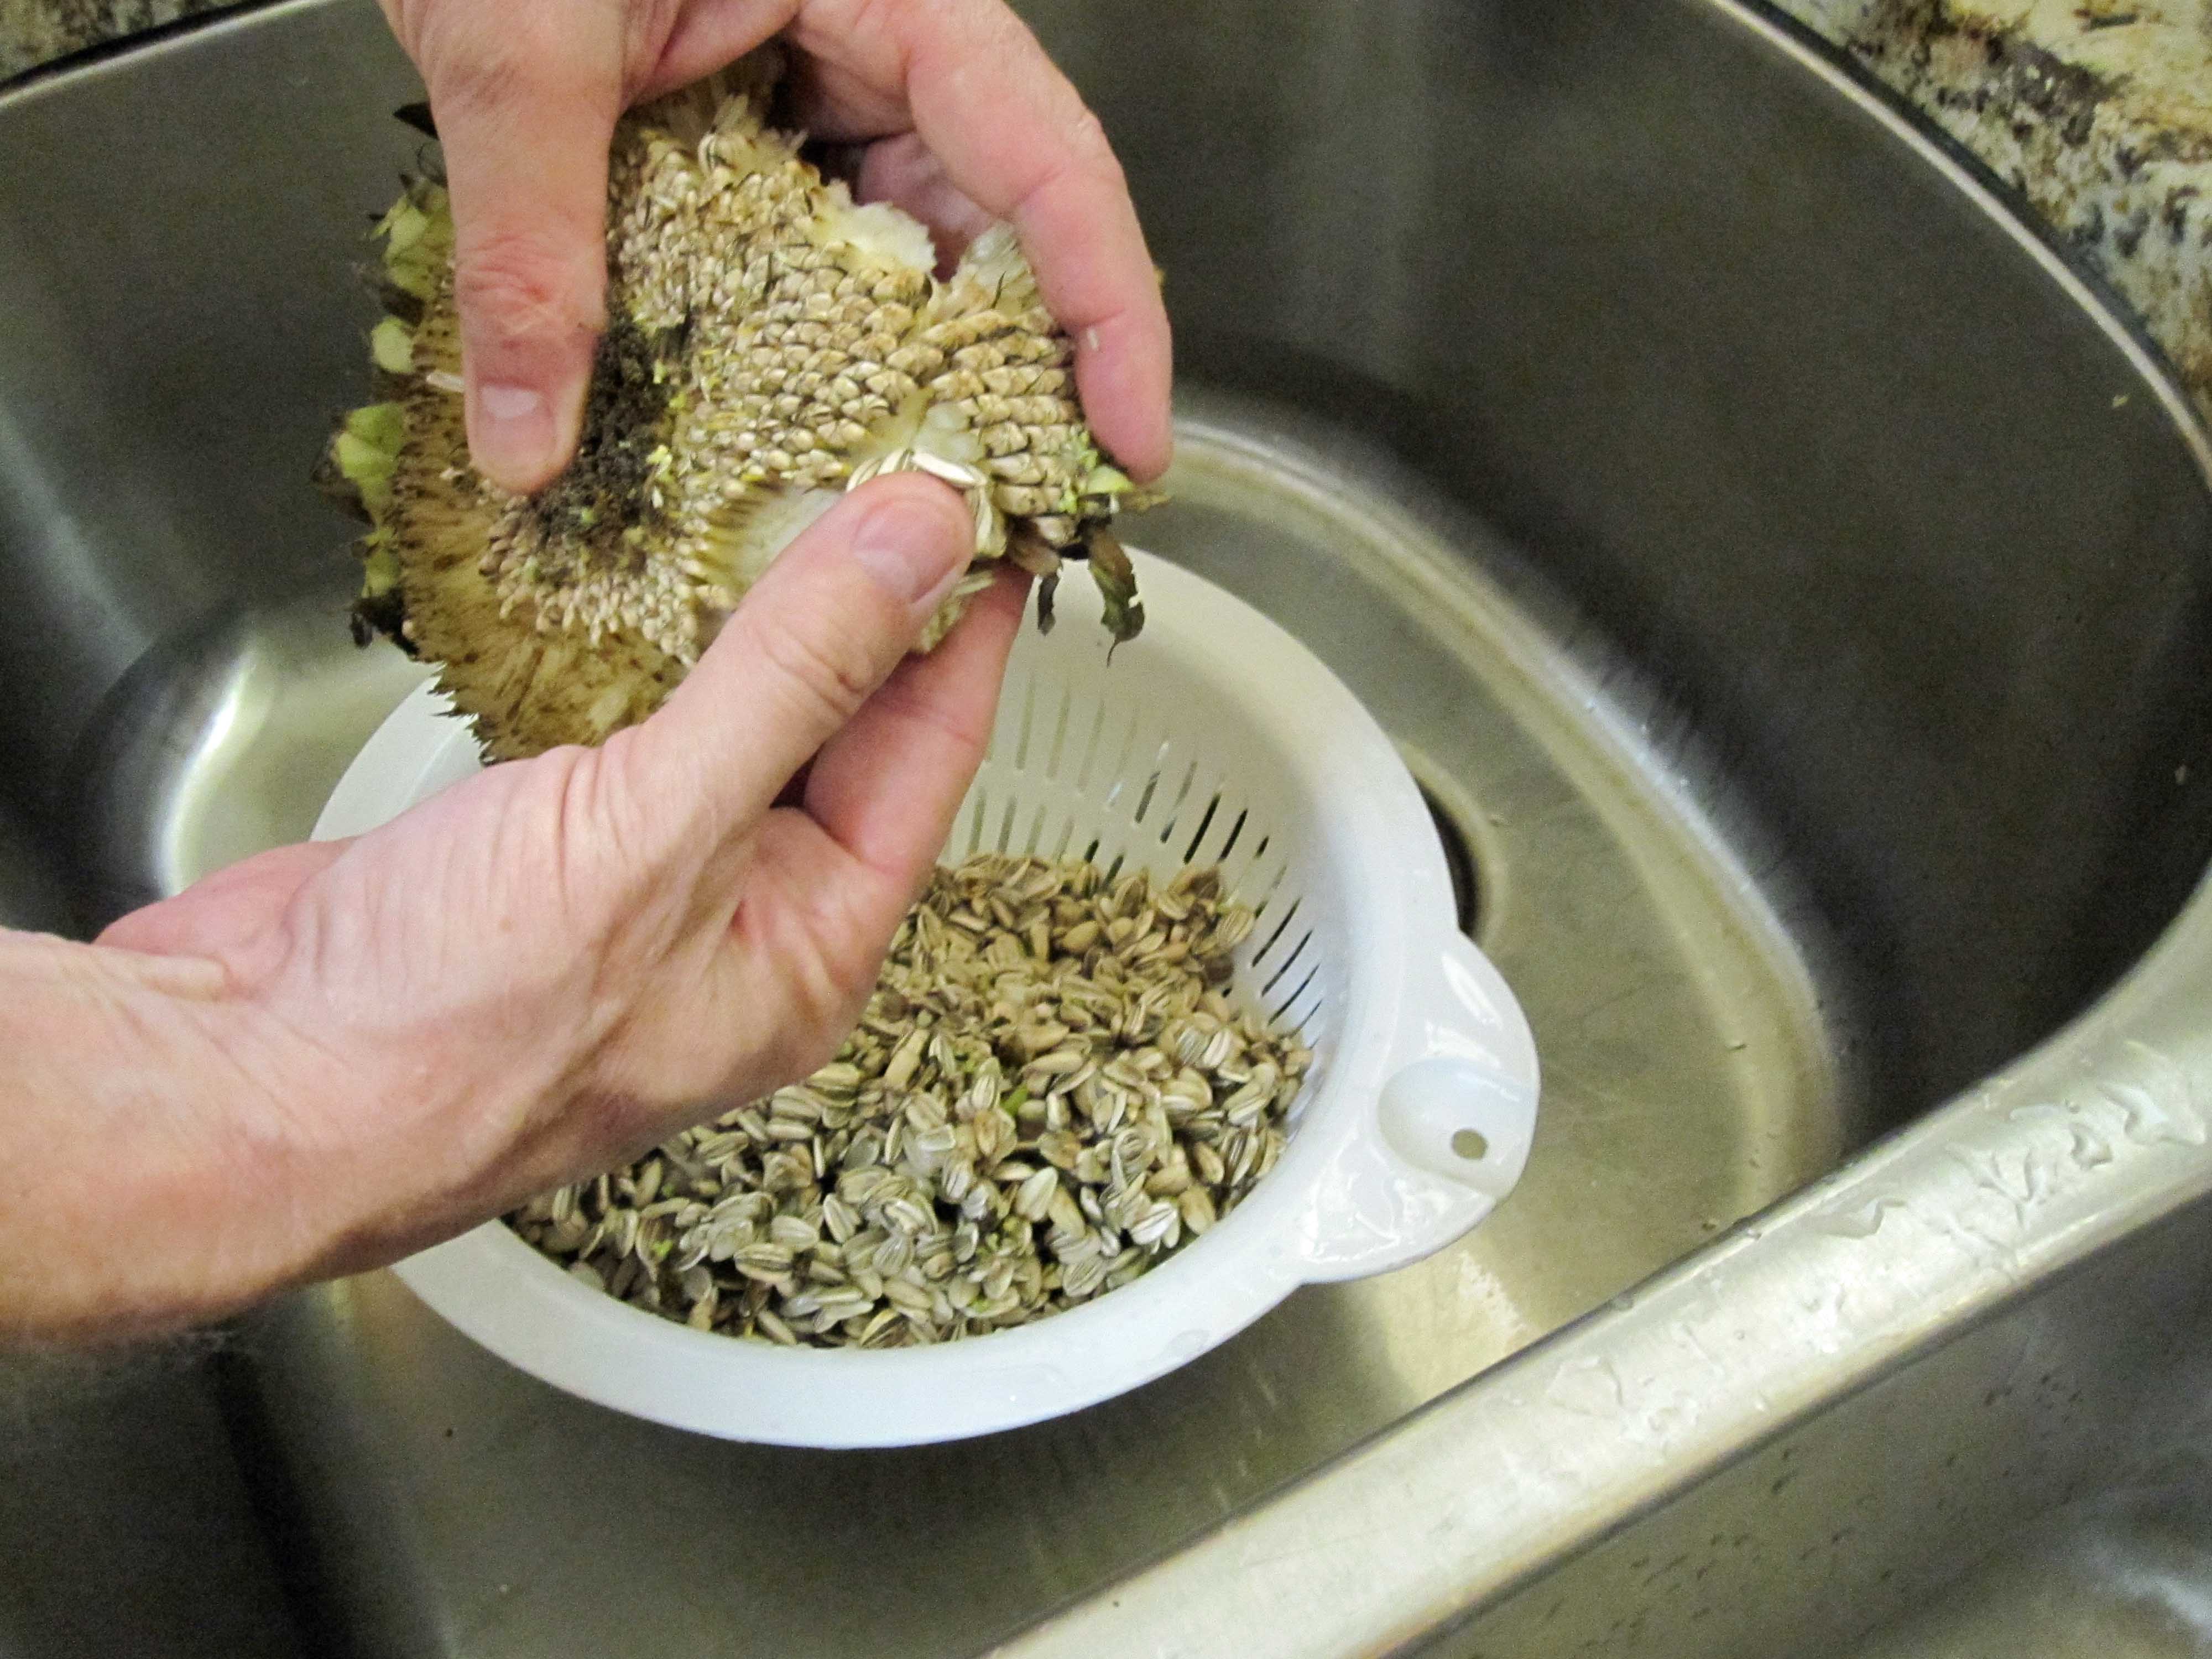
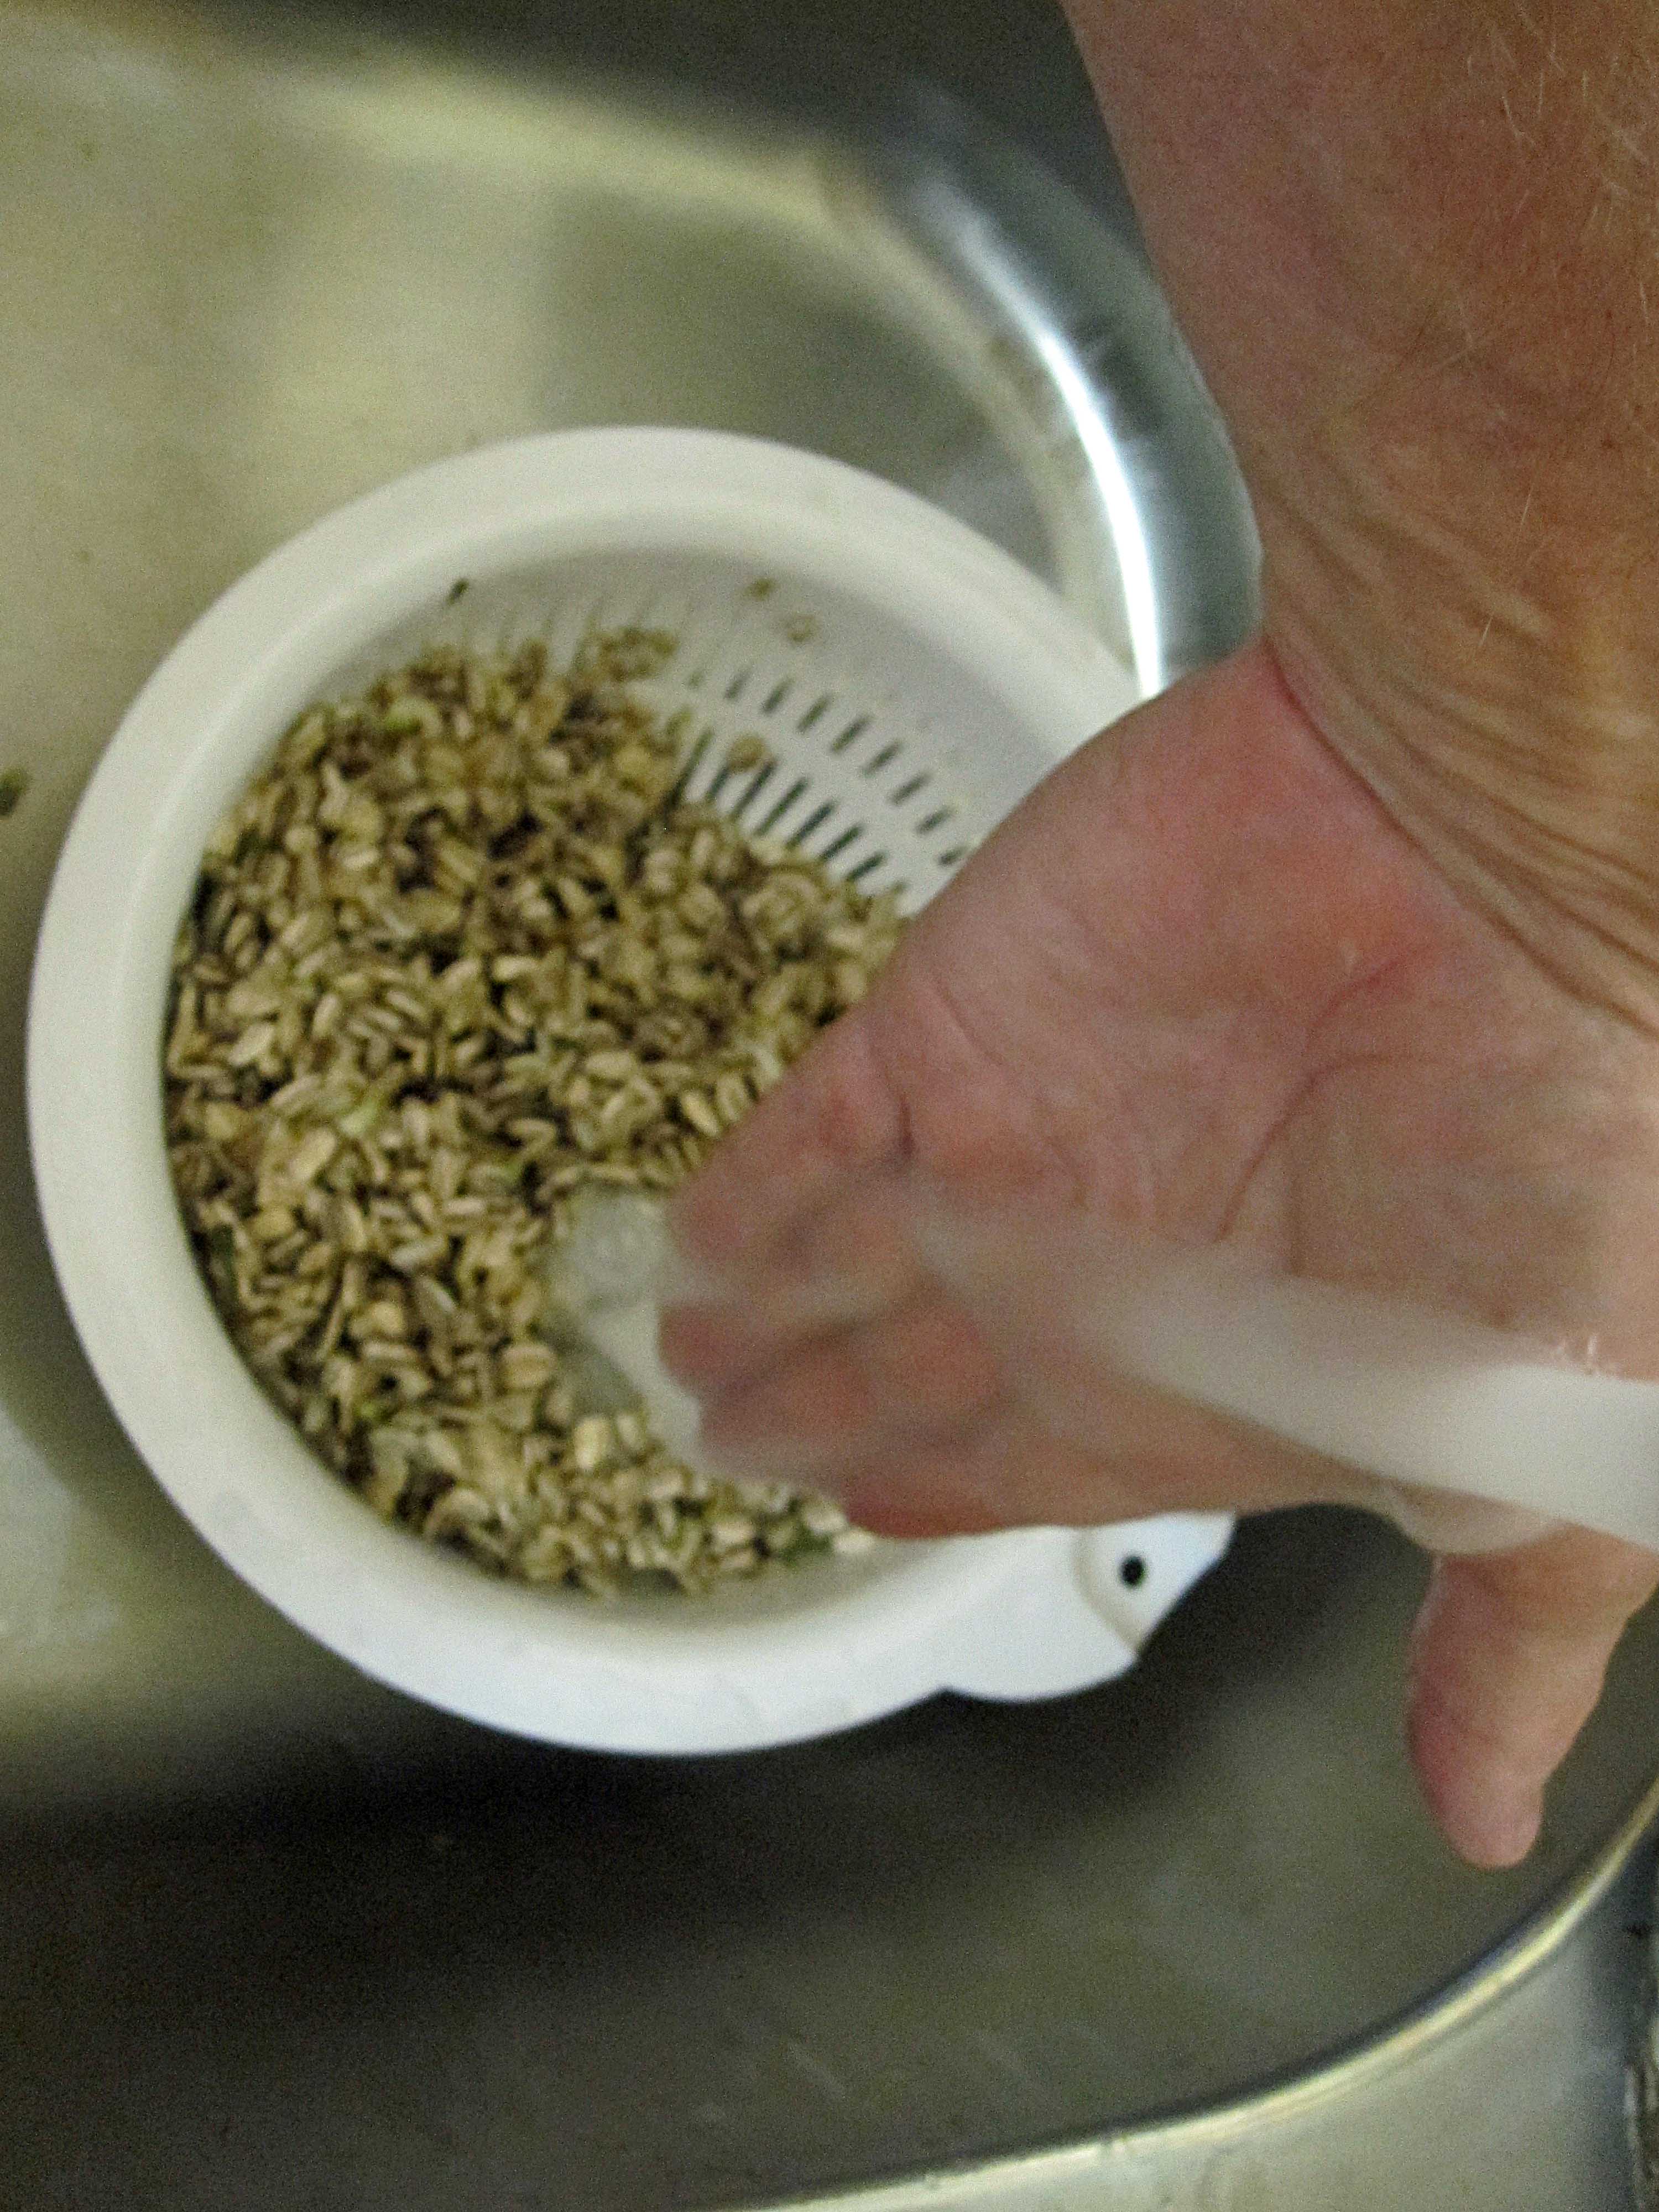
Wash the seeds well removing any debris and place them in a large pot of water. Add a cup of table salt (for this size batch) and adjust to taste. We don't like our seeds over salty so you may need to adjust the amount you use to your taste. This should taste very salty in the pot since the seeds will absorb the salt. Simmer slowly covered for 45 min to an hour.
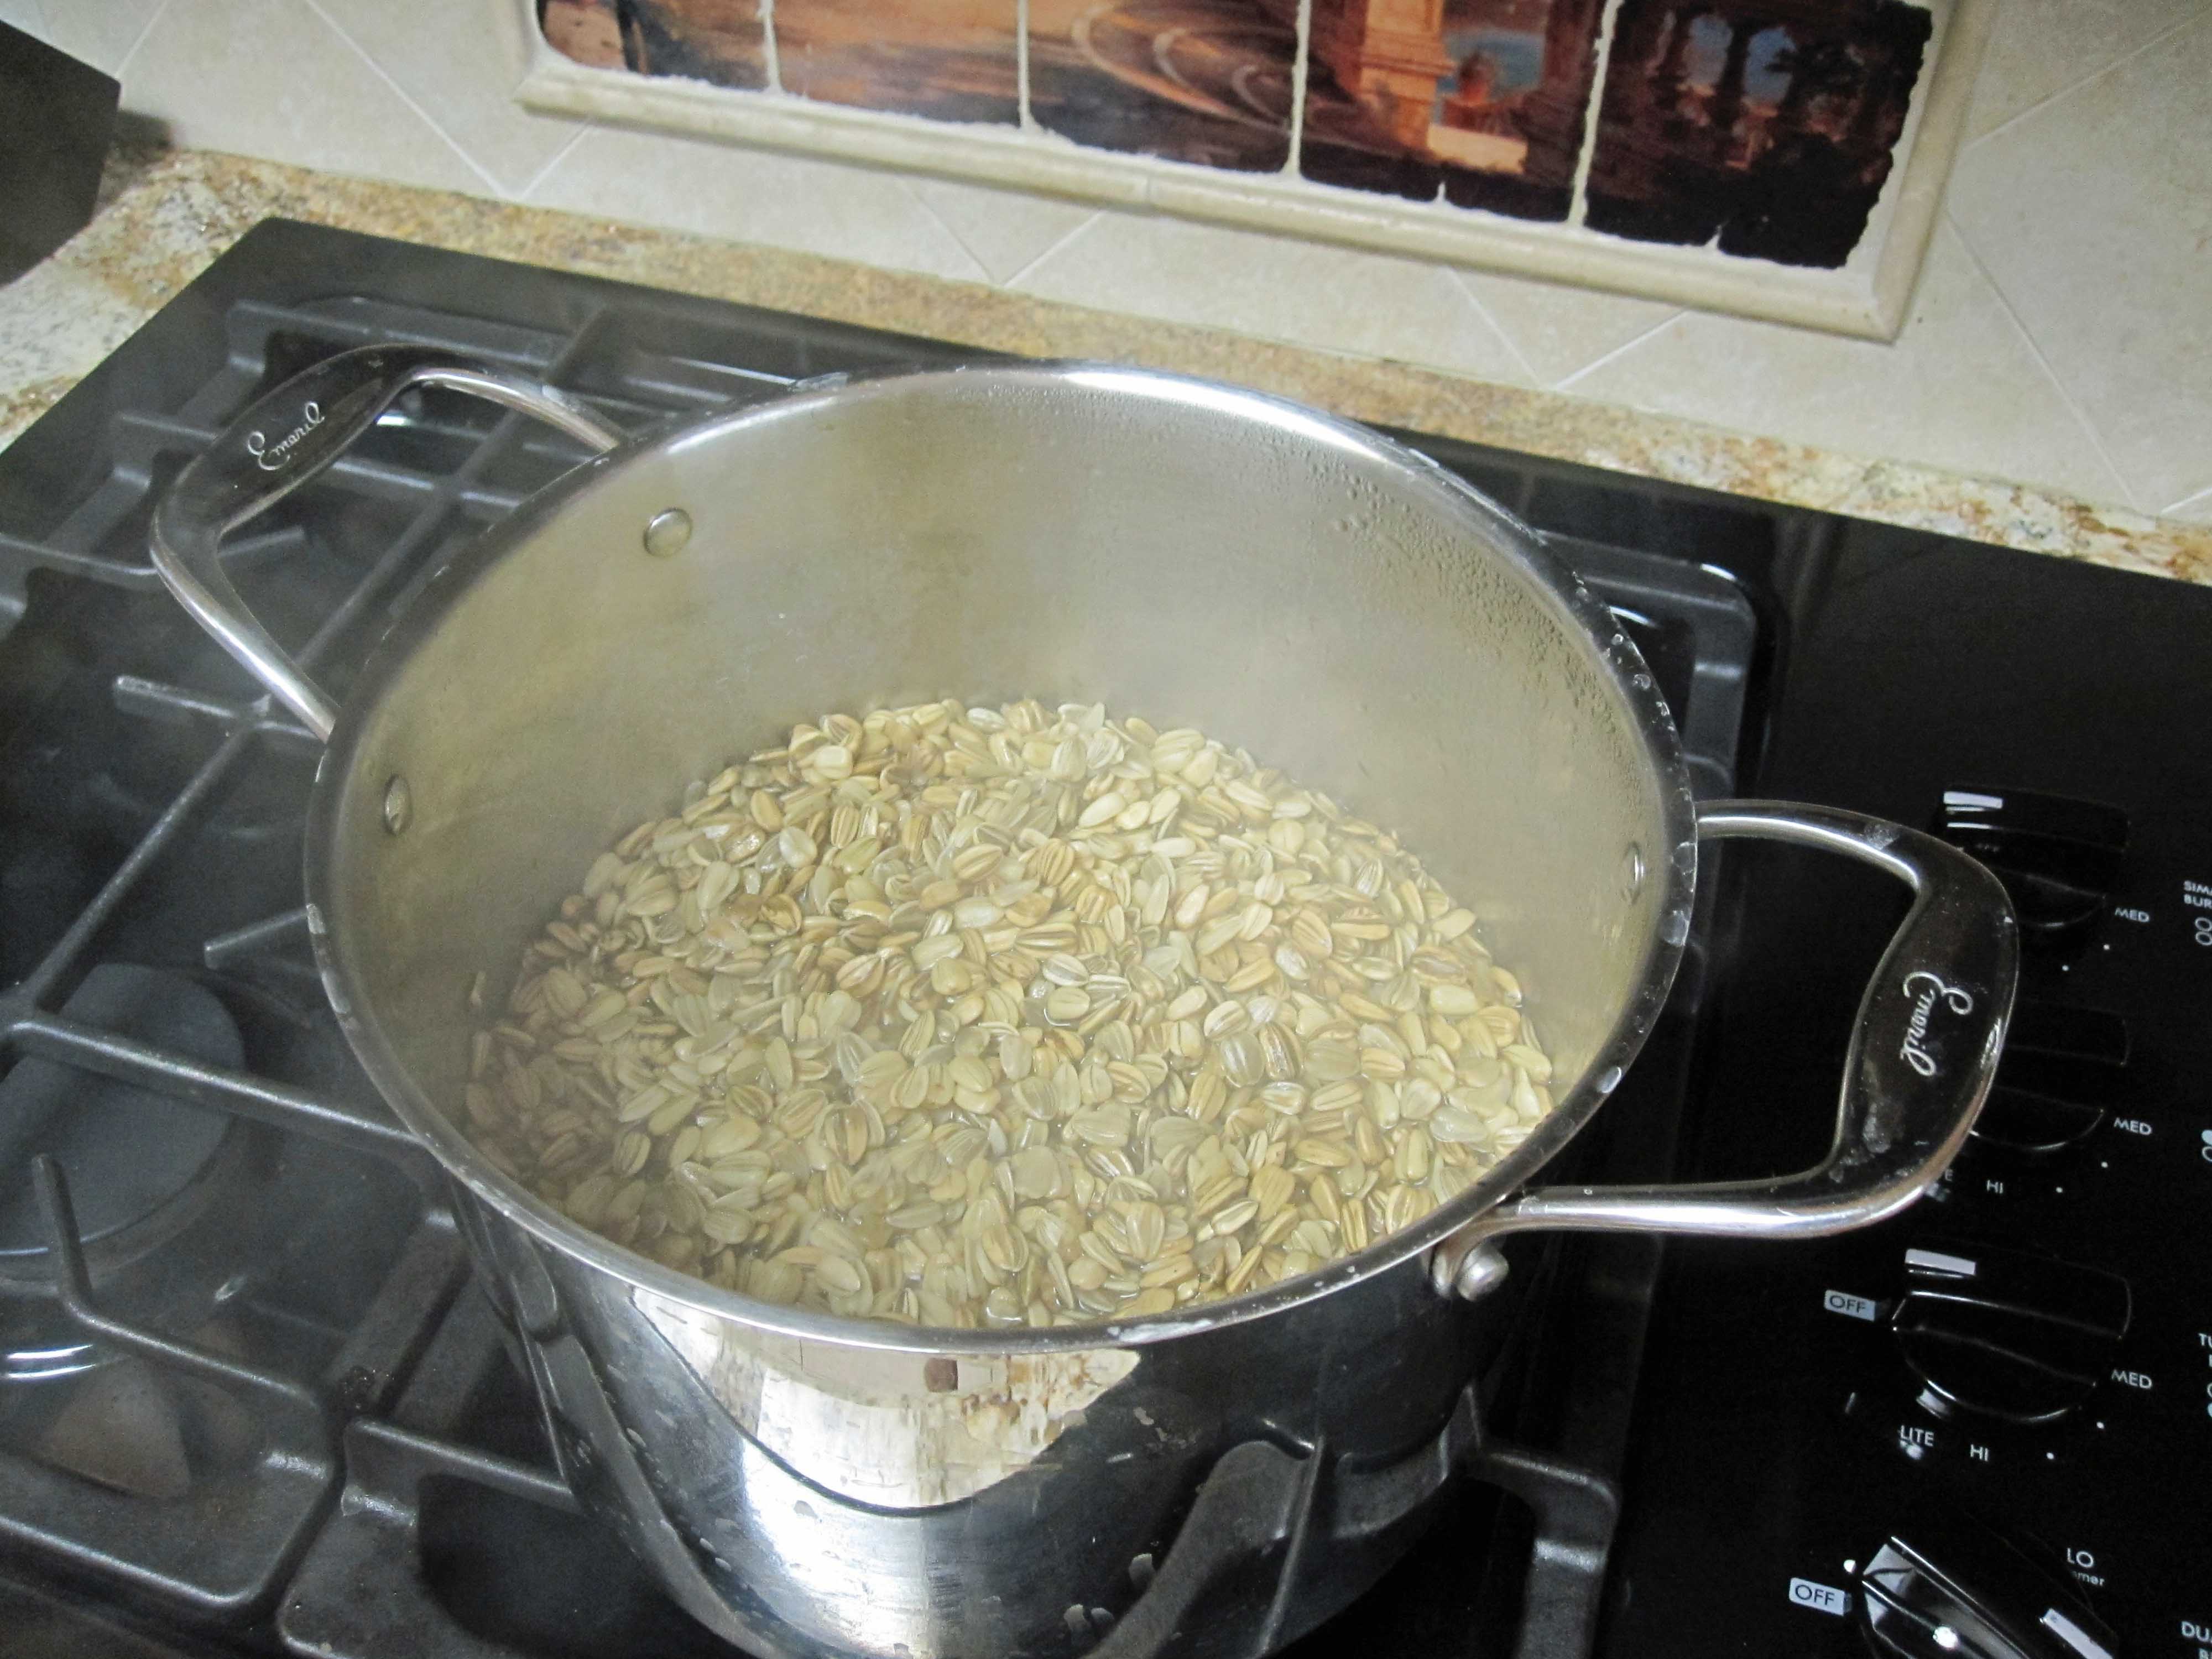
After they boil, drain the seeds and spread them thinly on cookie sheets. The baking process is really just to dry the seeds and you don't want to overdo this step. Taste them as you go. They should be crispy but not burned and not browned. I use an oven at 250 and I stir them frequently. The drying process can take a couple of hours depending on the size of the batch.
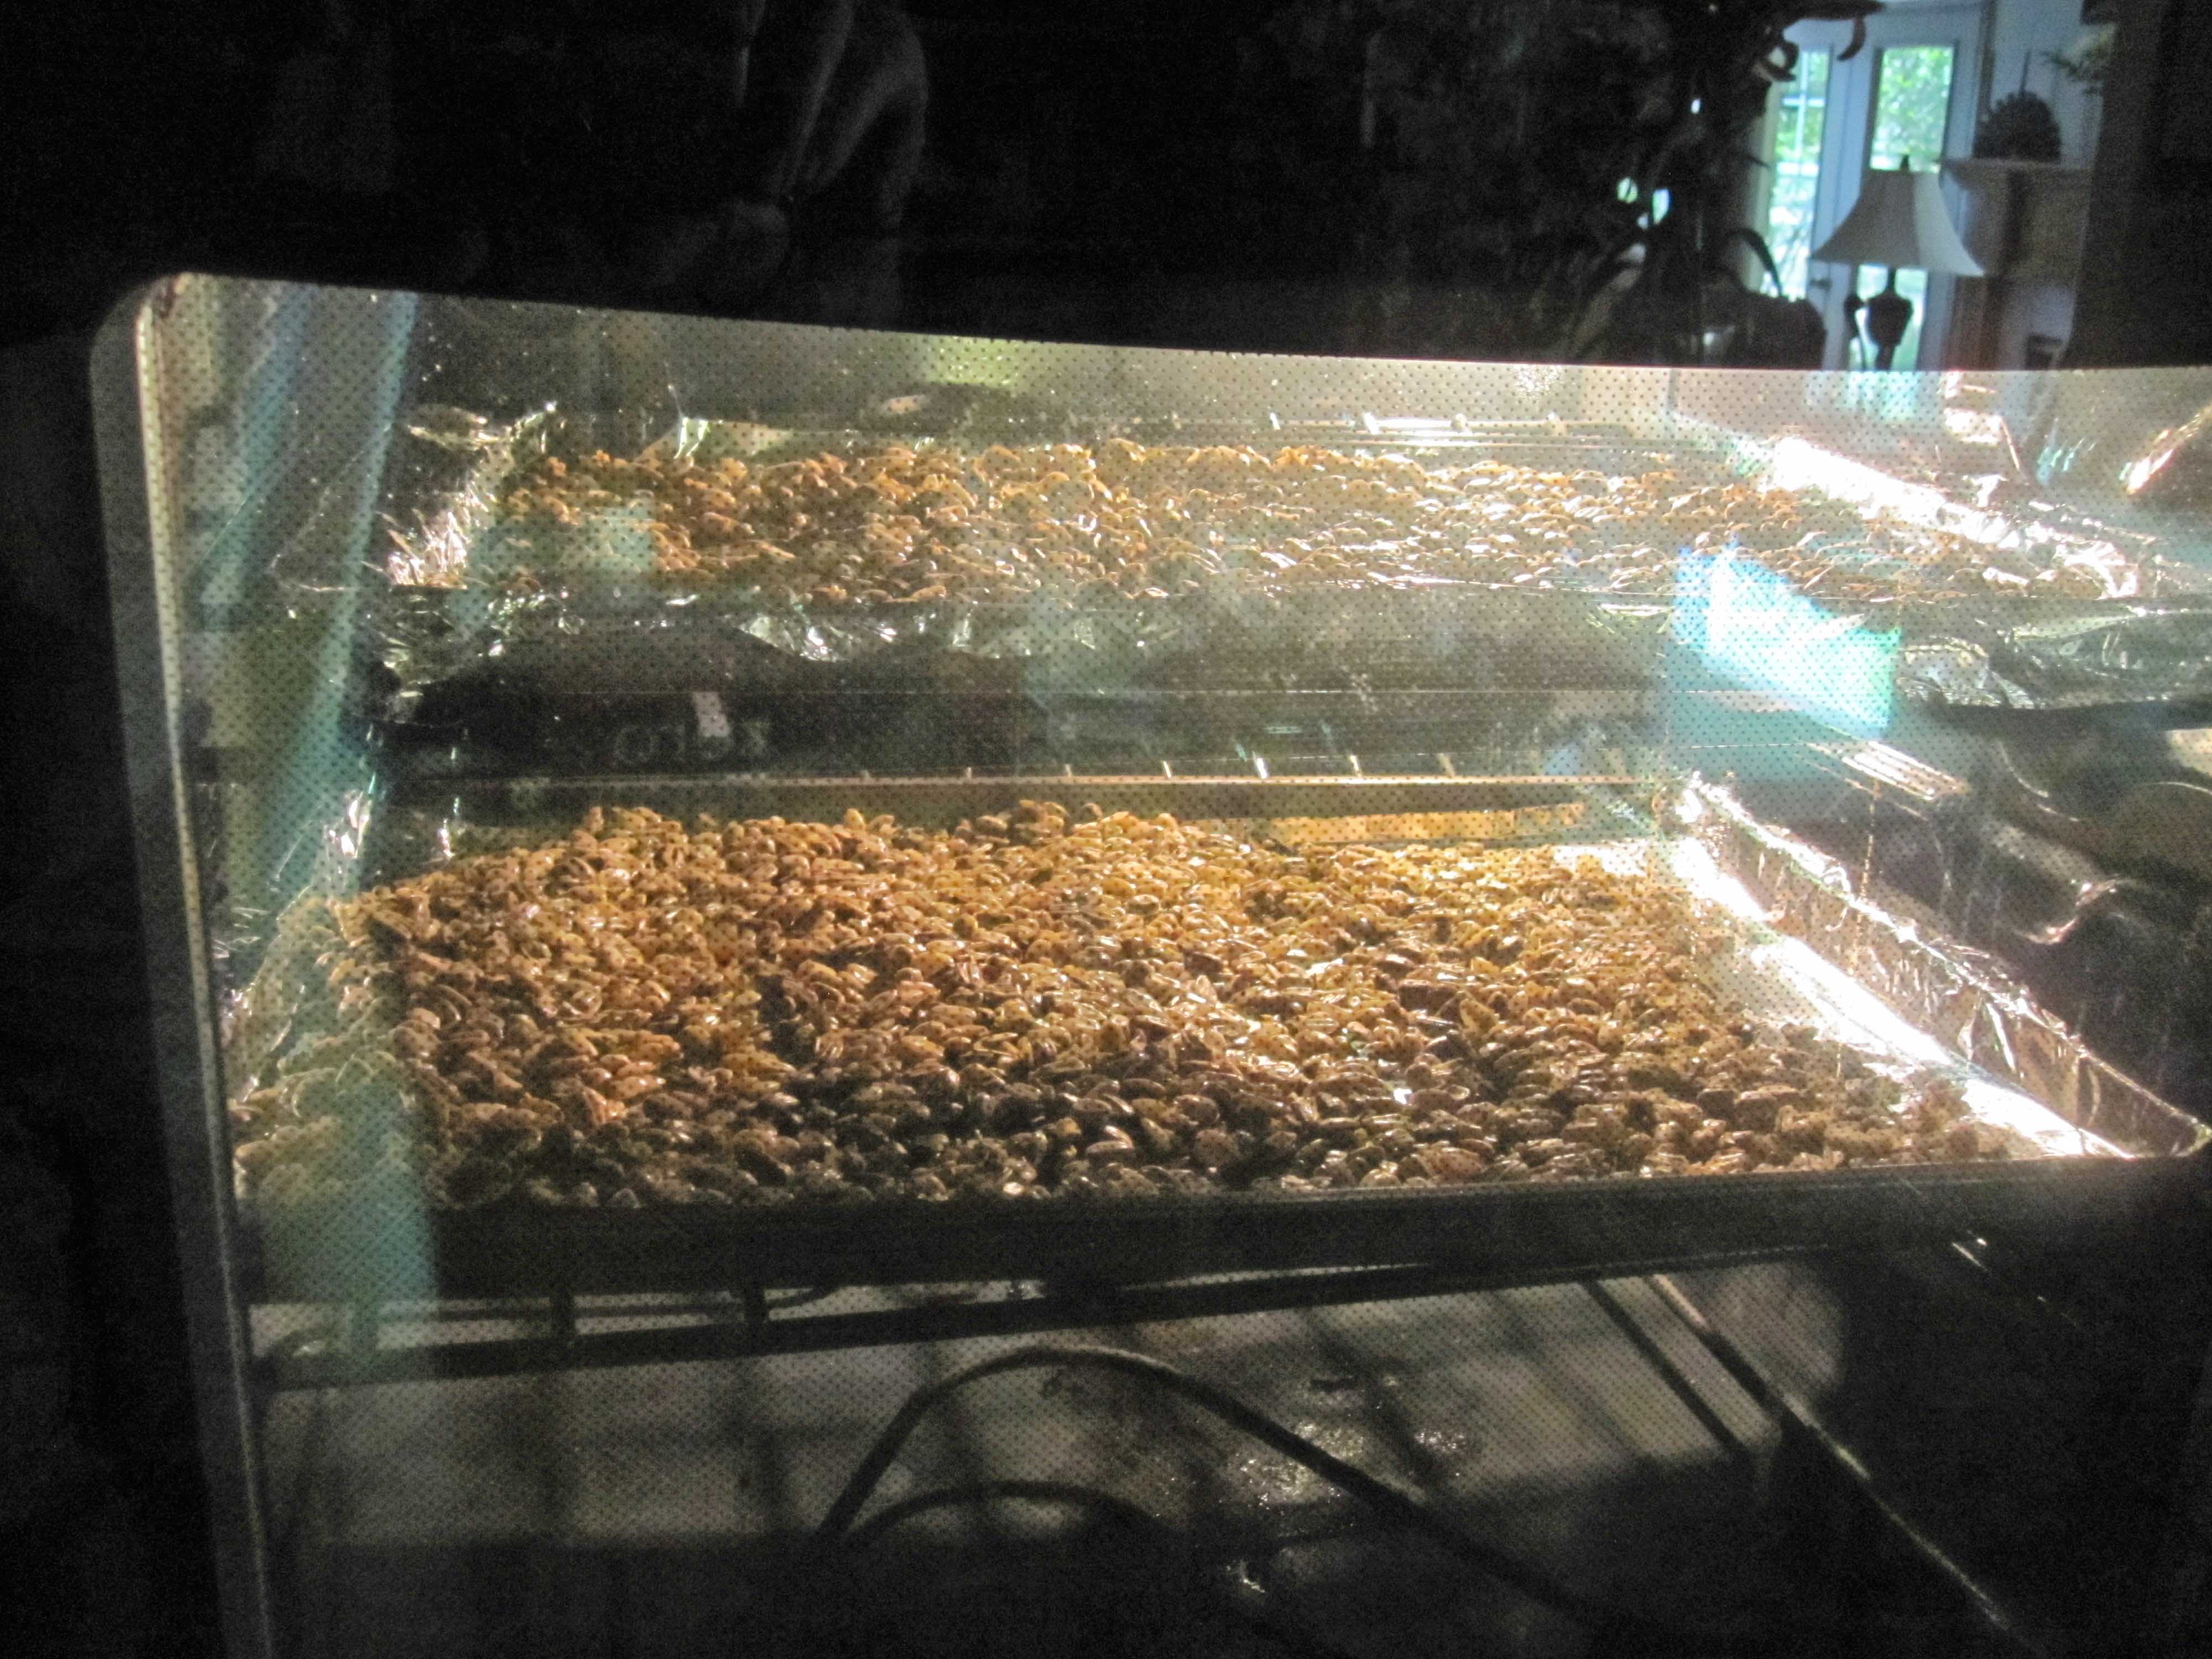
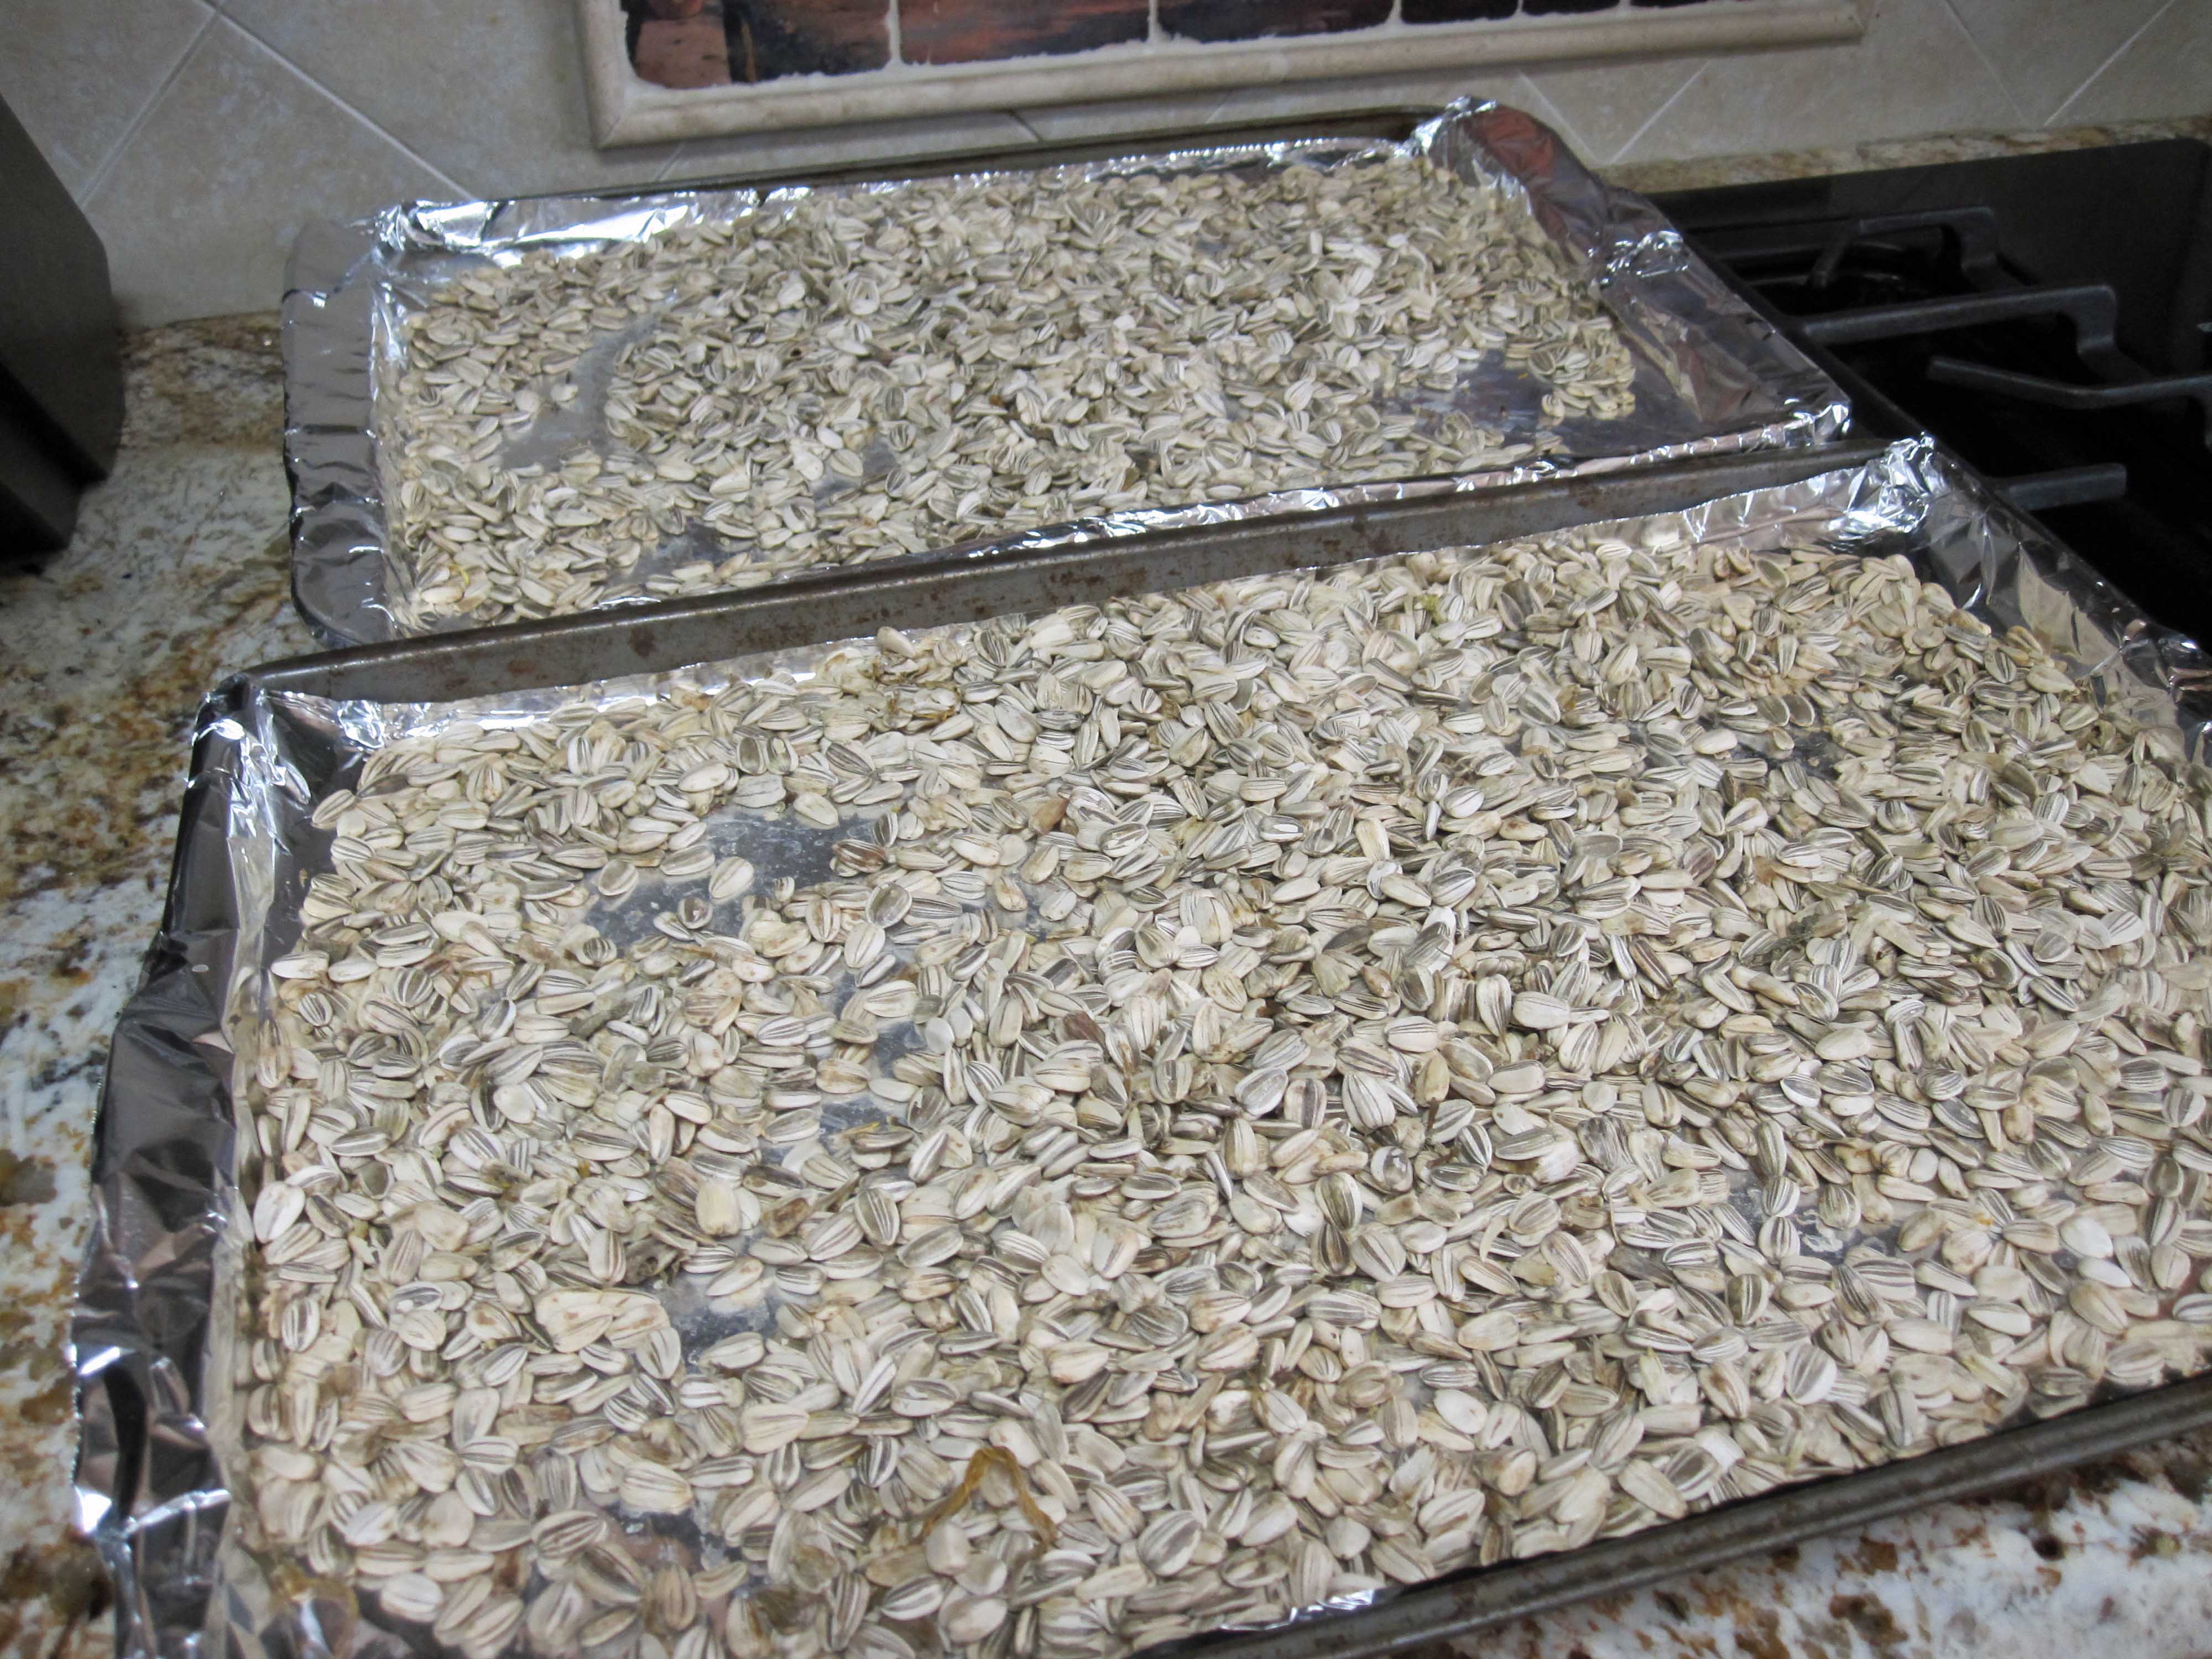
Once the seeds are dry you can put them in small freezer bags. I usually put them in the deep freeze until ready for use but you don't really have to. Seeds preserved this way will last a couple of years easily if kept bagged and dry.
June 22, 2011
We had 1.3 inches of rain last night which is the first rain here in June. Most everything is dry and not producing much at this point since the temps have been 100+ for 3 weeks now. Hopefully this will break the heat at least a little. Now for the canning process. The following is step by step instructions for canning tomatoes. The same method applies for most vegies. Fruit is slightly different as pectin or sugar syrup needs to be added to fruit. Each of the following steps has a pic as well. This week I will also be picking and baking sunflower seeds so more on that soon.
1. Place the tomatoes in boiling water for 3 minutes. This is to remove the skin. Don't overdo this or they will get soggy and hard to handle. After the 3 minutes, cool them quickly in cold water. Tongs work well for this.
.%20web.jpg)
%20web.jpg)
2. Next, cut out the core around the stem and remove the skin.
%20web.jpg)
%20web.jpg)
3. Leaving the tomatoes as large as you can fit in the jar, cut them up and place them in quart jars. Use a fork to press down on the tomatoes until the fruit and juice fills the jar to the bottom of the glass rim. Add 1 tablespoon of salt, clean the rim with a paper towel (this is important to make a good seal), and place on the lids and rims. Tighten the lids well.
%20web.jpg)
%20web.jpg)
%20web.jpg)
4. There are all kinds of custom canners. As long as you have a large pot, they are really not necessary. What you WILL need is some canning tongs. It's almost impossible to get these jars in and out of the water without them. The only catch is that the jars should not be right on the bottom of the pot so you will need some kind of plate between the bottom of the pot and the jars. I have a piece of metal I use for this. The water must cover the jars by at least a half inch and I usually cover them a bit more than that.
%20web.jpg)
%20web.jpg)
5. Boil the jars in slowly boiling water for 45 minutes for quart jars, 30 minutes for pint. Do not let the jars touch each other during the boiling (this is where canners are nice). This large pot will let me can 5 quarts at one time (more for pints) without the jars touching each other. After the time is up, remove the jars and let them cool completely.
%20web.jpg)
%20web.jpg)
6. The lids will be bulging up right after you take them out of the water but they will snap down and create a vacuum as they cool.
%20web.jpg)
7. It's a pretty good idea to date the jars. We've kept vegies preserved by canning for at least a couple of years with no problems. Store in a cool dark place if you can.
June 3, 2011
Well, some good news and bad news for this update. We've had no rain since May 12 and the temps have been between 95 and 100 most of that time. The corn got to about 2 feet tall, turned brown and died. This with watering an hour every night.
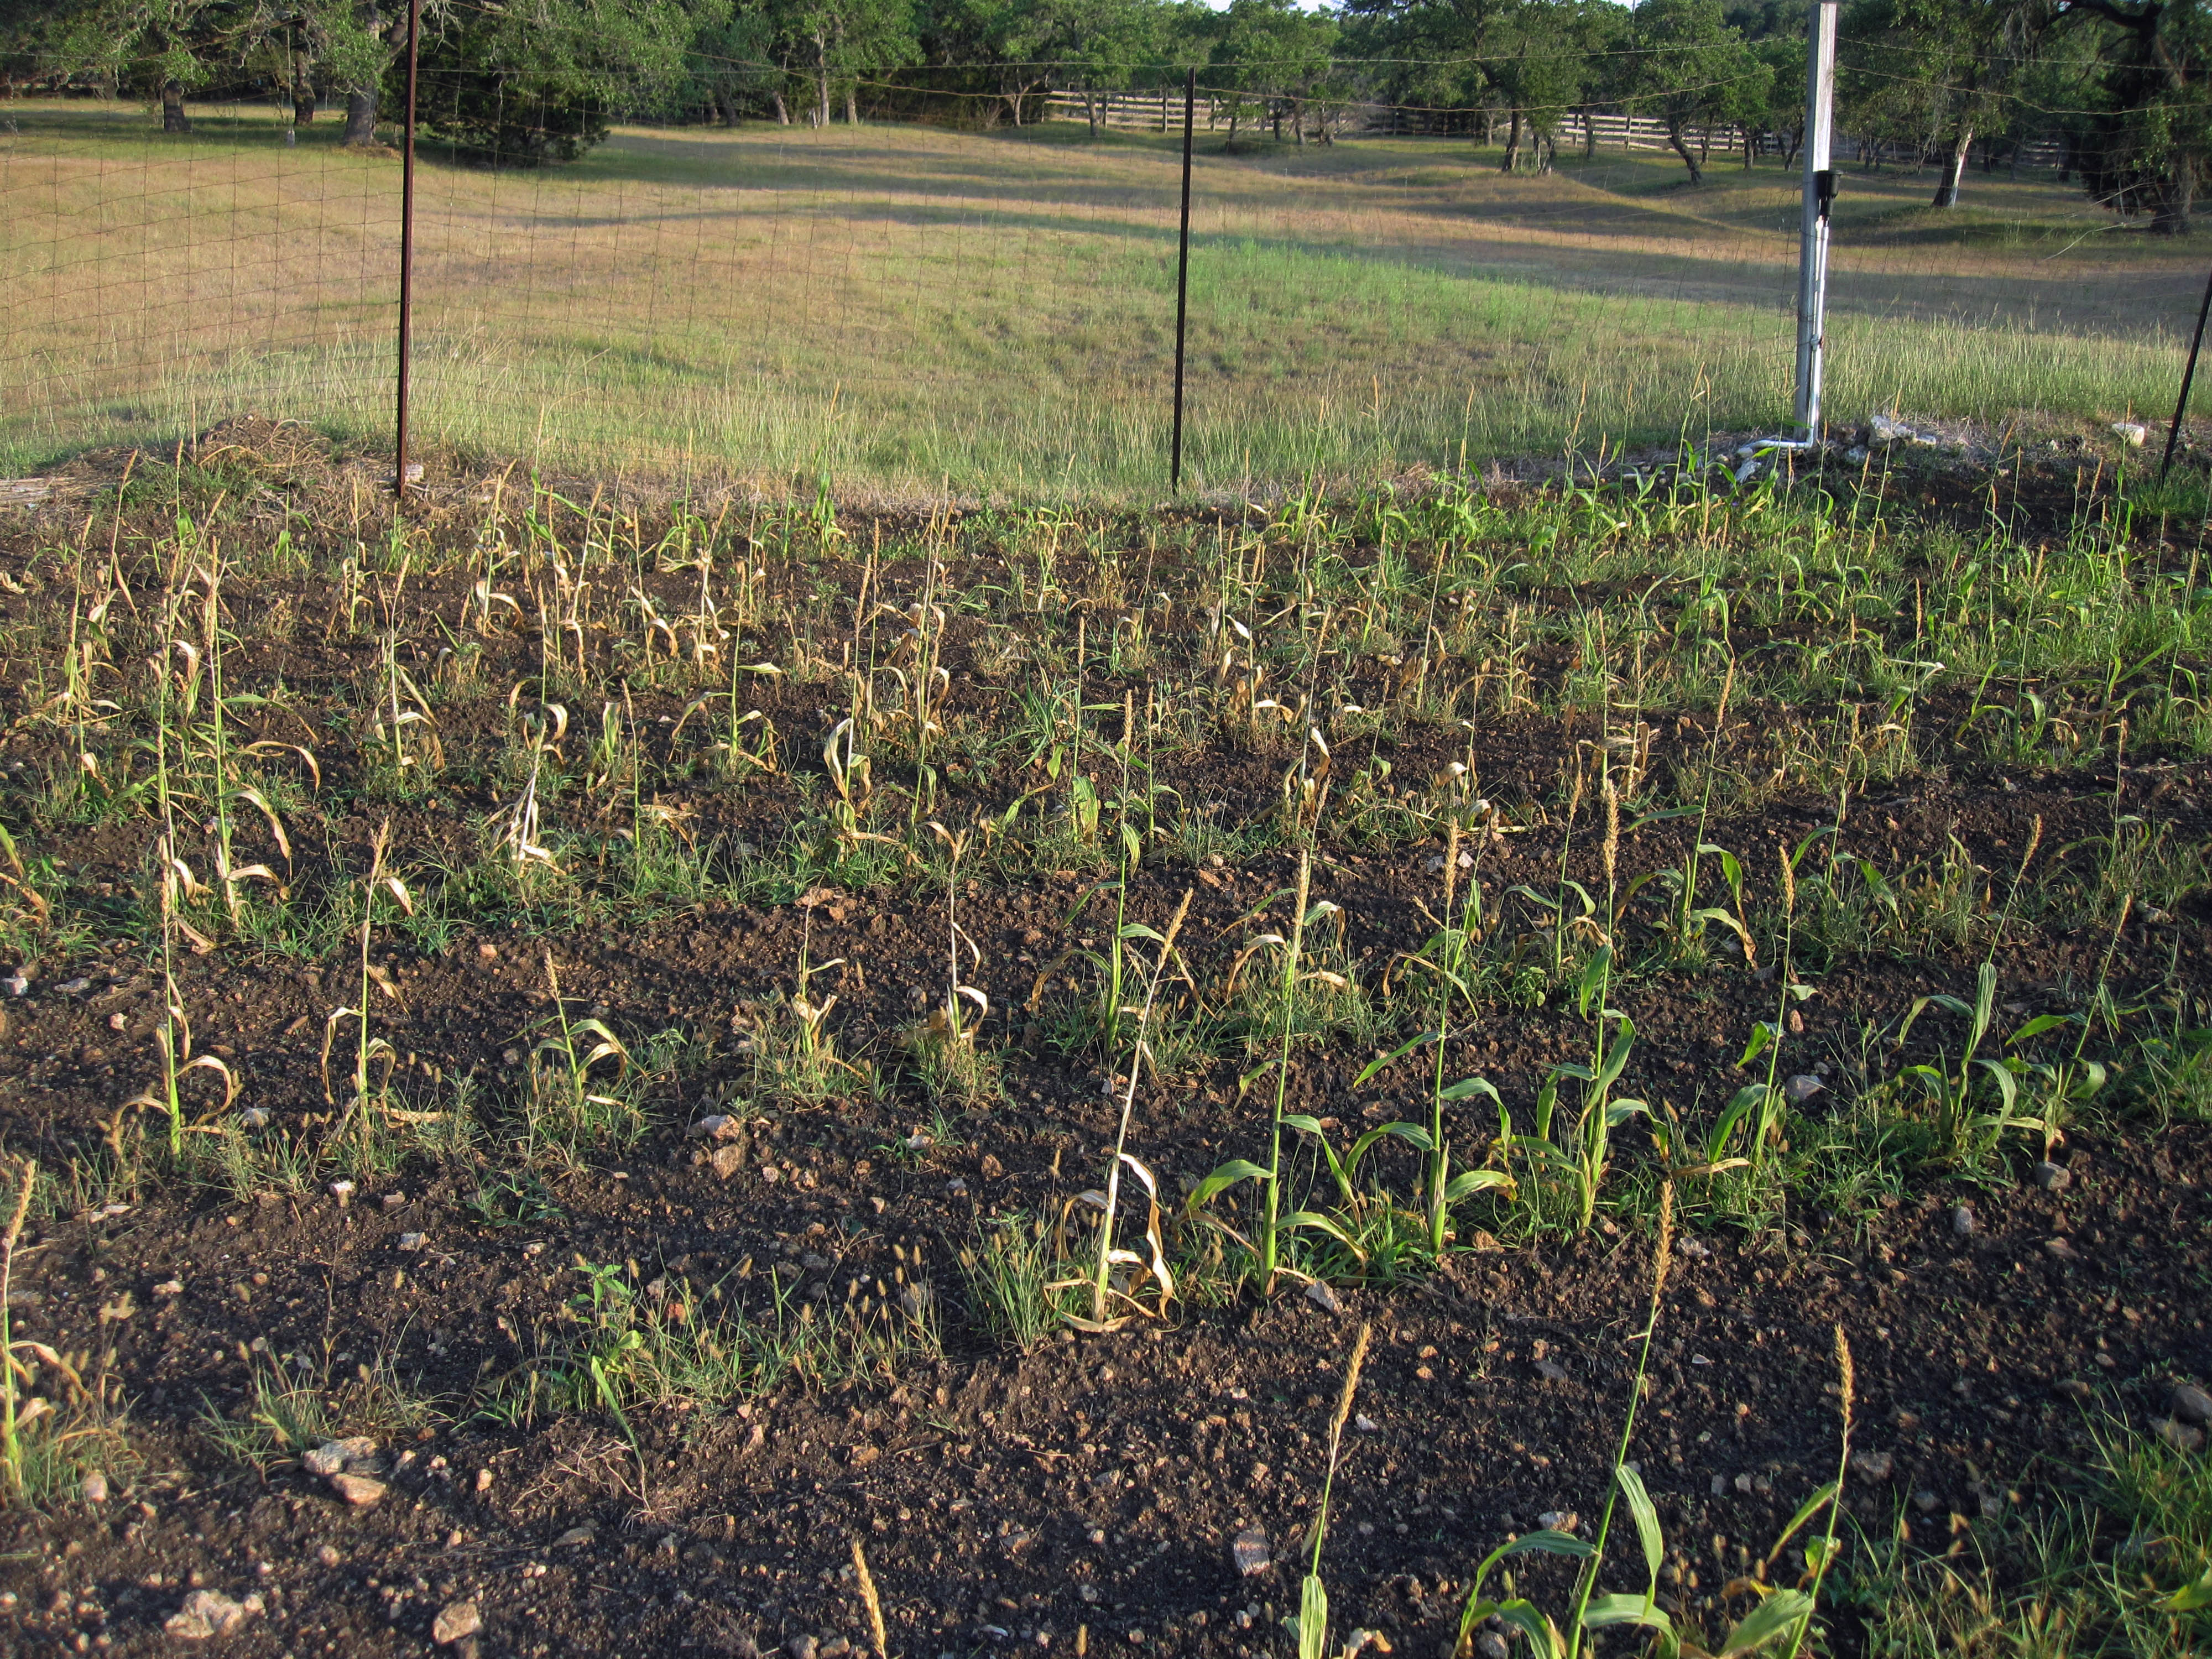
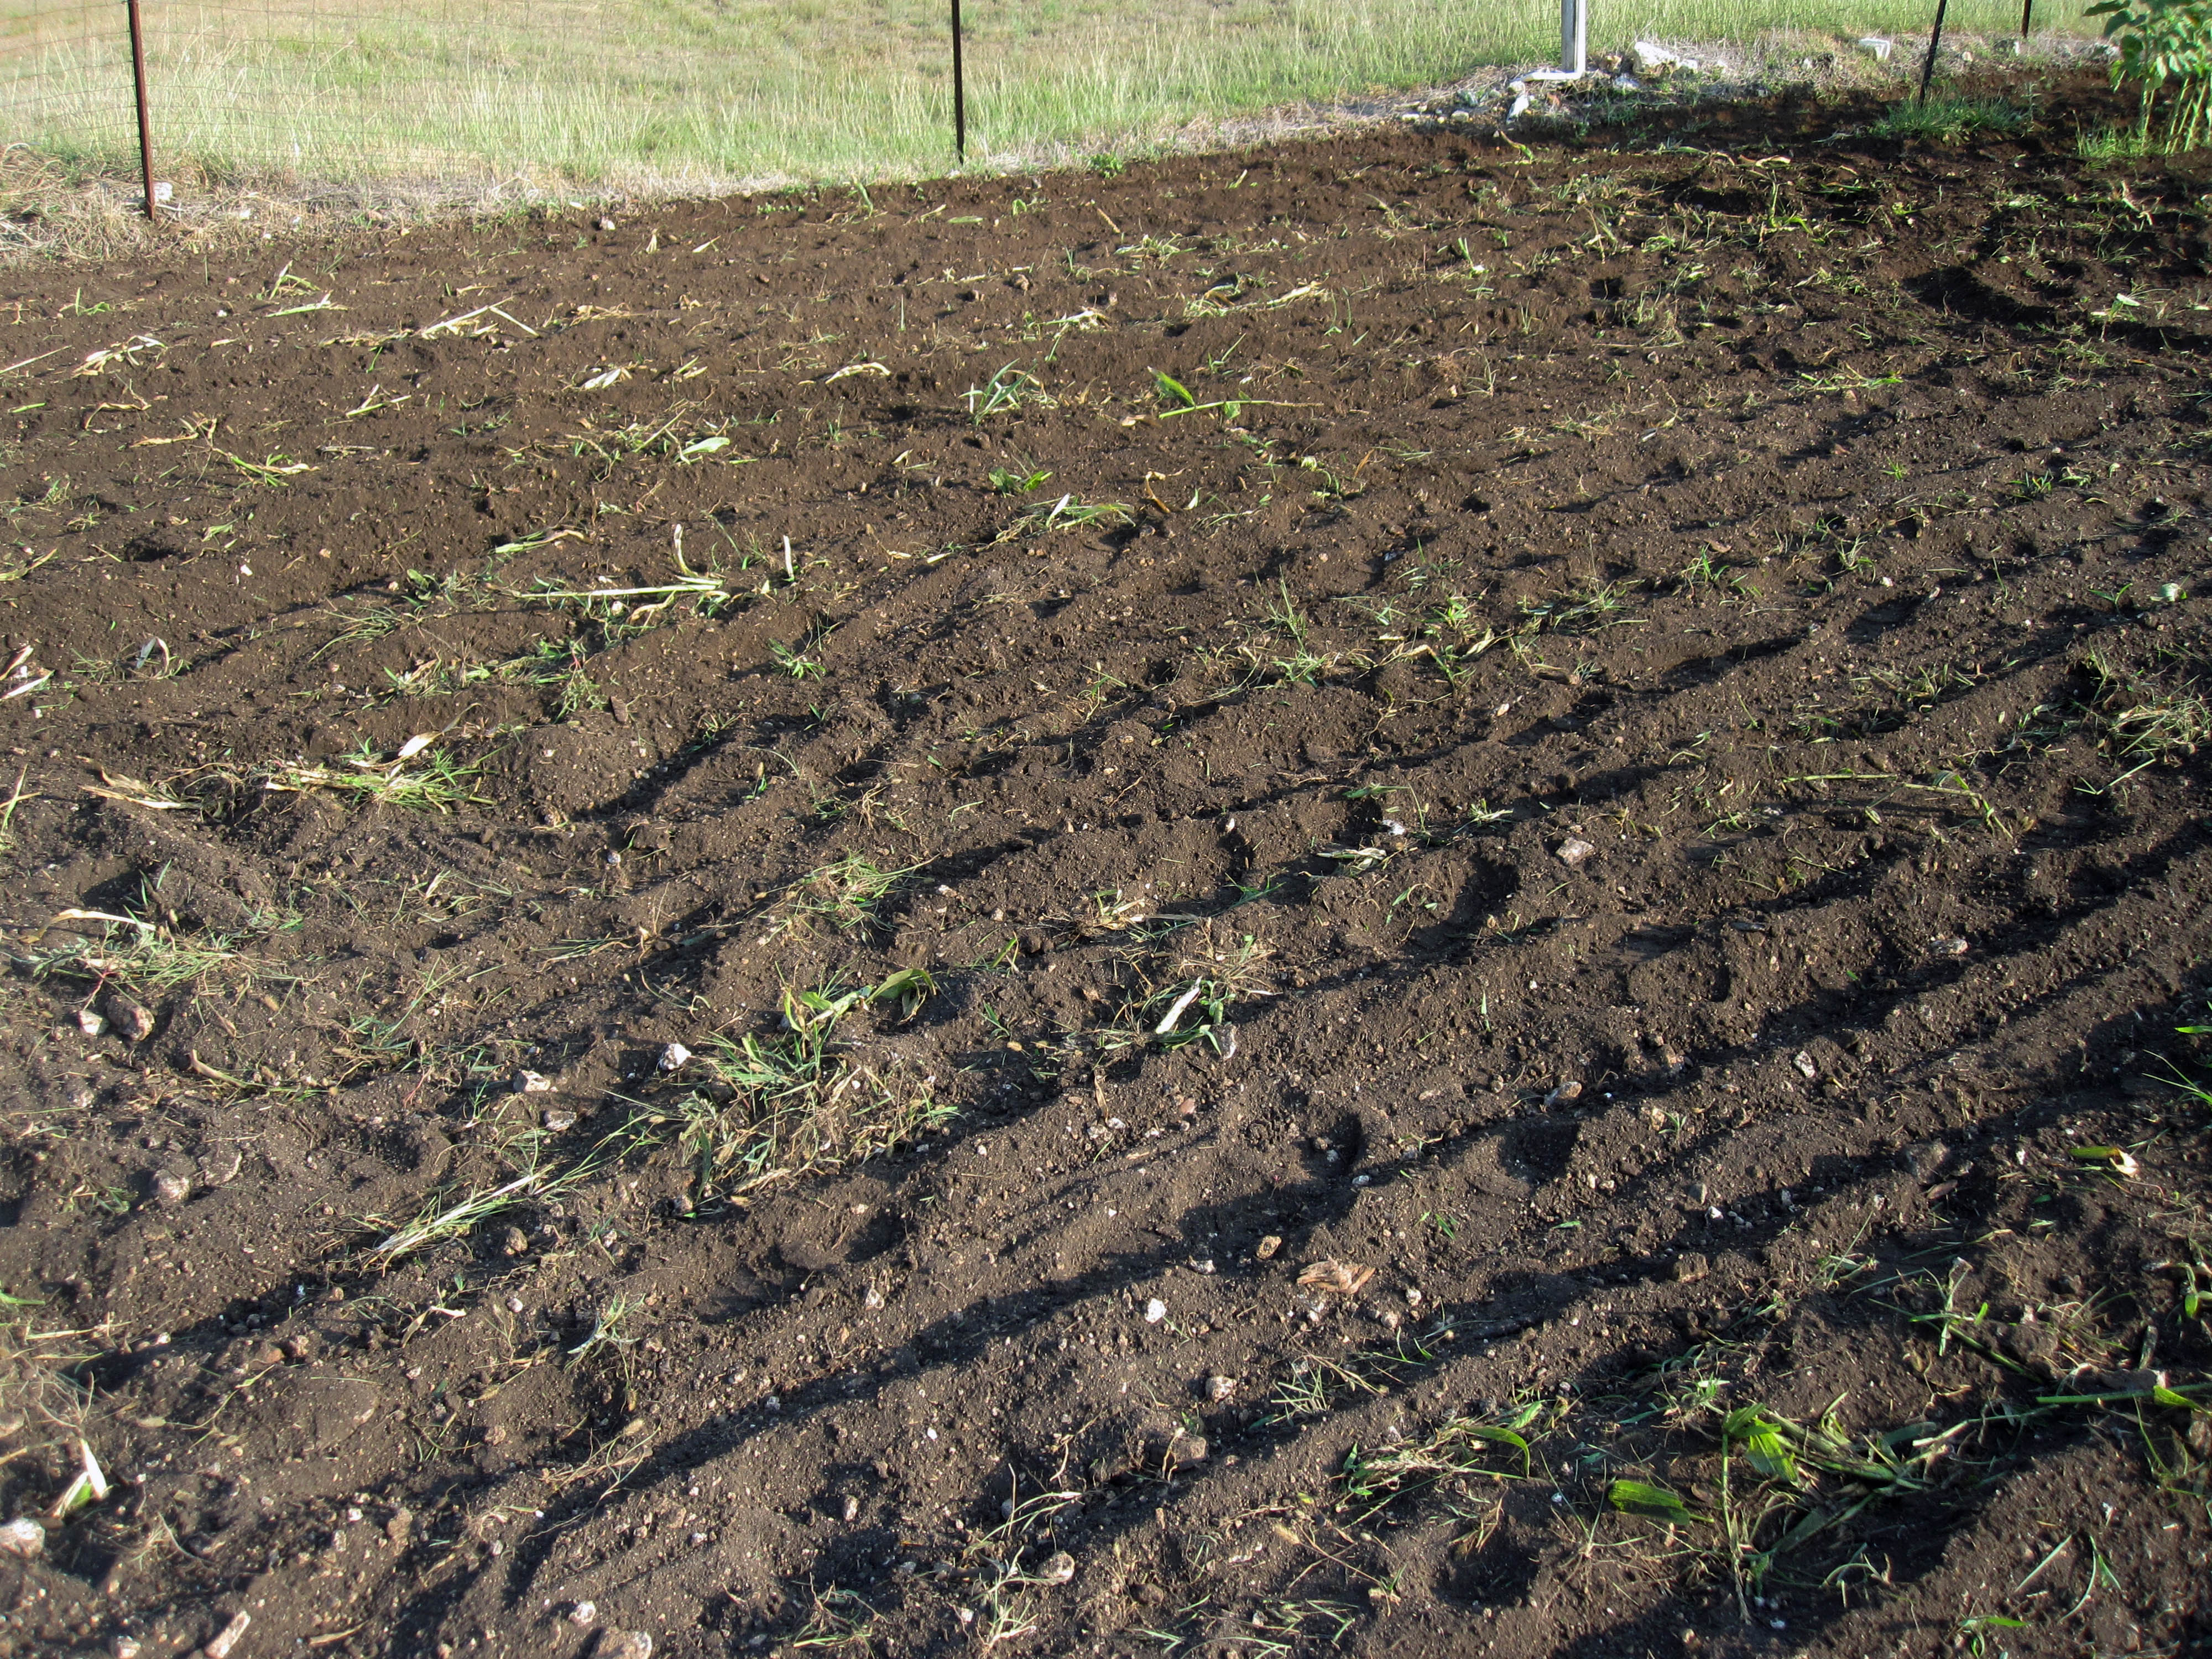
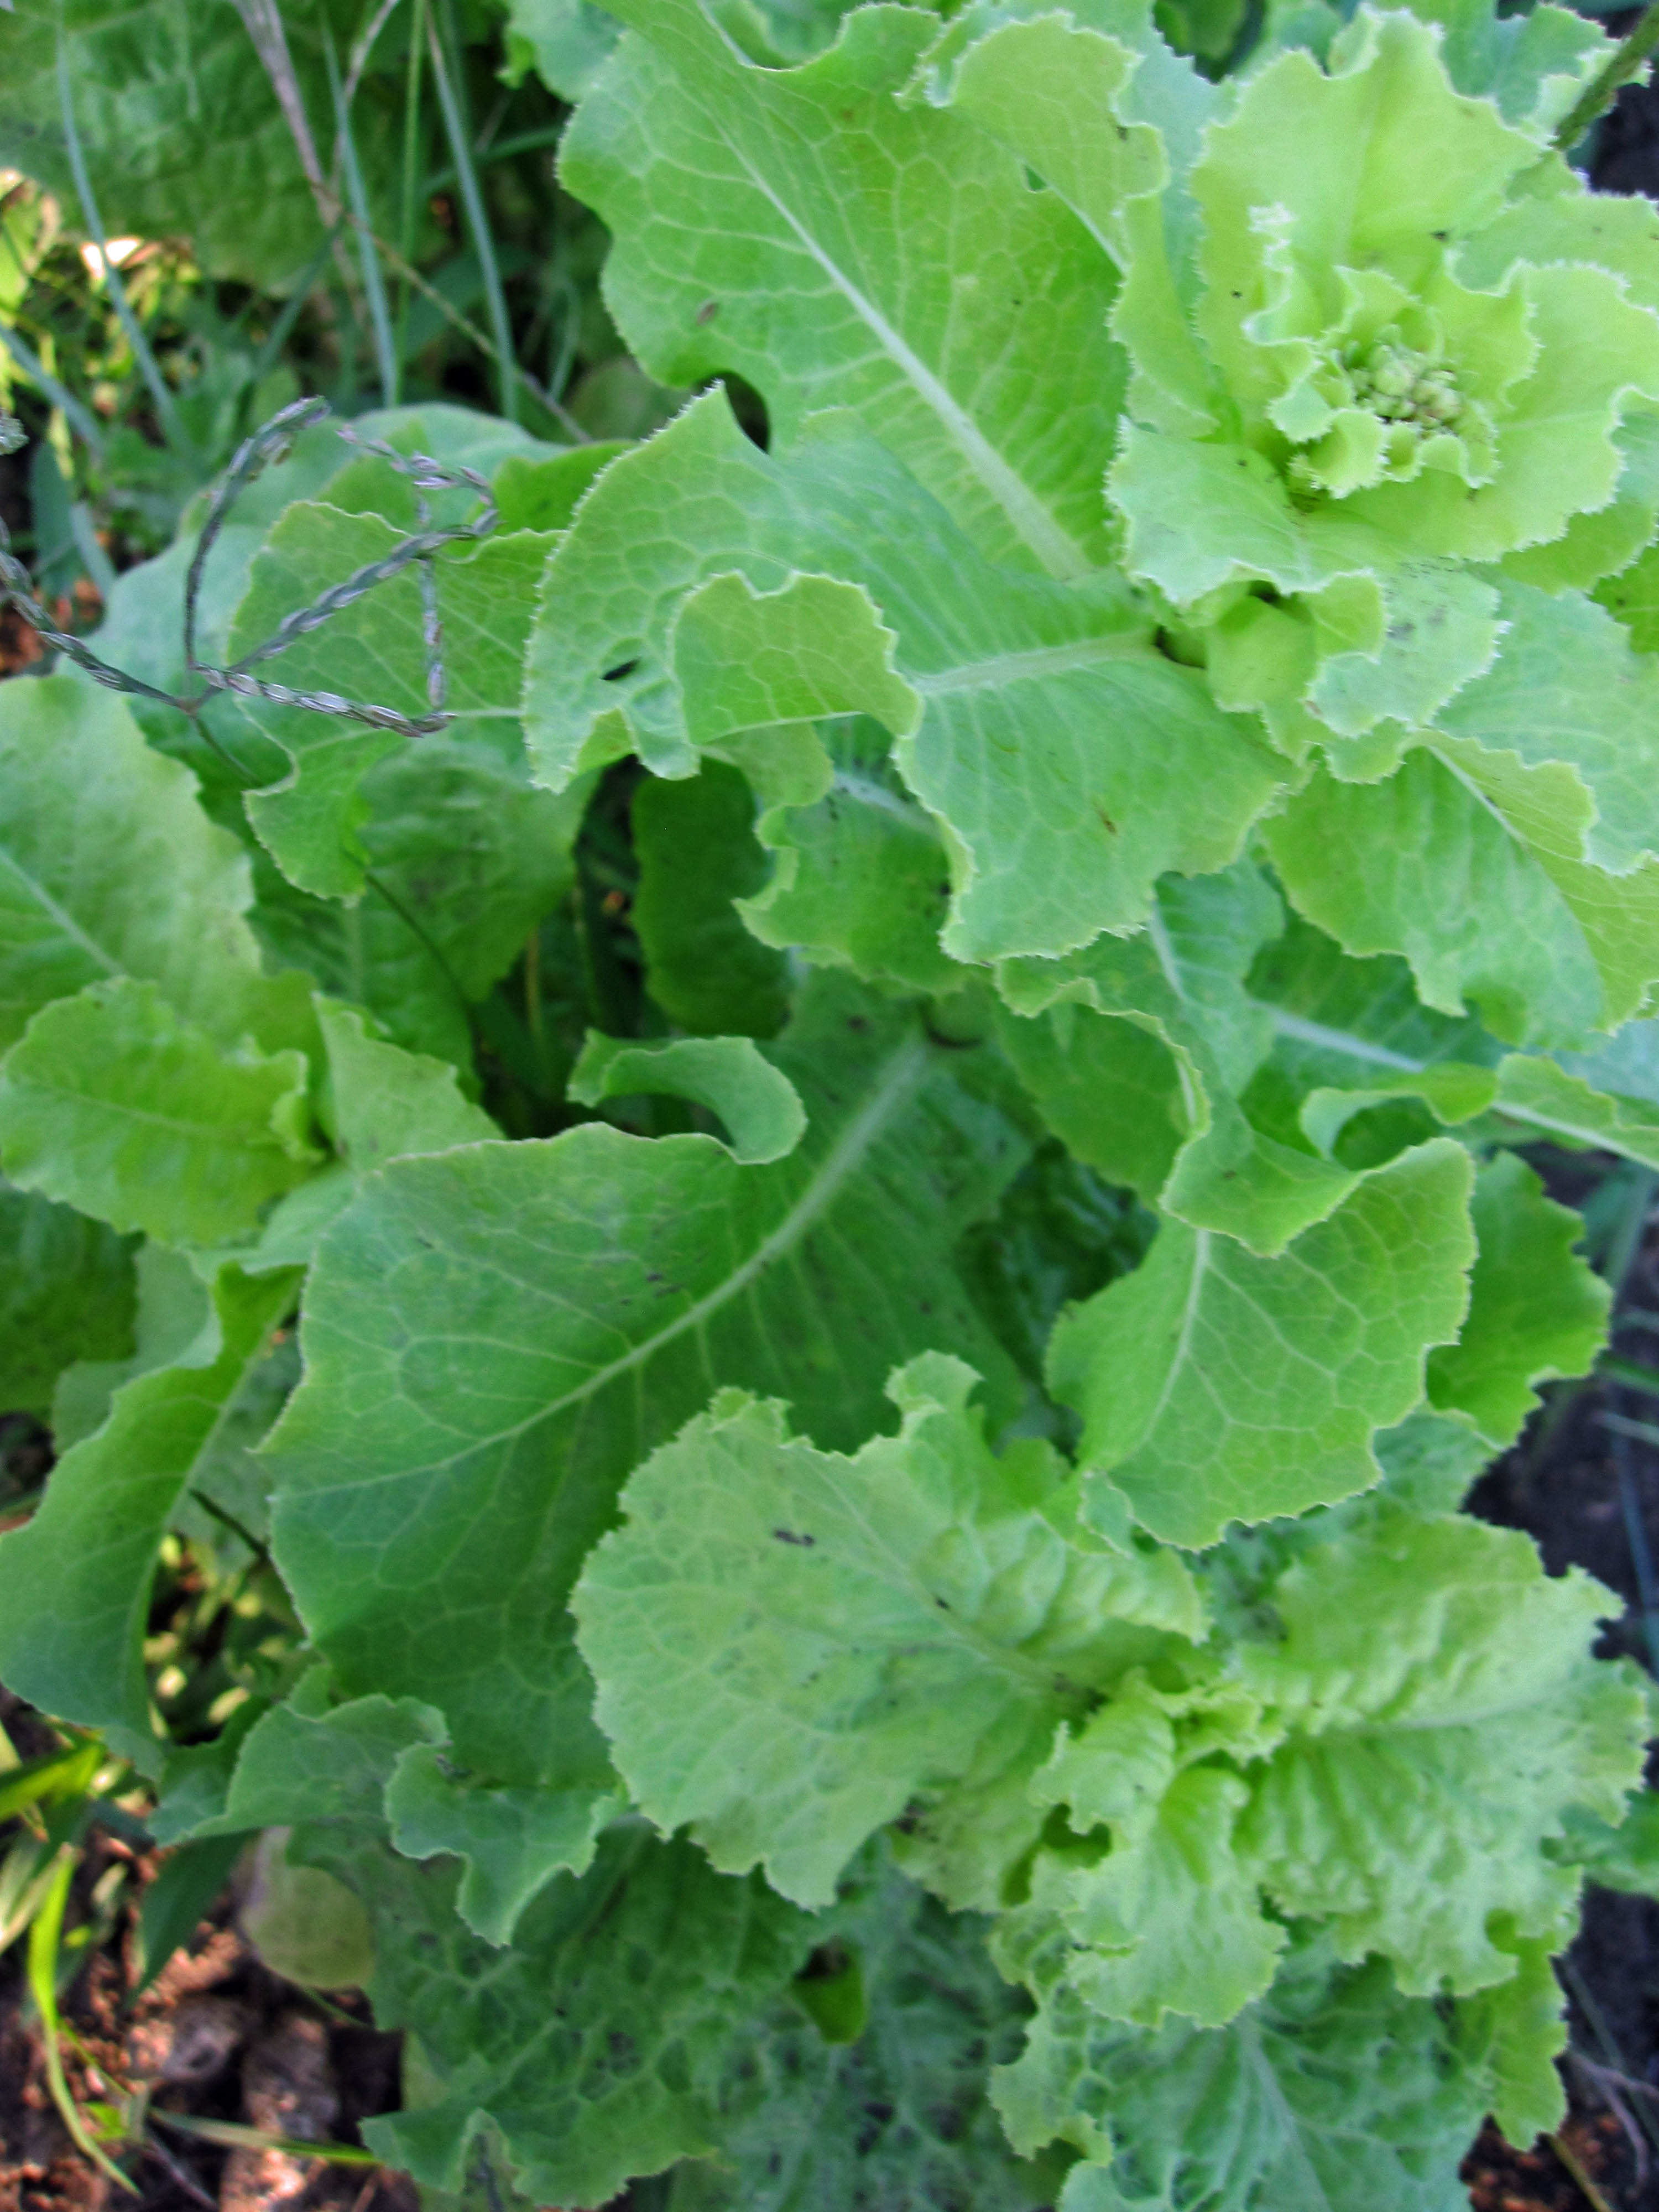
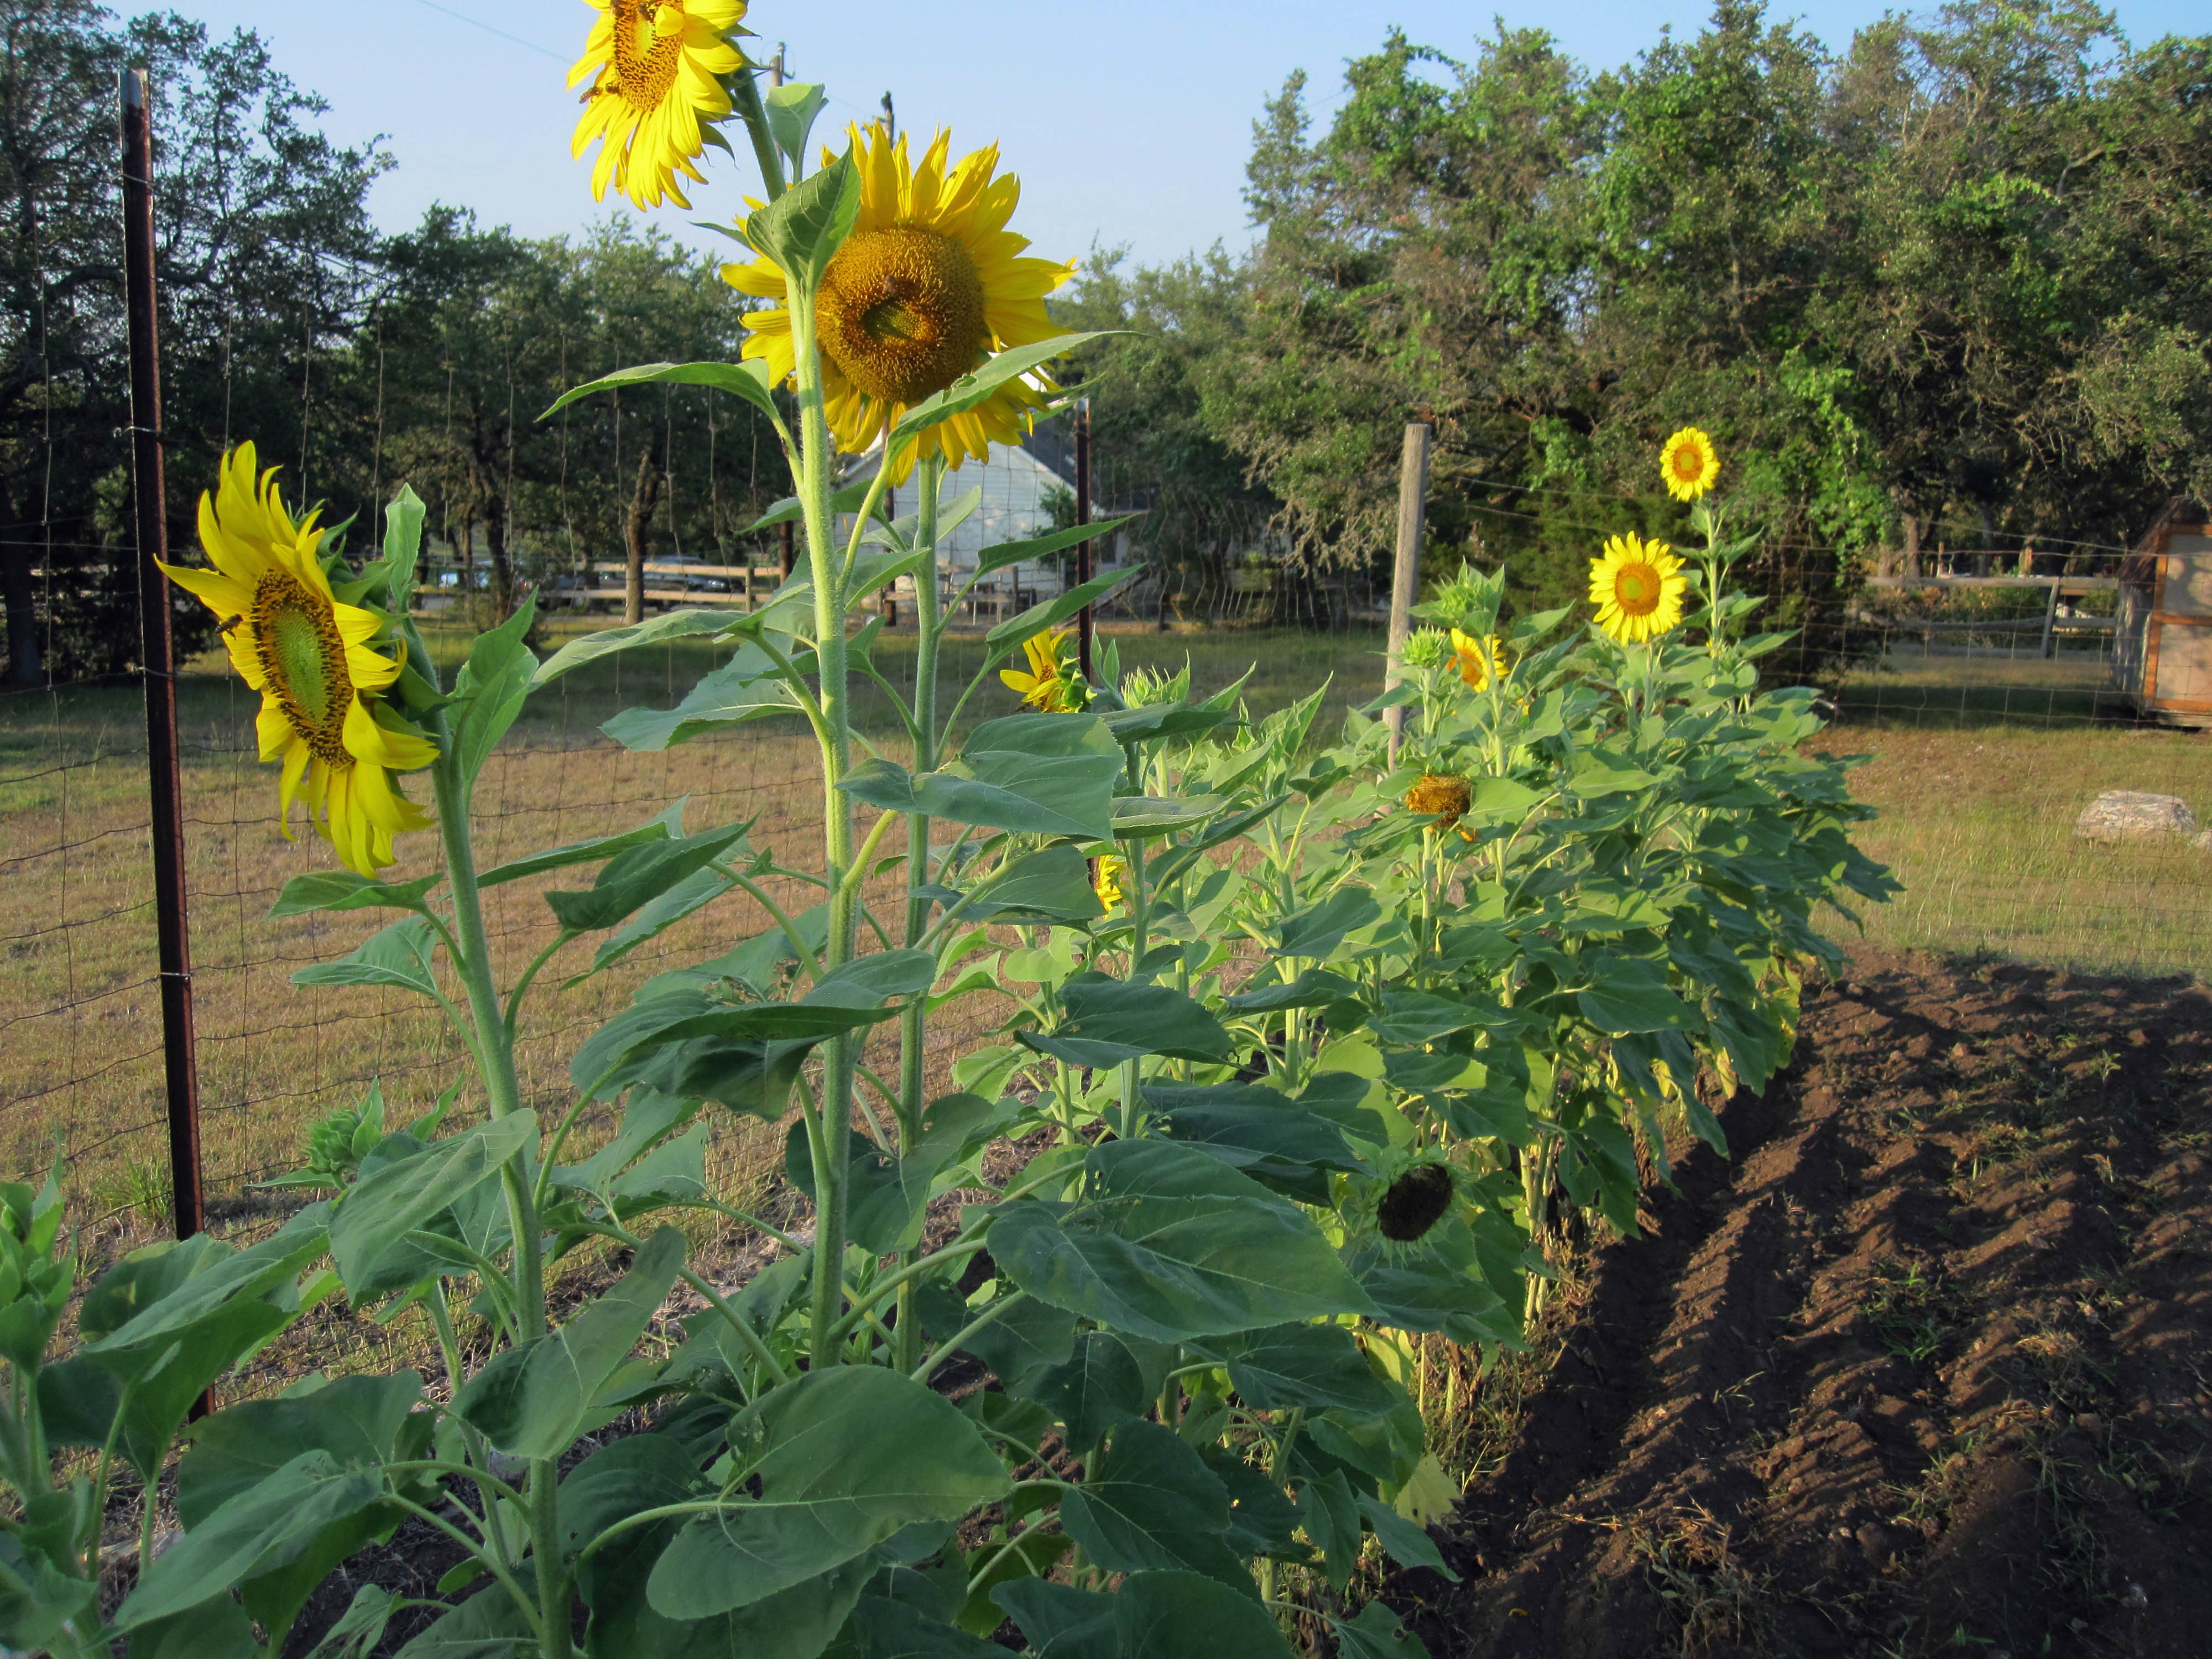
So what do you do in a case like this? Plow it under and try again in the fall. I've been wanting to try corn in the fall here and never have so I guess now is my chance. Planting time for a fall garden here in the Austin area is August 30th. Now for the good news. Lettuce, which usually hates the heat is doing great and we're still getting wonderful salads. Most of the time when we get temps this hot the lettuce gets very bitter but so far so good. Also, the sunflowers are thriving and we should get lots of seeds this year. I'll talk about how to process those seeds later. Also in the next update I'll go over the canning process. I tilled the garden this morning and will catch up on the weeding this weekend. I picked 4 rows of black eyed peas, processed and got them in the freezer yesterday. They also do well in the heat and will continue to produce through the summer. The next 2 pics are lettuce and sunflowers. If you zoom in on the sunflowers you will notice some bees. A good sign.
May 13, 2011
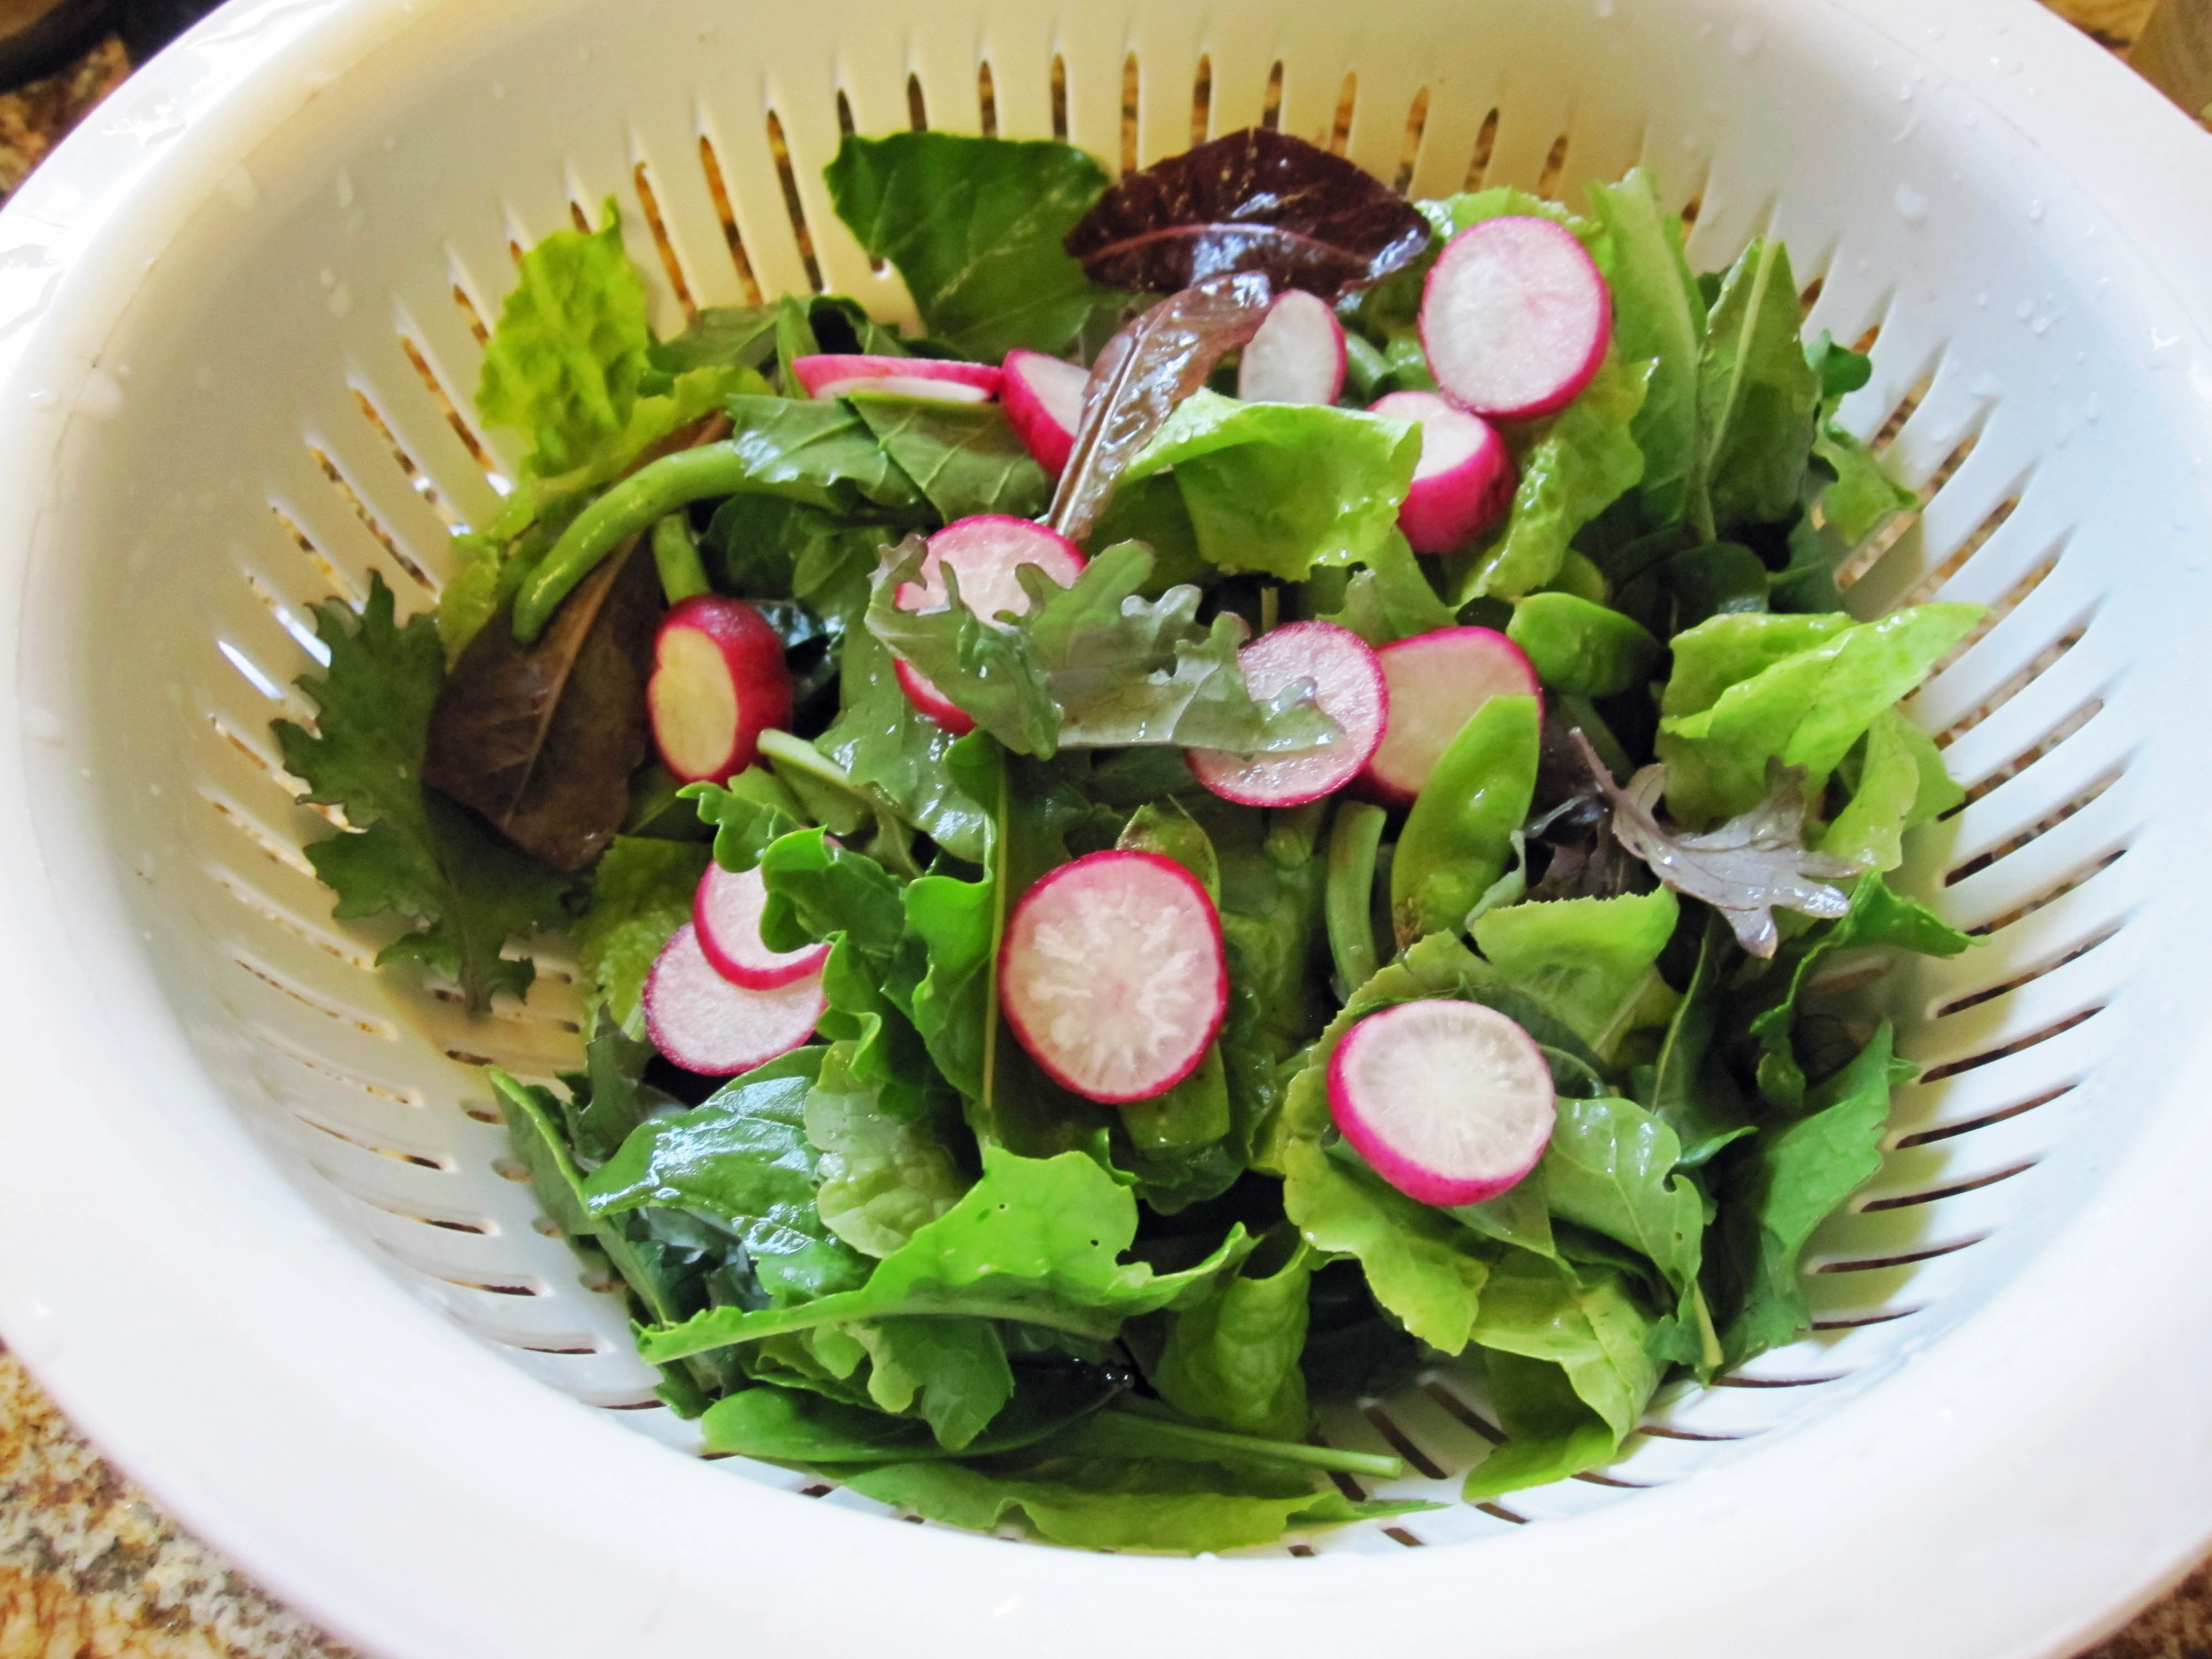
We had 1.18 inches of rain yesterday. Just what we needed. I can almost see the garden growing. I had a couple of questions about what a salad is like out of the garden. It's very yummy, and you can't get much fresher. After you pick and wash the lettuce (5 kinds), radishes, pea pods etc, let it stand in the fridge for about 15 minutes. It "crisps up" a bit.....
May 11, 2011
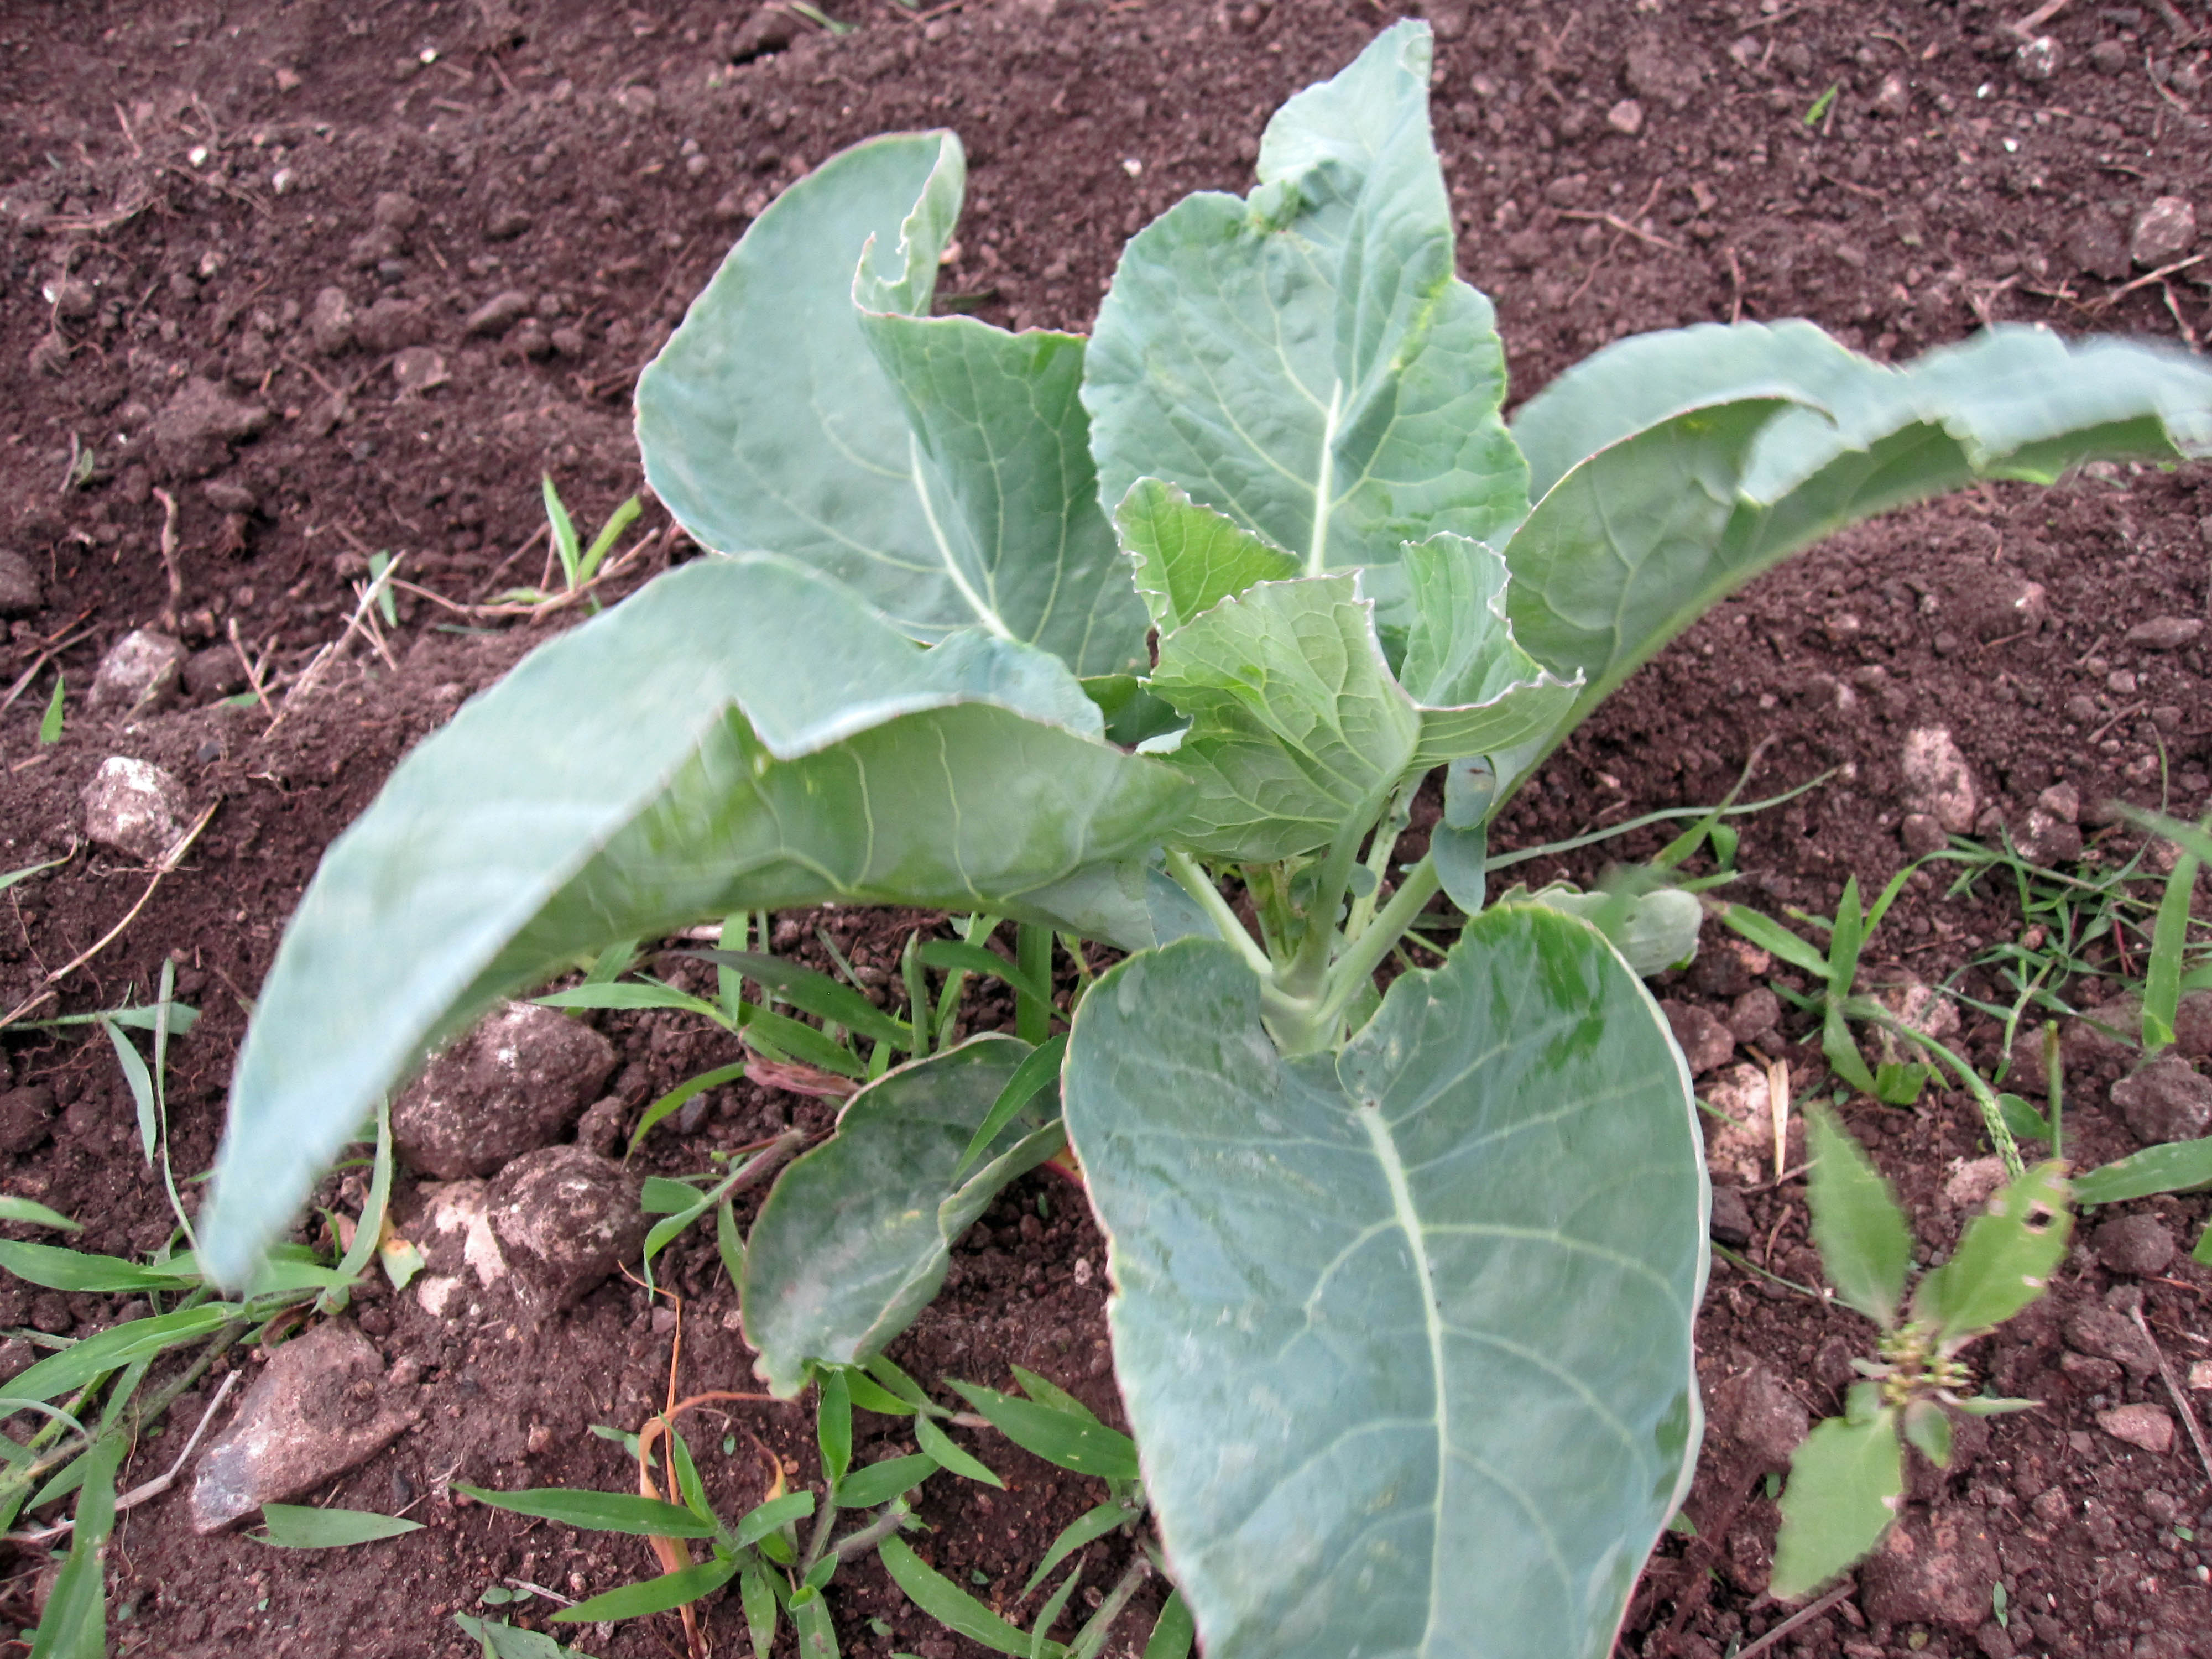
Lots to go over today. We have been harvesting lettuce, radishes and pea pods for salads for 2 weeks now. Very tasty. Today I harvested and processed peas and green beans. I will go over the freezing process and include pics below. Peas, blackeyed peas, green beans and squash all can be frozen with the process below and will be good in the freezer for at least a year. The zucchini is starting to produce (pic 1) and the broccoli plants are growing quickly now (pic 2). A quick word about composting. We try to compost everything we can and till it back into the garden. Anything organic (not meat) can be composted. The only thing I really don't compost is egg shells. You can, just takes a very long time to break down in the compost pile.
%20web.jpg)
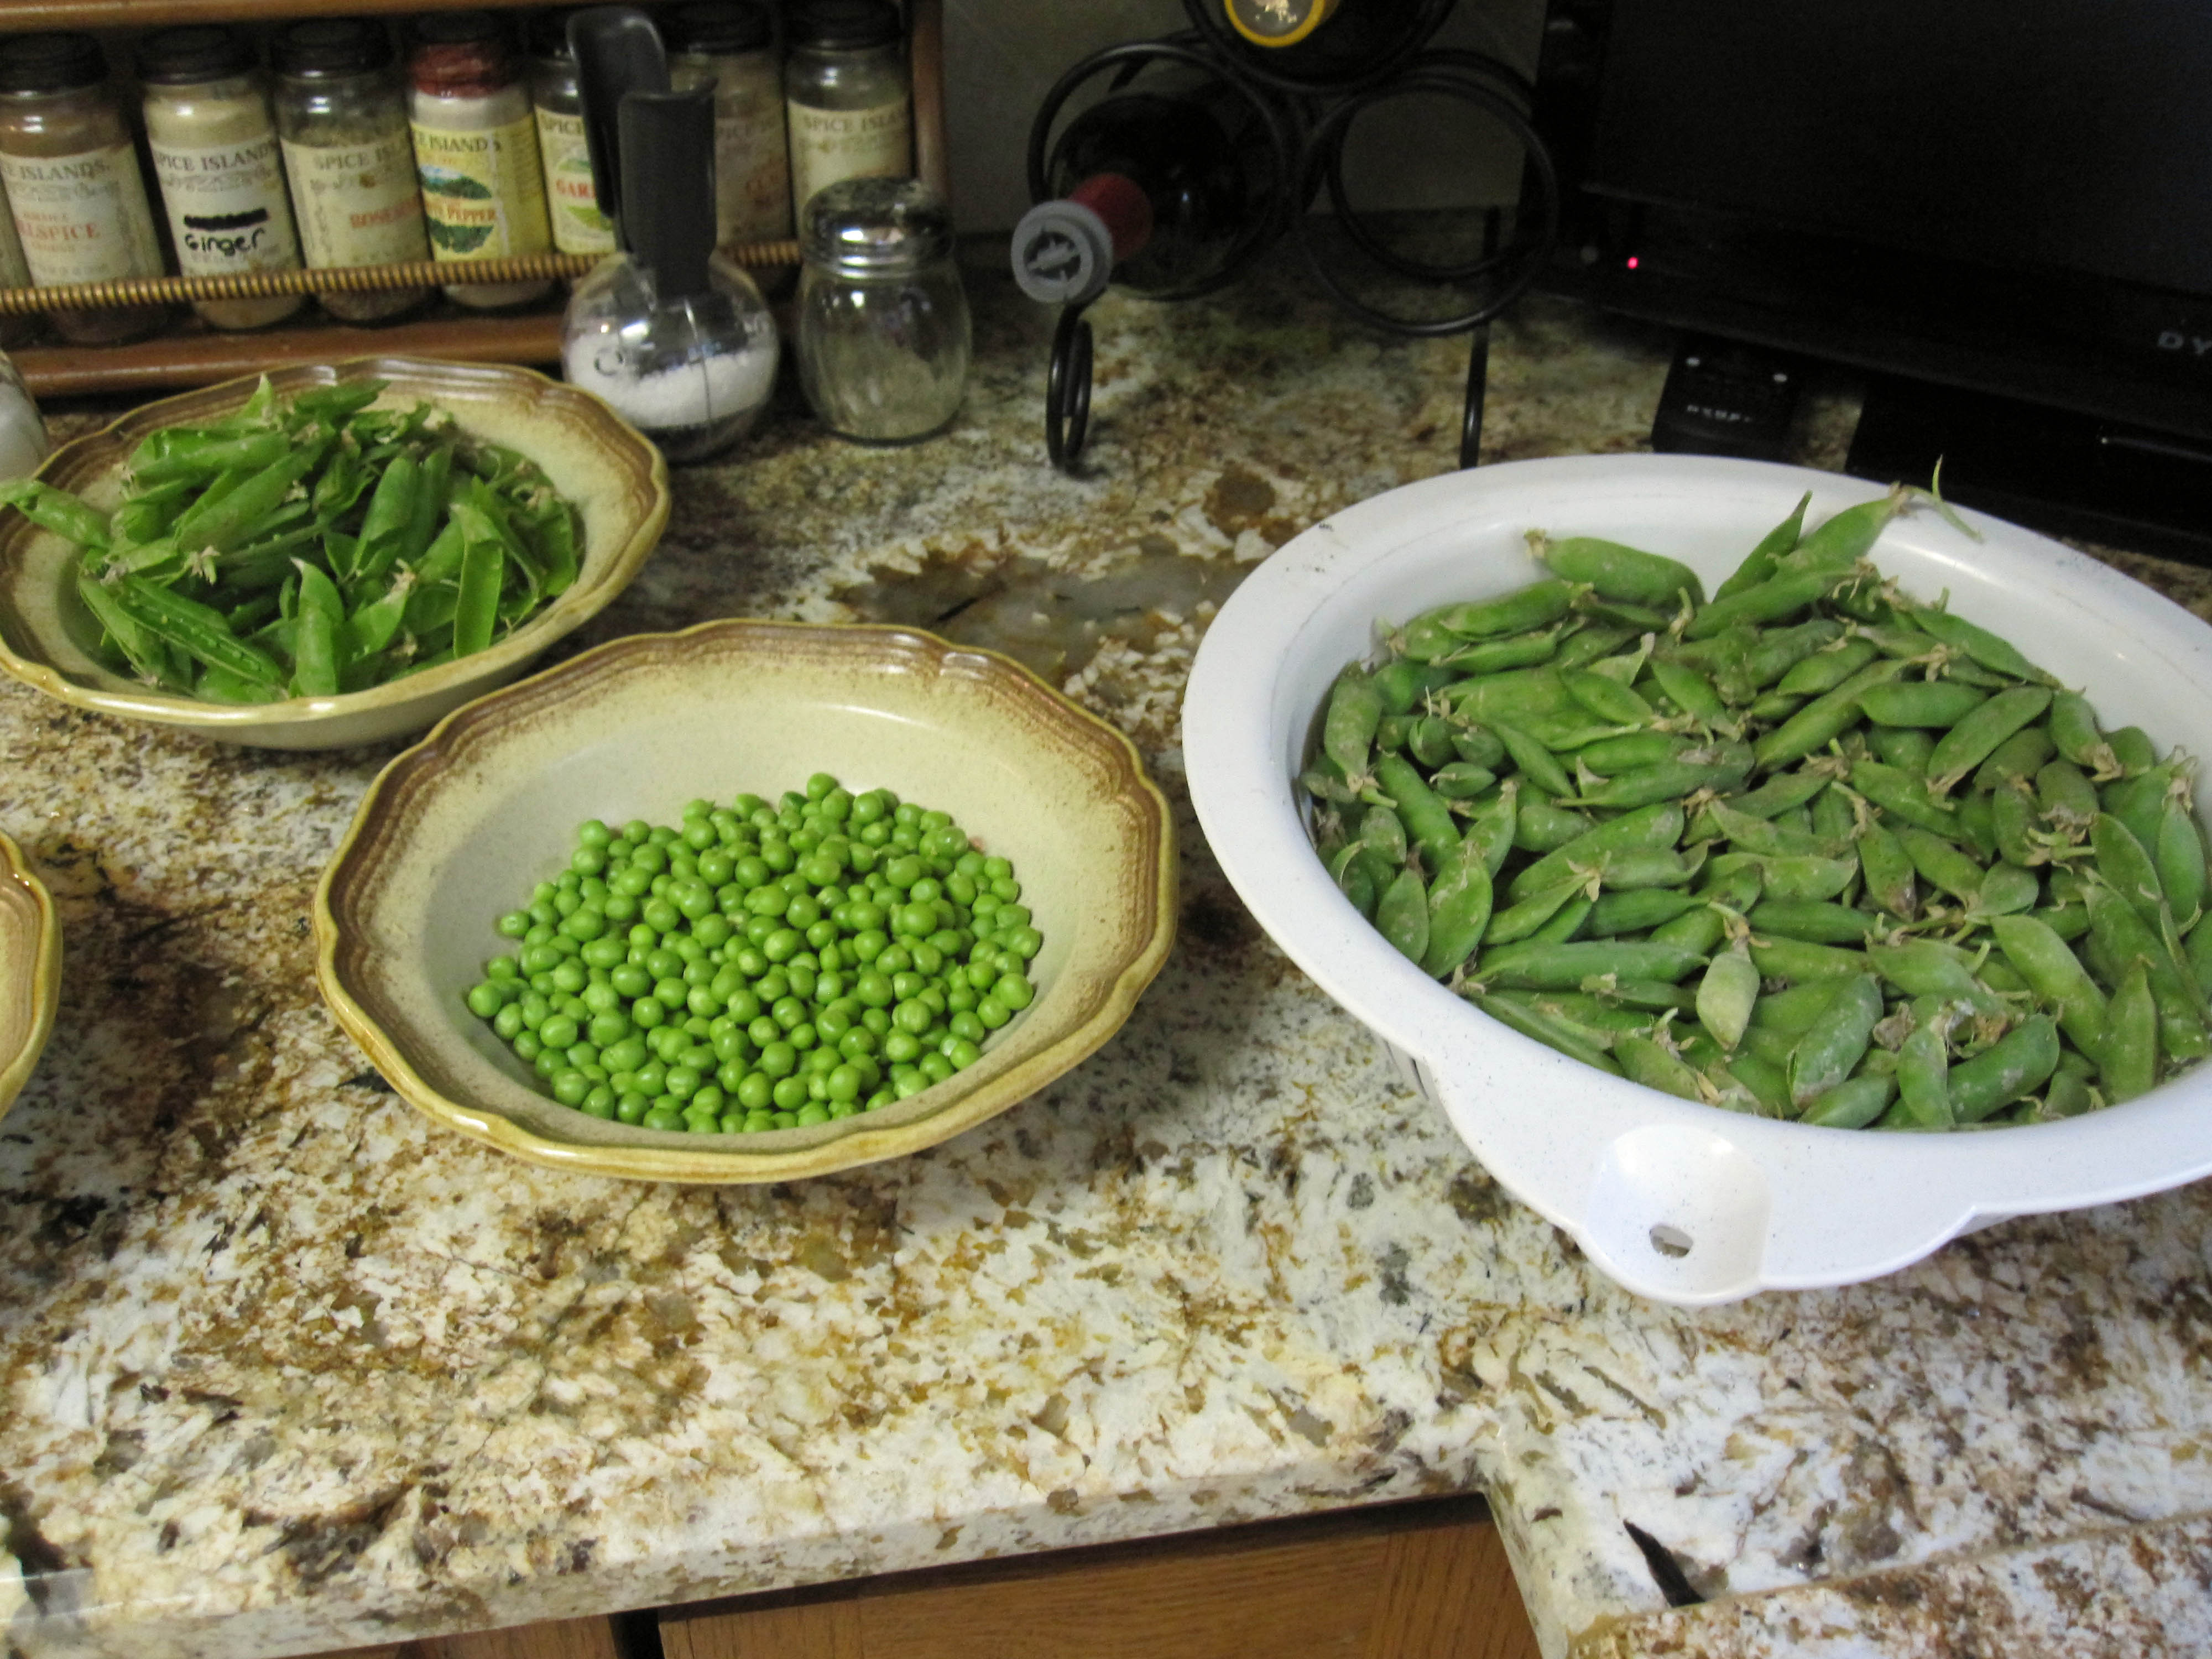
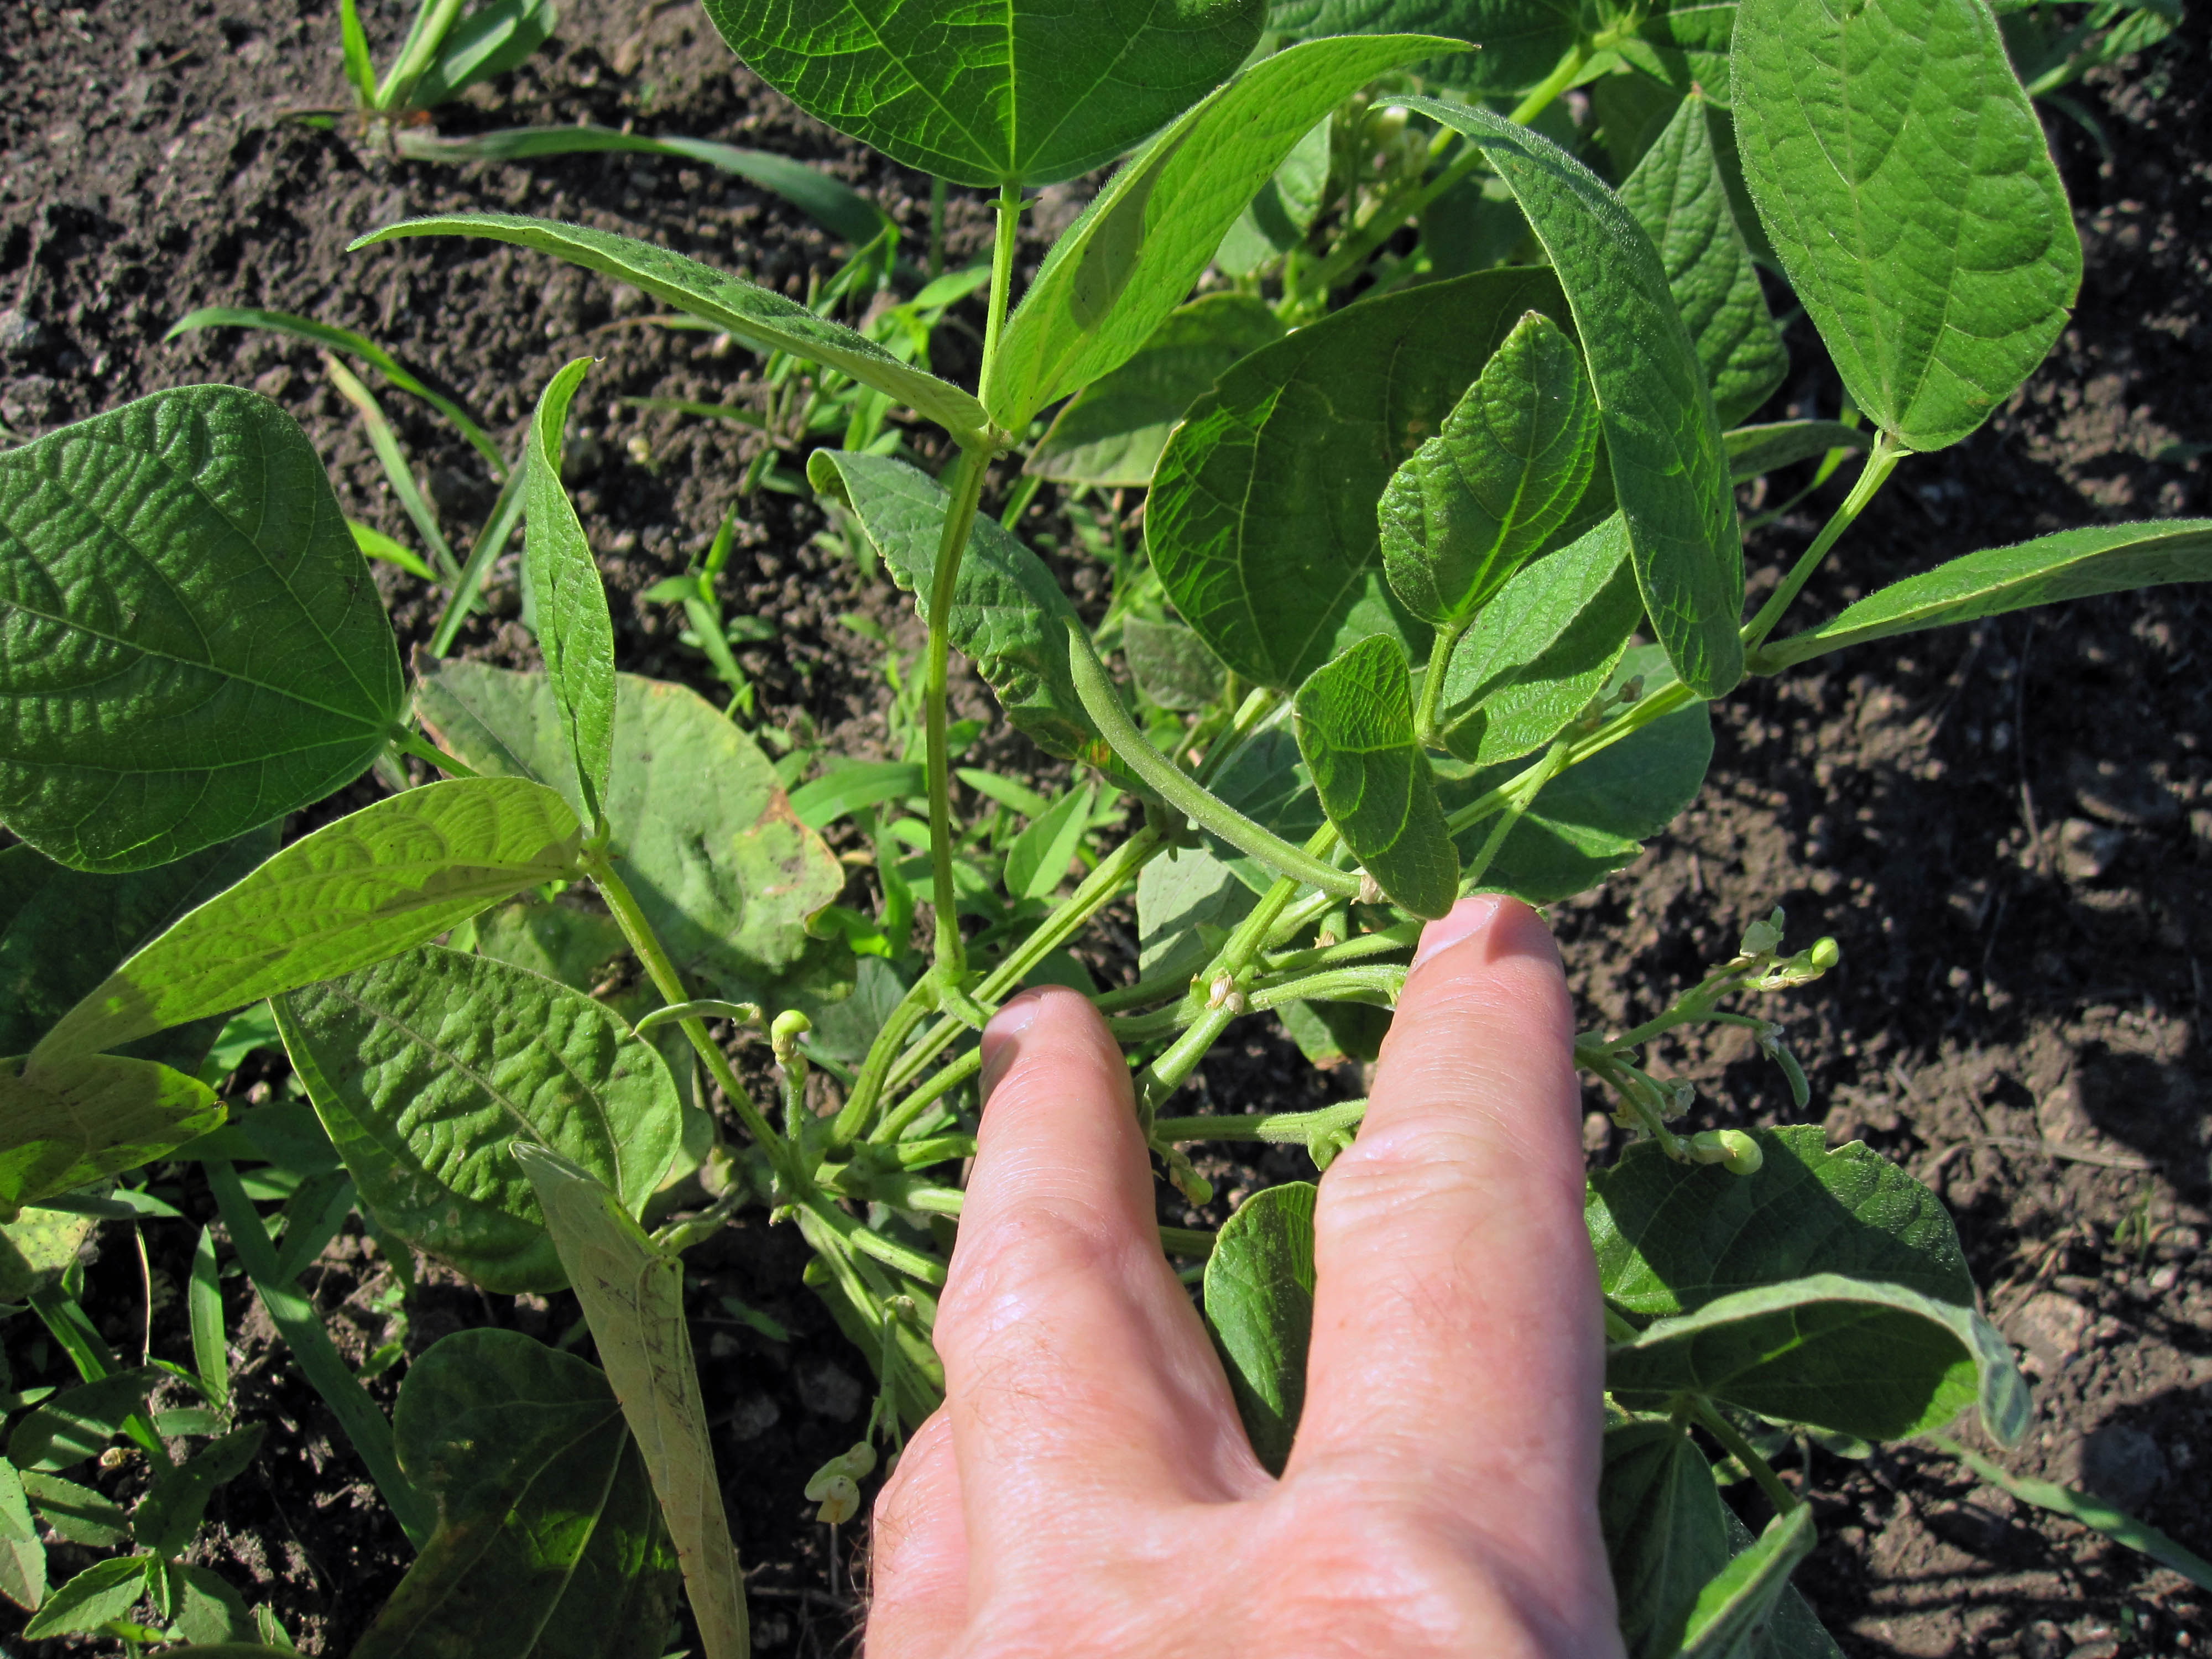
Here are a some pics of harvesting the green beans and peas. The first pic is picking the peas, the next is picking green beans. The pea pods are out in the open on top of the plant. The green beans tend to hide under the plant and you have to move the top leaves aside to get to them. If you're careful harvesting and don't damage the plants, both will continue to produce. Green peas hate the heat and will not last the summer. Black eyed peas and green beans will do well all summer. After these pics are the instructions on the freezing process....
%20web.jpg)
%20web.jpg)
So now the freezing process. Each step has a pic and explanation.
First wash the beans. For the peas, of course you have to shell them first, then wash them.
%20web.jpg)
%20web.jpg)
You then need to "snap" the ends off the green beans and snap them in half to get them to the desired length. They all are different lengths so this is just personal preference.
%20web.jpg)
%20web.jpg)
Then wash them again. After the second wash, boil them in rapidly boiling water for 4 minutes. This stops the growth process. After boiling them, rinse them again in cold water to cool them quickly back down to room temperature. Drain as much as the water off as you can, bag them in freezer safe bags and in the freezer they go..
%20web.jpg)
%20web.jpg)
April 28, 2011
Finished completely weeding the garden today and thinned the corn to a foot between plants. It's hard to chop down perfectly good corn plants but they certainly produce better when they are not crowded. The 2 rows of squash (Zucchini and Summer Yellow squash) are now flowering nicely. Looks like it's going to be a great squash year (first 2 pics). The green beans that were flowering last week (still are actually) are starting to produce (pic 3). Probably about 2 weeks to harvest on those. We harvested some lettuce and radishes for salad this week and still more to come. Most of the lettuce is doing well but it won't last if we don't get a break from the heat. A couple of days over 90 this week though is has cooled off now. The lettuce will go to seed and stop producing at those temps. Lots of storms in the south but no rain for us. We're hoping for some Saturday night and it is predicted.
%20Web.jpg)
%20Web.jpg)
April 22, 2011
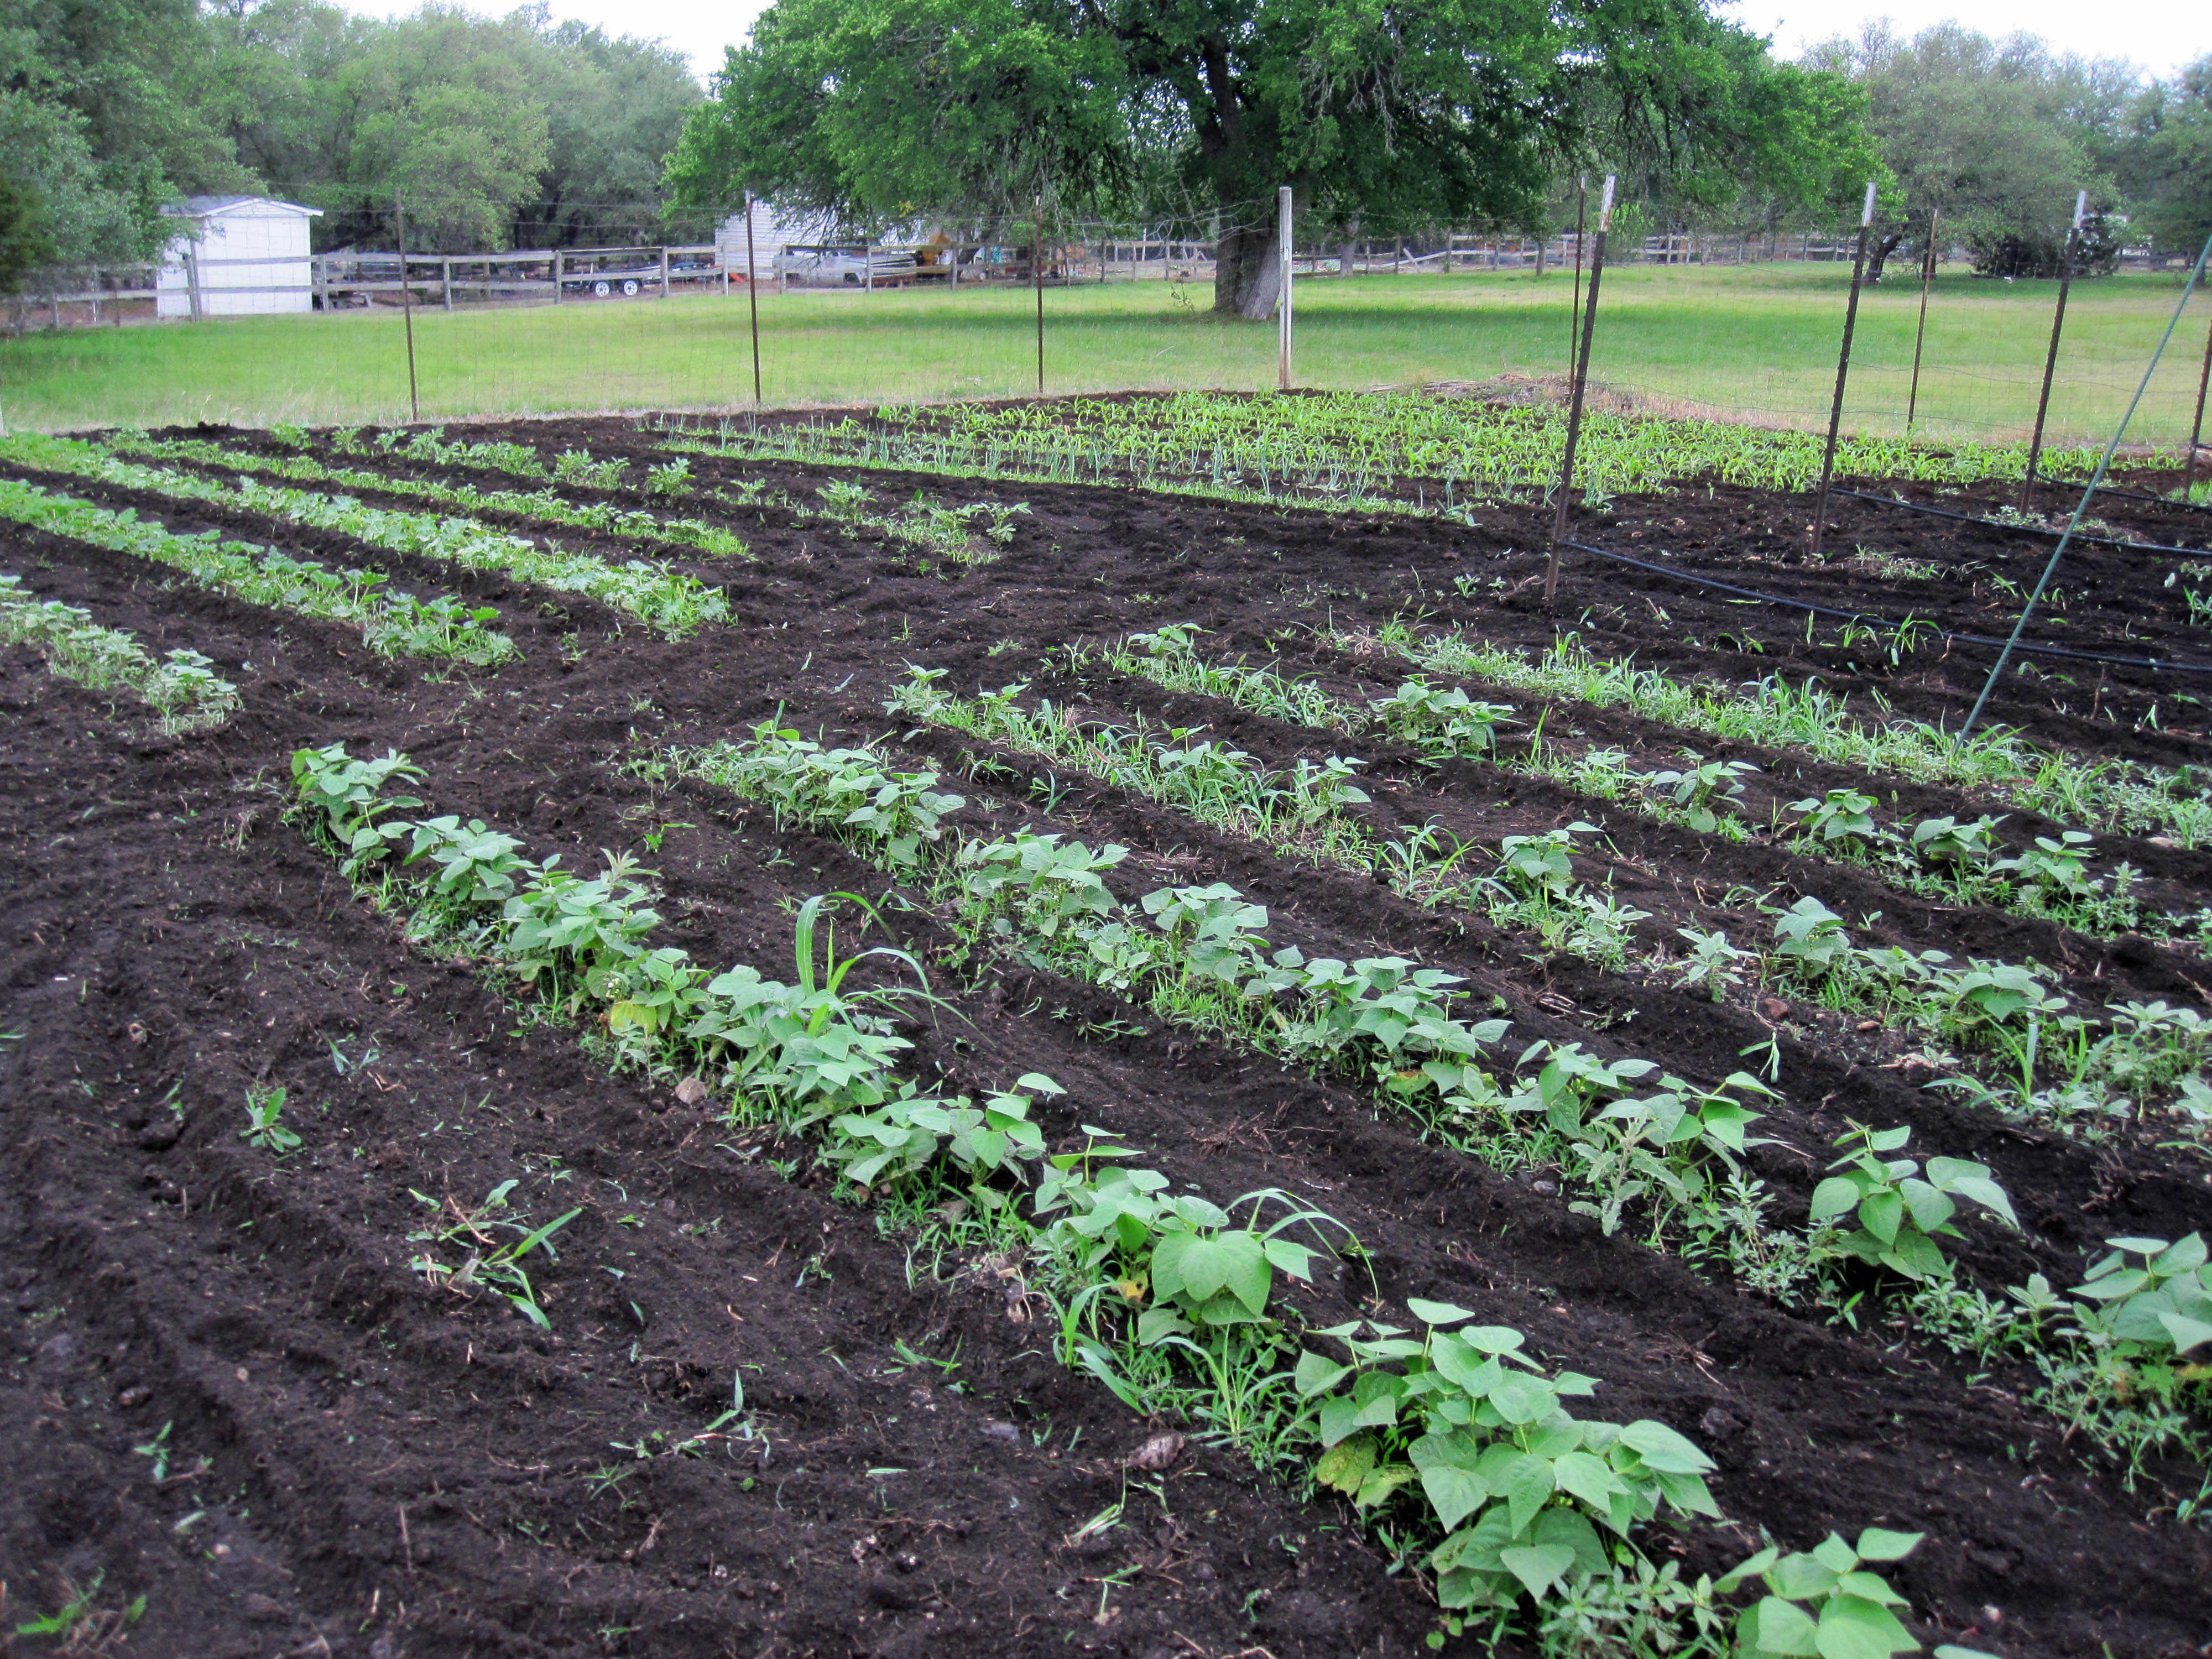
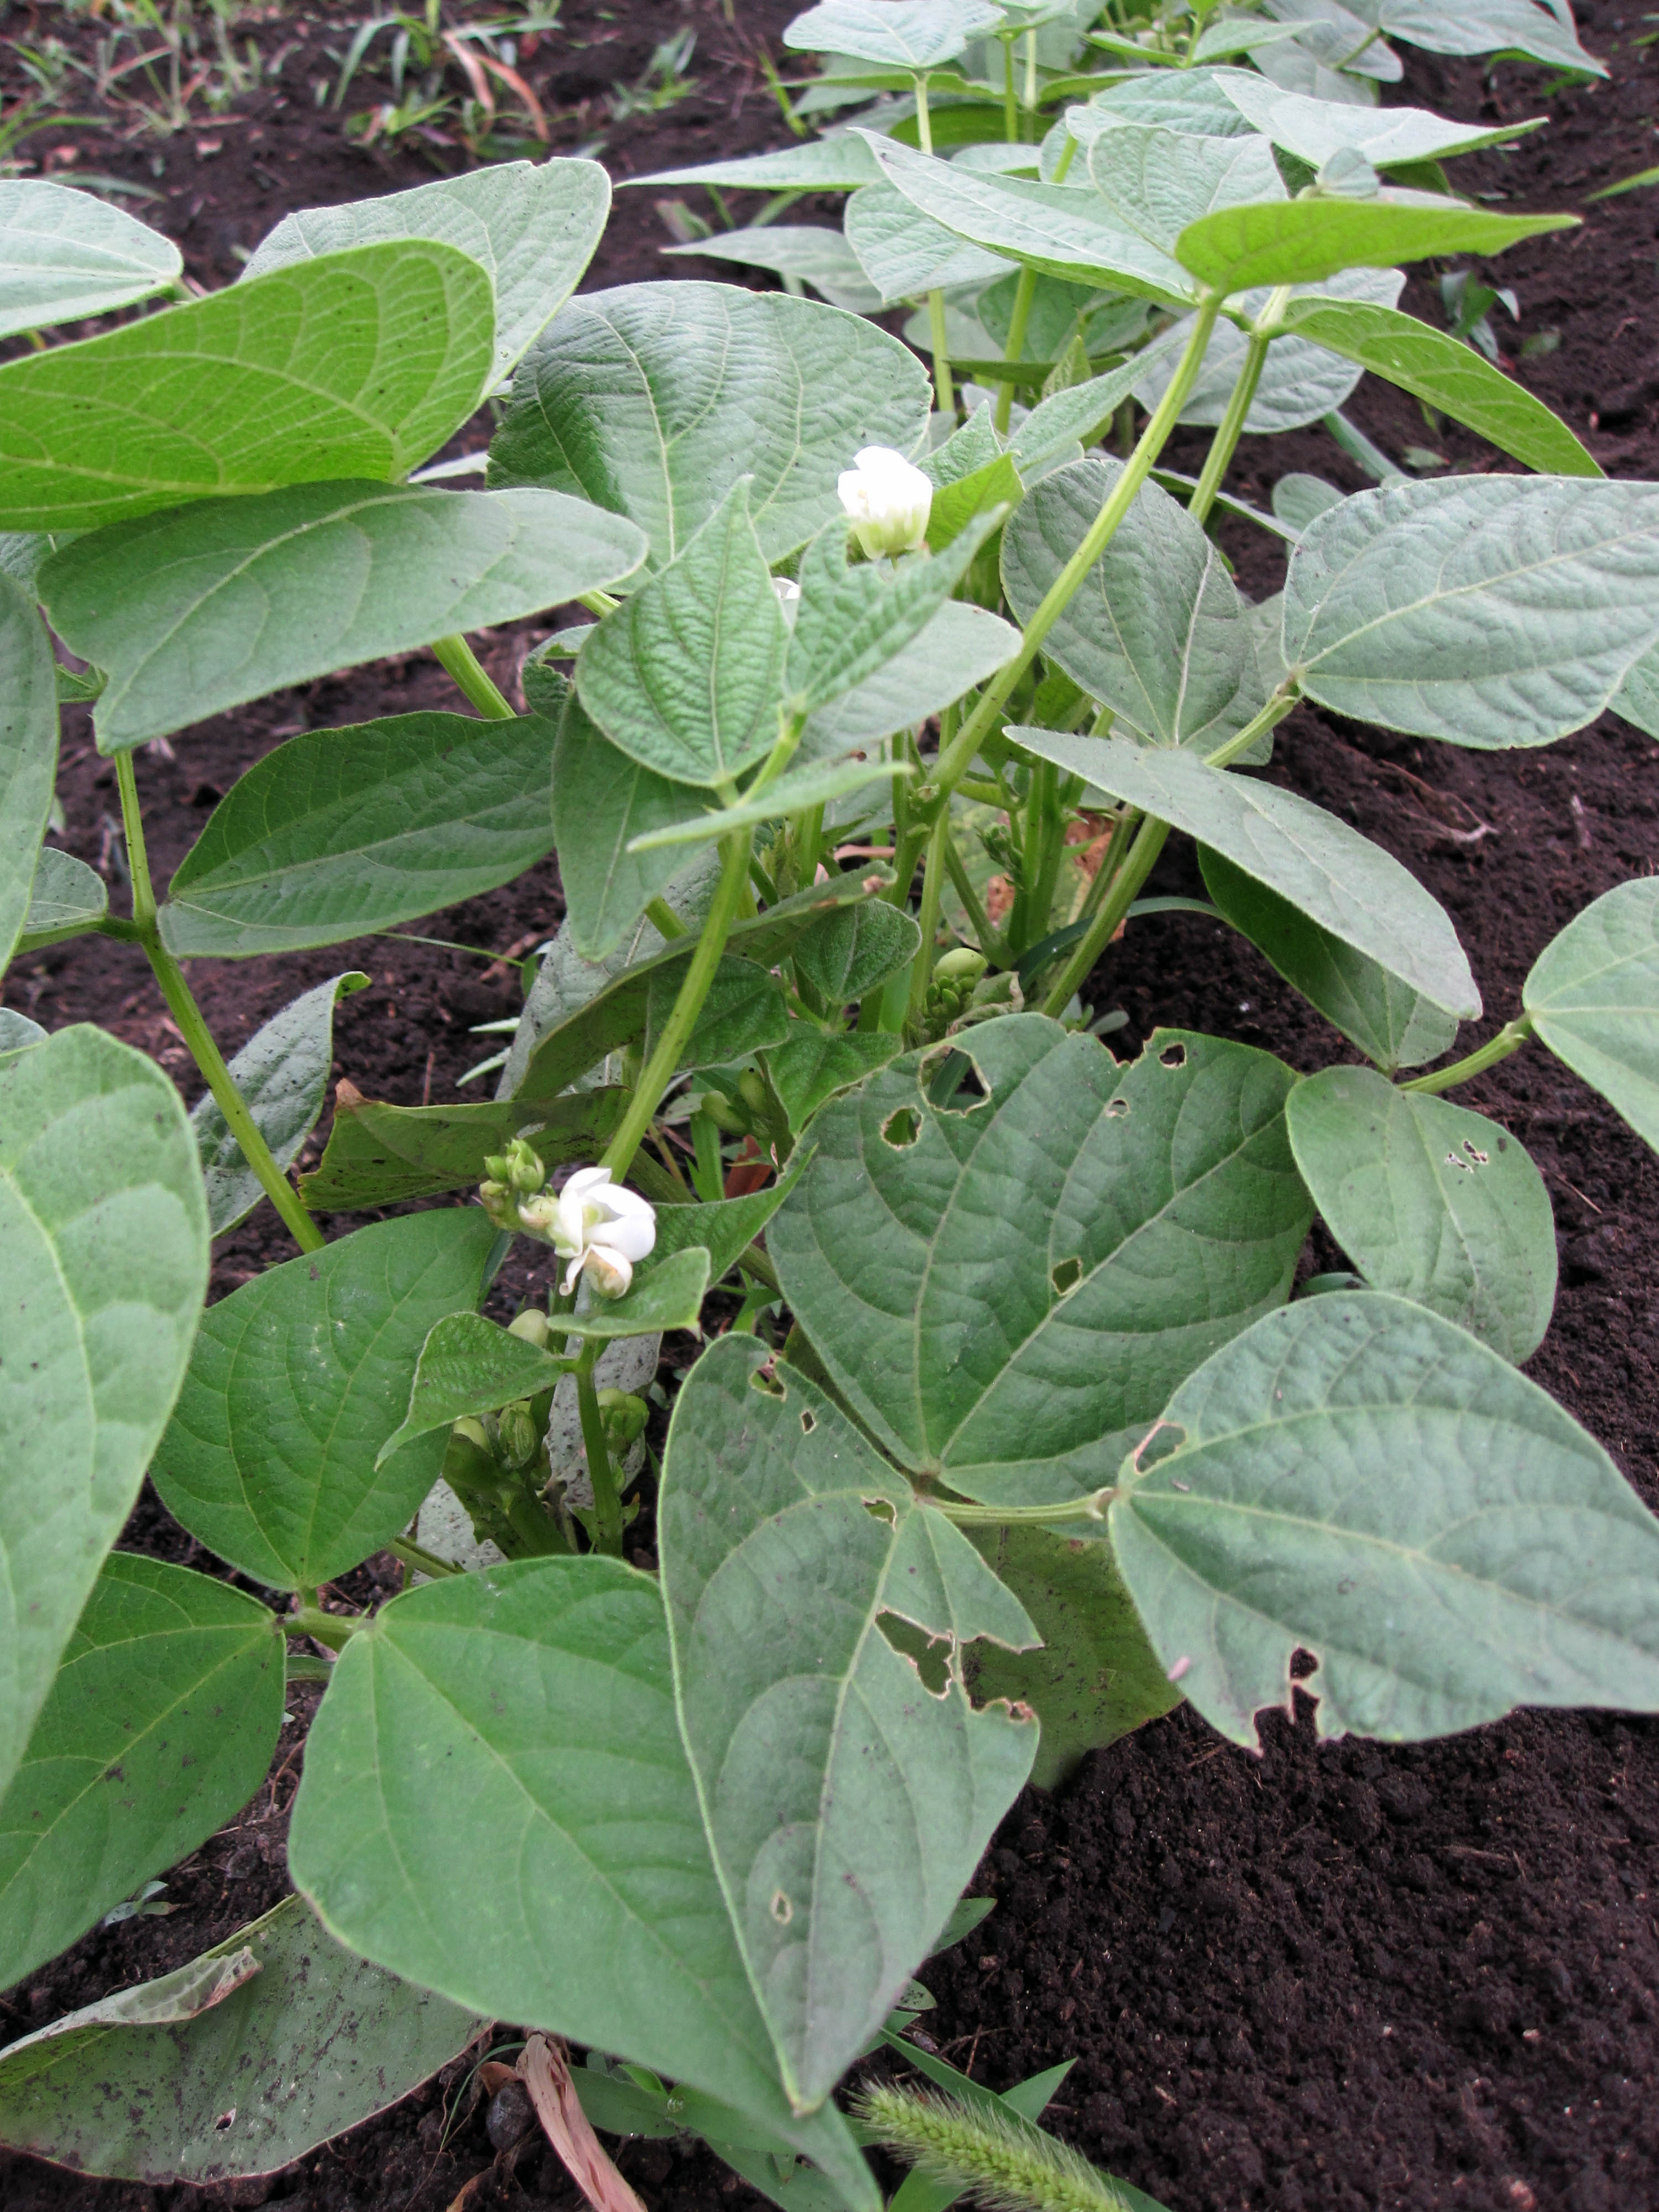
What a difference 11 days makes. Almost everything is well established and I'll be thinning the corn this weekend. Ran the tiller through the garden this morning and will be weeding the rows this weekend as well. You can see those nasty weeds in the rows on the first picture. You don't want those to get out of control. A good hoe is the best way for a garden this size. Hand weeding is usually out of the question but I do pull any grass I see since that tends to spread. The green beans are flowering now (pic 2) and will start producing soon. They are usually the first thing harvested here in mid May. There is lettuce and radishes ready now that can be harvested as you use them. The tomatoes are producing and still flowering (the last 2 pics), a good sign even though we've seen the high 80's already. Tomatoes here will stop producing once the temps are consistently in the 90's. They will begin producing in the fall if I can keep them alive during the summer. Shade cloth really helps and you will see more about that later.
%20Web.jpg)
%20Web.jpg)
April 11, 2011
We had .3 inches of rain last night. Woohoo! The garden is nice and wet and I won't have to water for a couple of days at least. The temps dropped back into the 60's which is perfect for this stage of the garden. I have small tomatoes on a few plants now and the rest of the tomatoes are flowering. Pretty early for that ......
April 10, 2011
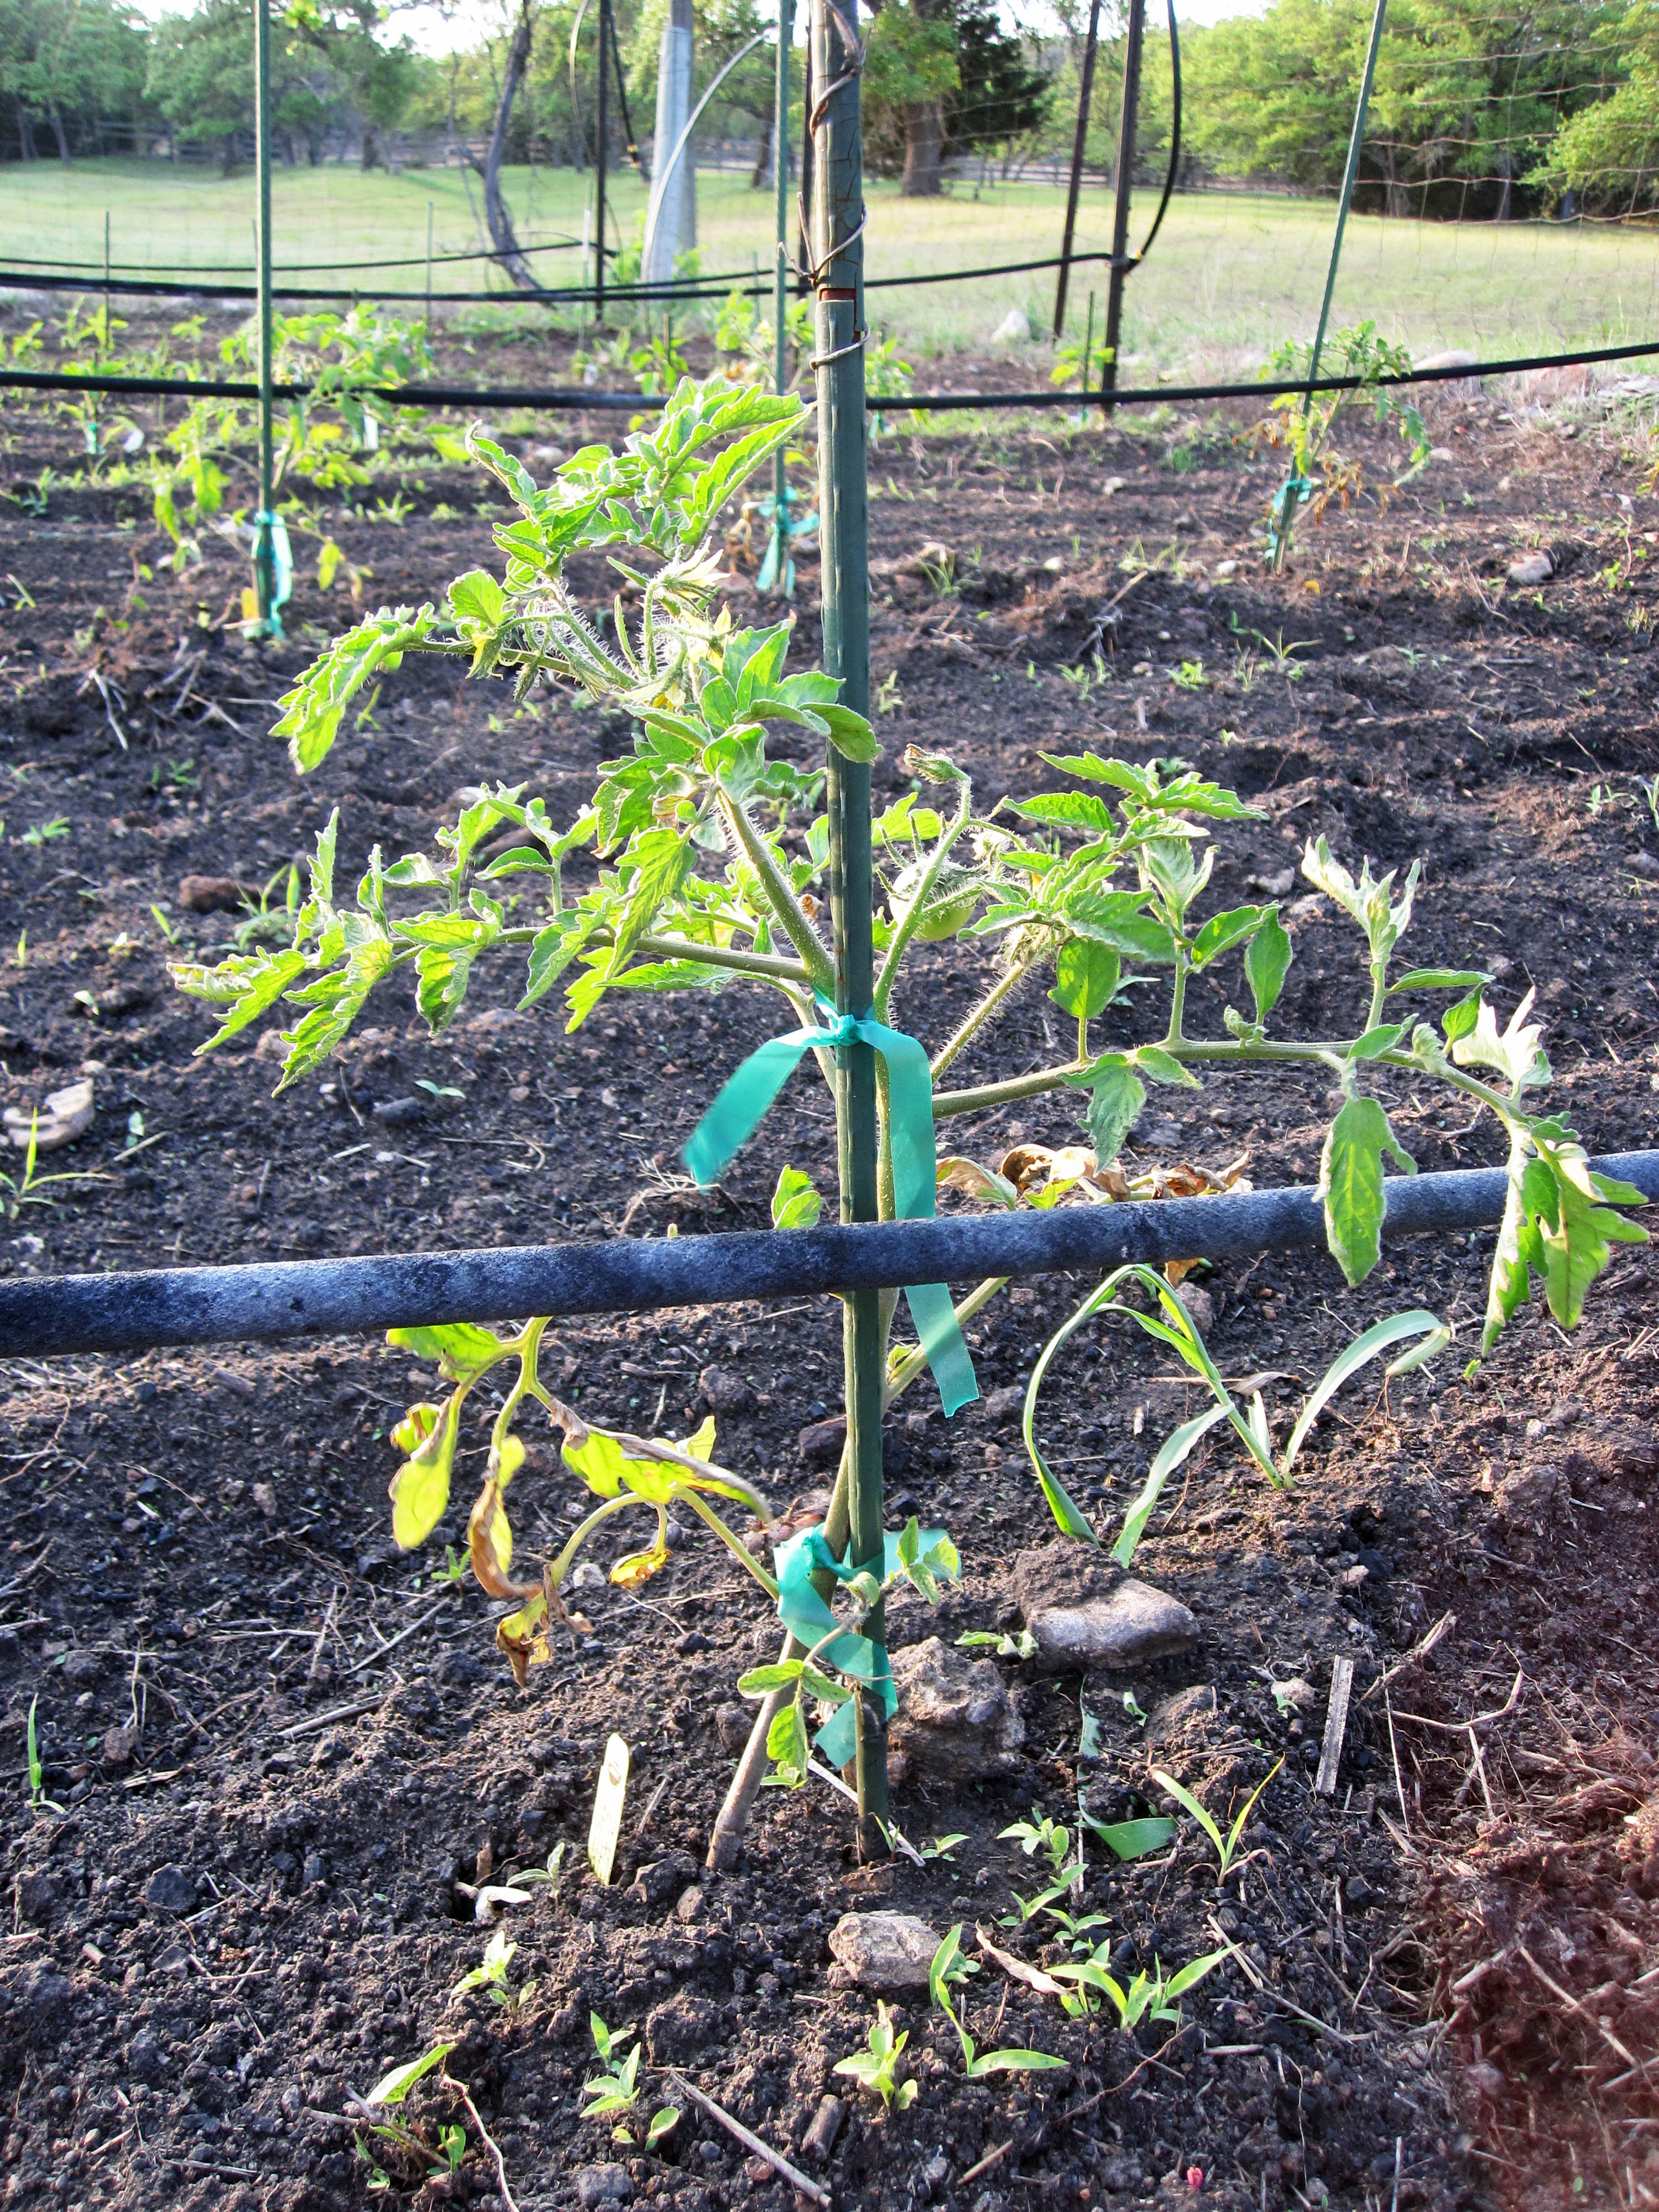
I tied up all the tomato plants this evening to prepare for thunderstorms overnight. A good chance of storms tonight late. Obviously, as the tomatoes grow they need to be tied up to keep them off the ground. The plants are now about twice the size they were when planted and very sturdy. It's been abnormally hot here for April with some highs in the low 90's. Our usual high this time of year is around 80. The coming front should cool things down a bit.
April 7, 2011
Everything us up and doing well now. I ran the tiller through the garden yesterday and pulled a few weeds today. This is about as early as I can use the tiller. The plants all have to be up and large enough that I can keep from hitting them as I till. At this point it's all about weed control. The cleaner the garden the faster the plants will grow and the better they will produce. The corn is not quite big enough to thin yet. That will probably be another week or two. A quick word about irrigation. We are in a semi-arid climate here with about 32 inches of rain a year. This year we've had next to nothing. 1/4 inch in the last month. The garden obviously does much better with rain than irrigation. One good rain will replace days of watering. In the first picture you will see my watering system. 4 large Rainbird sprinklers at the center of each side of the garden. It takes about an hour running each of these to be about 1/4 inch of water on the garden. Good thing we're on a well.
%20Web.jpg)
%20Web.jpg)
Now we wait. Probably a couple of weeks before all the seeds are up.
March 12, 2011
Tomato and Pepper plants went in today. Still pretty windy here but they are staked and tied up. Tomatoes are pretty fragile when they are small but after they get established (3 or 4 weeks) they are practically indestructible. 20 Celebrity Tomatoes (the best variety for this part of the country), 2 Cherry Tomatoes, and Anaheim, Serrano, Habanero, Bell and Jalapeno peppers. Make sure you use the stretchable plant tape to tie up your plants. As they grow, this stuff expands and will not cut the plants as they get bigger.
%20Web.jpg)
So, the entire garden is in.....
%20Web.jpg)
%20Web.jpg)
March 11, 2011
Did not plant tomato and pepper plants today due to high winds. Even though they get staked and tied up, didn't want them to get ripped to shreds. Try again tomorrow......
March 10, 2011
Map of the garden is now at the top of this page (link). I plant in 30' rows about 3 feet apart. The 3' width is to allow the tiller to get between the rows. Any closer and as the plants all get larger, the tiller just won't fit easily without damaging plants. I use 2 - 3 foot stakes with a 30' piece of twine between them to keep the rows straight. The first year Dave and I actually tried to plant each seed one at a time. It was going to take FOREVER. Now, I make a 30' long furrow with a hoe, spread the seeds down the row usually about 6" apart, then cover the row with dirt right after putting in the seeds. Plants can be thinned out later depending on variety. Corn for example doesn't grow well at all if too crowded so they get thinned to about 18" apart. More on this later. Still, it takes most of the day to plant this garden. Seed planting today and I'll put in the tomato and pepper plants tomorrow.
The first row Corn seeds 6" apart
%20Web.jpg)
%20Web.jpg)
Measuring for the second row
%20Web.jpg)
%20Web.jpg)
March 9, 2011
Today was the final prep (tilling) of the garden before planting. This is year 17 for the garden so the soil is very well established with plenty of organic material. It's been a VERY cold winter here. Normally we have several things that make it through the winter (lettuce, cilantro, dill). But this year, we have a very small amount of cilantro and lettuce but no dill at all survived. By March we are usually eating winter lettuce. Not much out there now.
Preparing the soil before planting can really save you time down the road. Tilling once turns the soil over (first was done 2 weeks ago). The second till makes sure that the grass and weed seeds do not germinate. It turns weeding almost every day on a garden this size (100' x 100'), to tilling every other week or so with hand weeding at a minimum.
As usual, we use no pesticides of any kind. I've brought in beneficial nematodes and cartons of lady bugs but not really anything else has been needed. As my grandma told me, if you have 20 tomato plants, what do you care if the birds eat a few? Insects have never really been a problem here with the exception of corn silk worms. More about that later. You can see a few of the struggling cilantro plants in the bottom pic. Planting will be the 10th and 11th this year. A bit early but no freezes expected this week. Normal planting date for this part of Texas is March 15th but since we will be out of the country, now's the time!
%20Web.jpg)
%20Web.jpg)
%20Web.jpg)