2012 Oakhaven Garden
Oakhaven Weather Updated Every 30 min
June 2, 2012
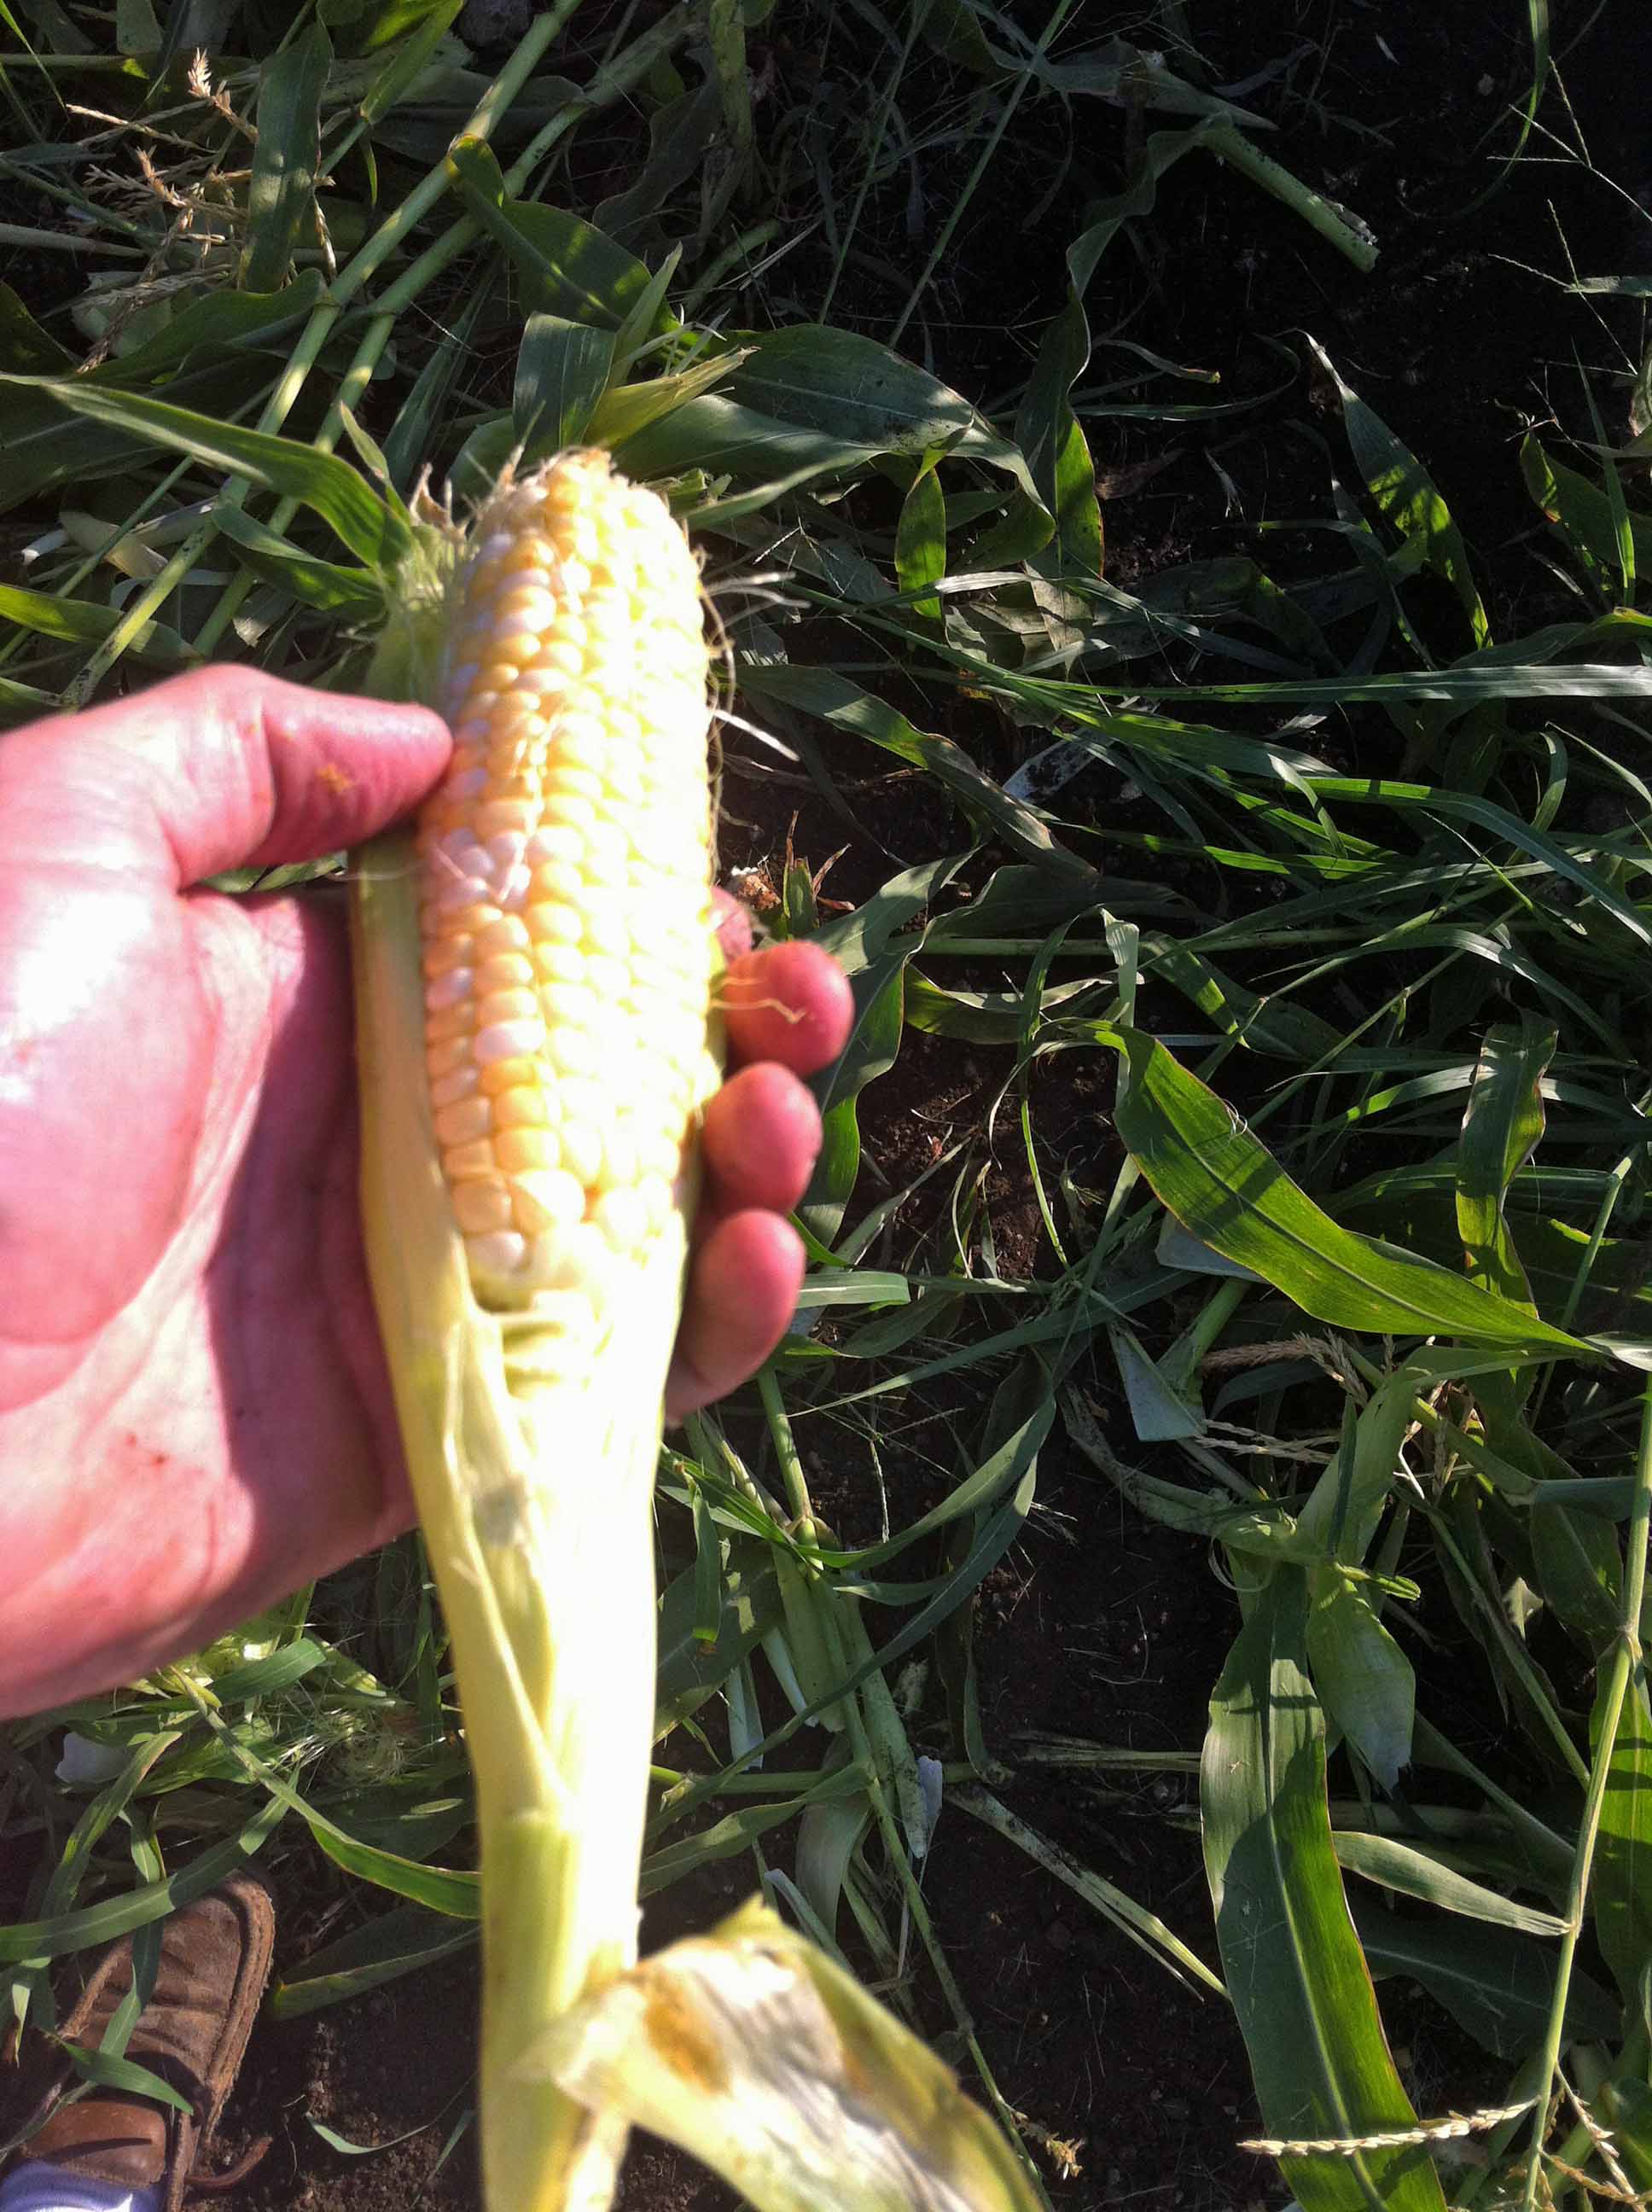
OK, now for the process to freeze corn. You can also can corn but I think the flavor is much better using the freezing process. Canning will last longer but we use up corn within a year anyway. Home garden grown corn is not always perfect like the grocery store. Some ears will not fill in completely and some may have bad spots. Keep the good full ears for eating on the cob. Use the not so perfect ones to freeze since you can cut away, or just not use some of the ear.
Step 1. Shuck and wash all the ears (like I said yesterday, you can do the shucking in the garden)
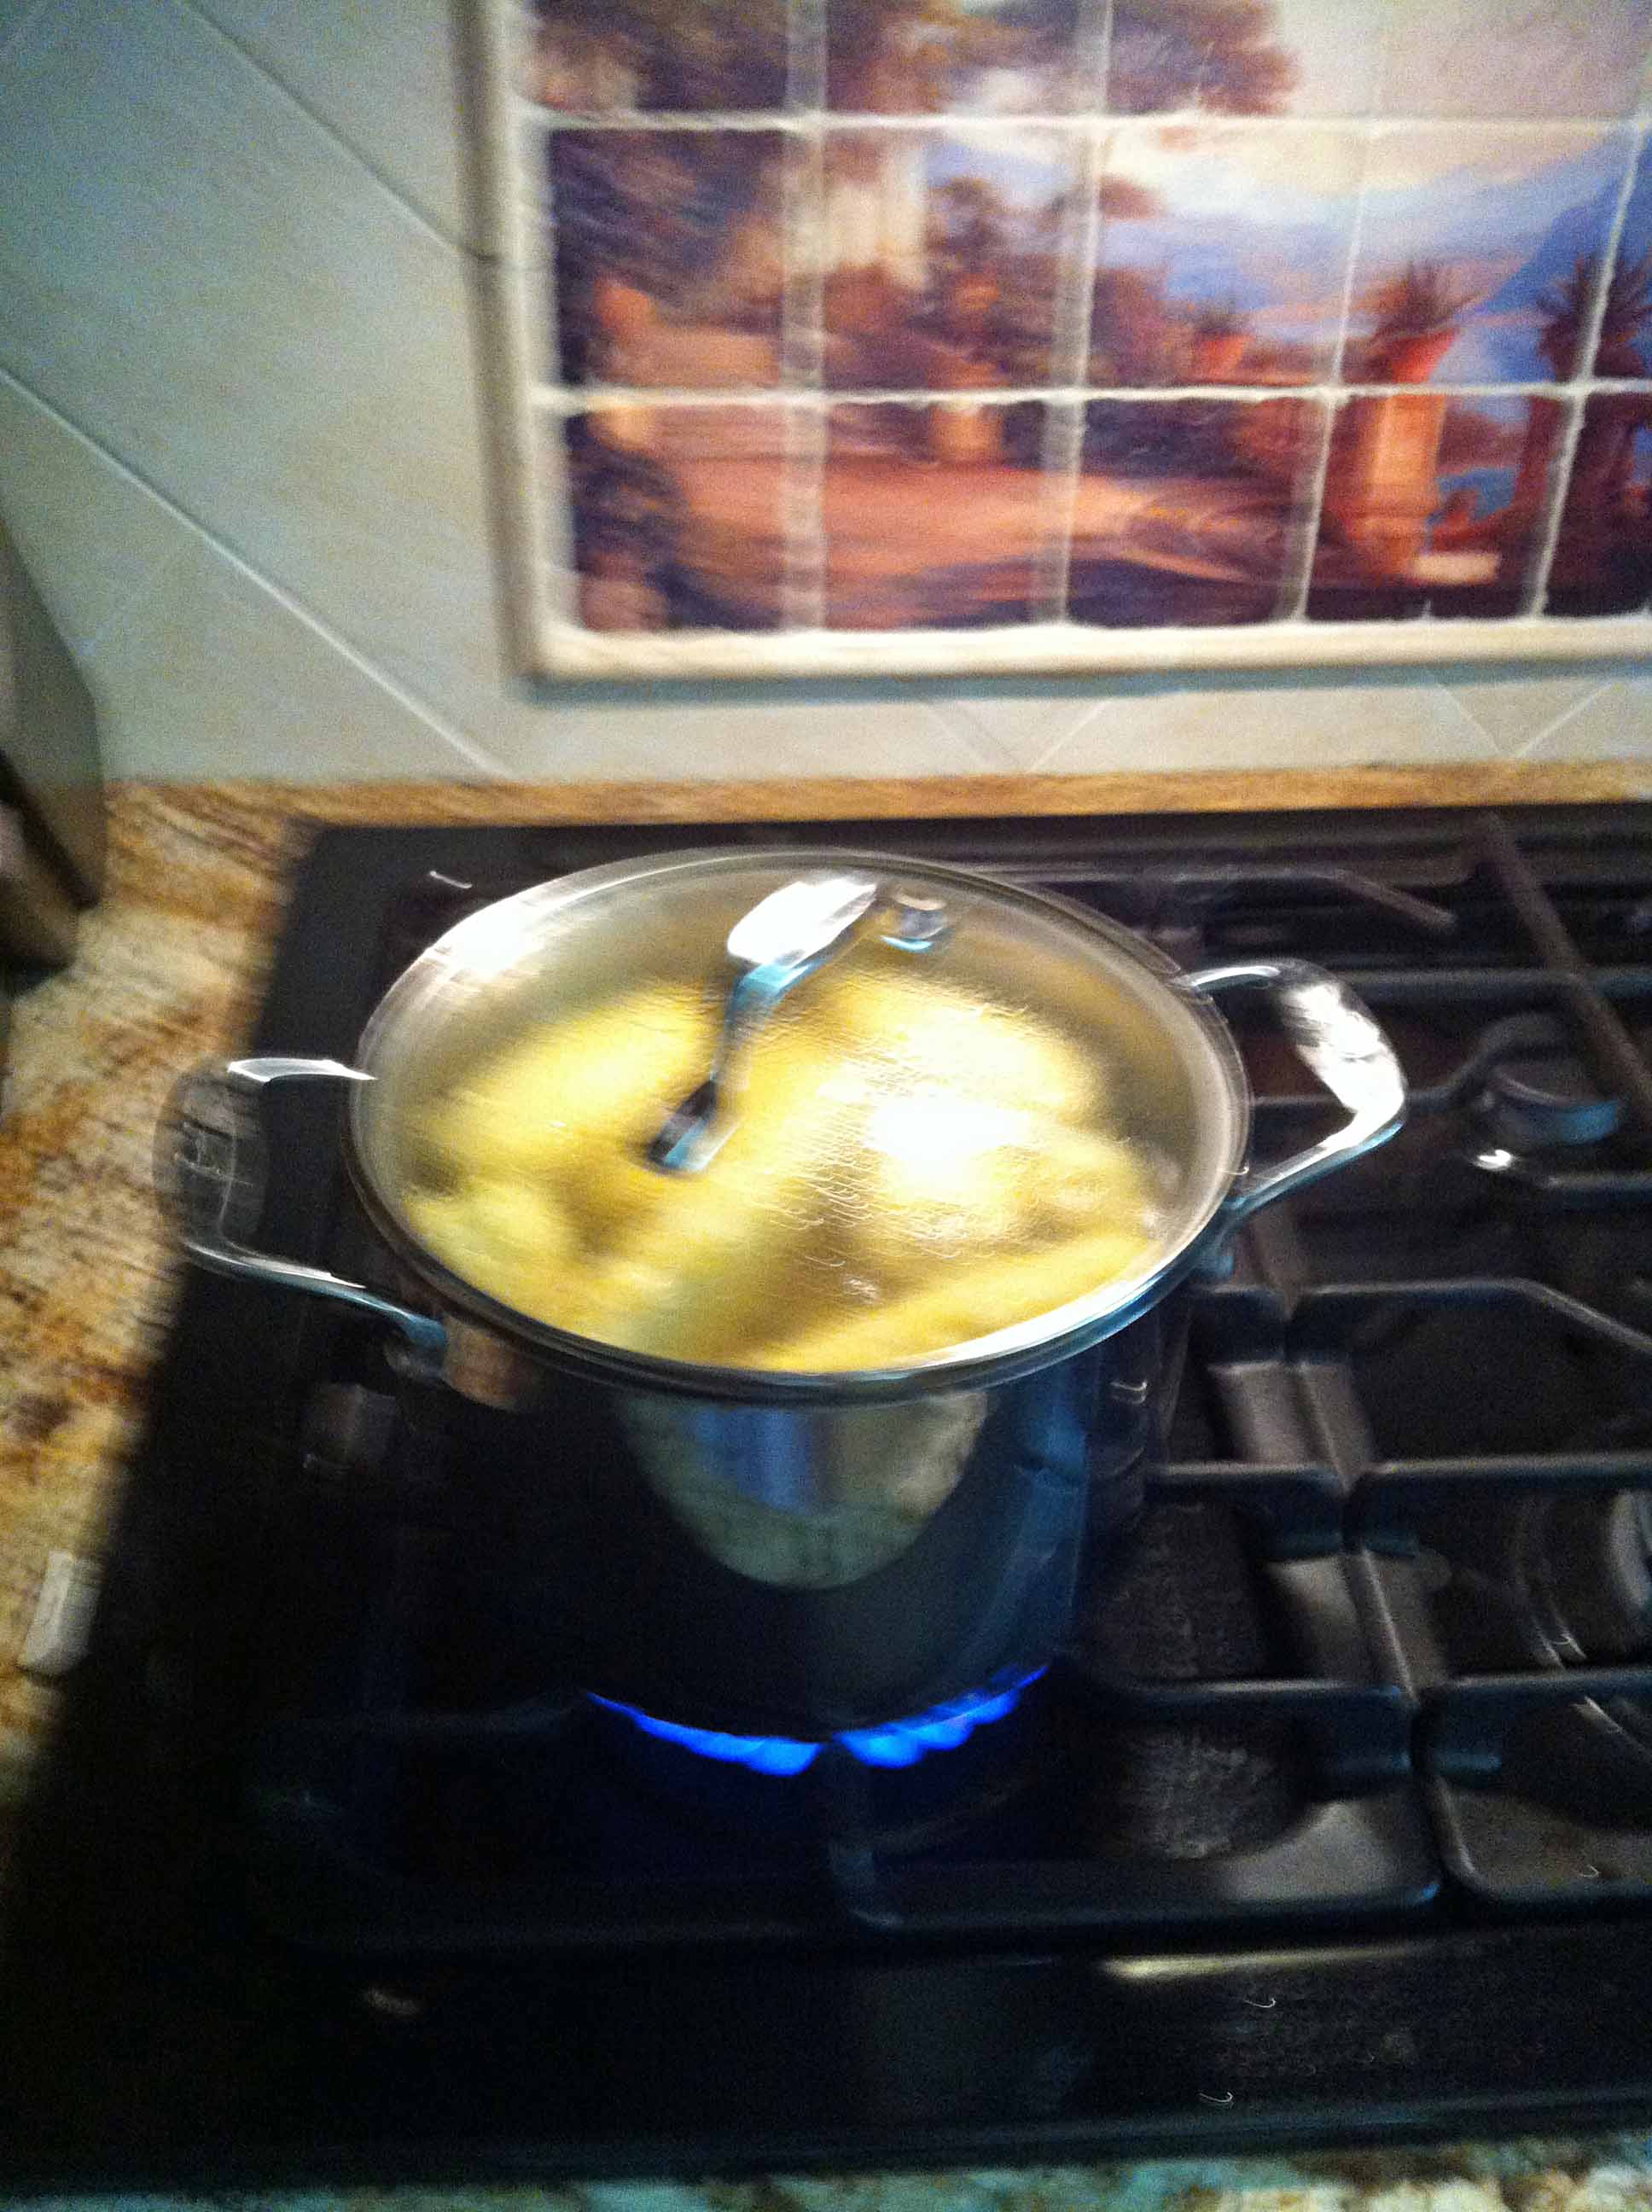
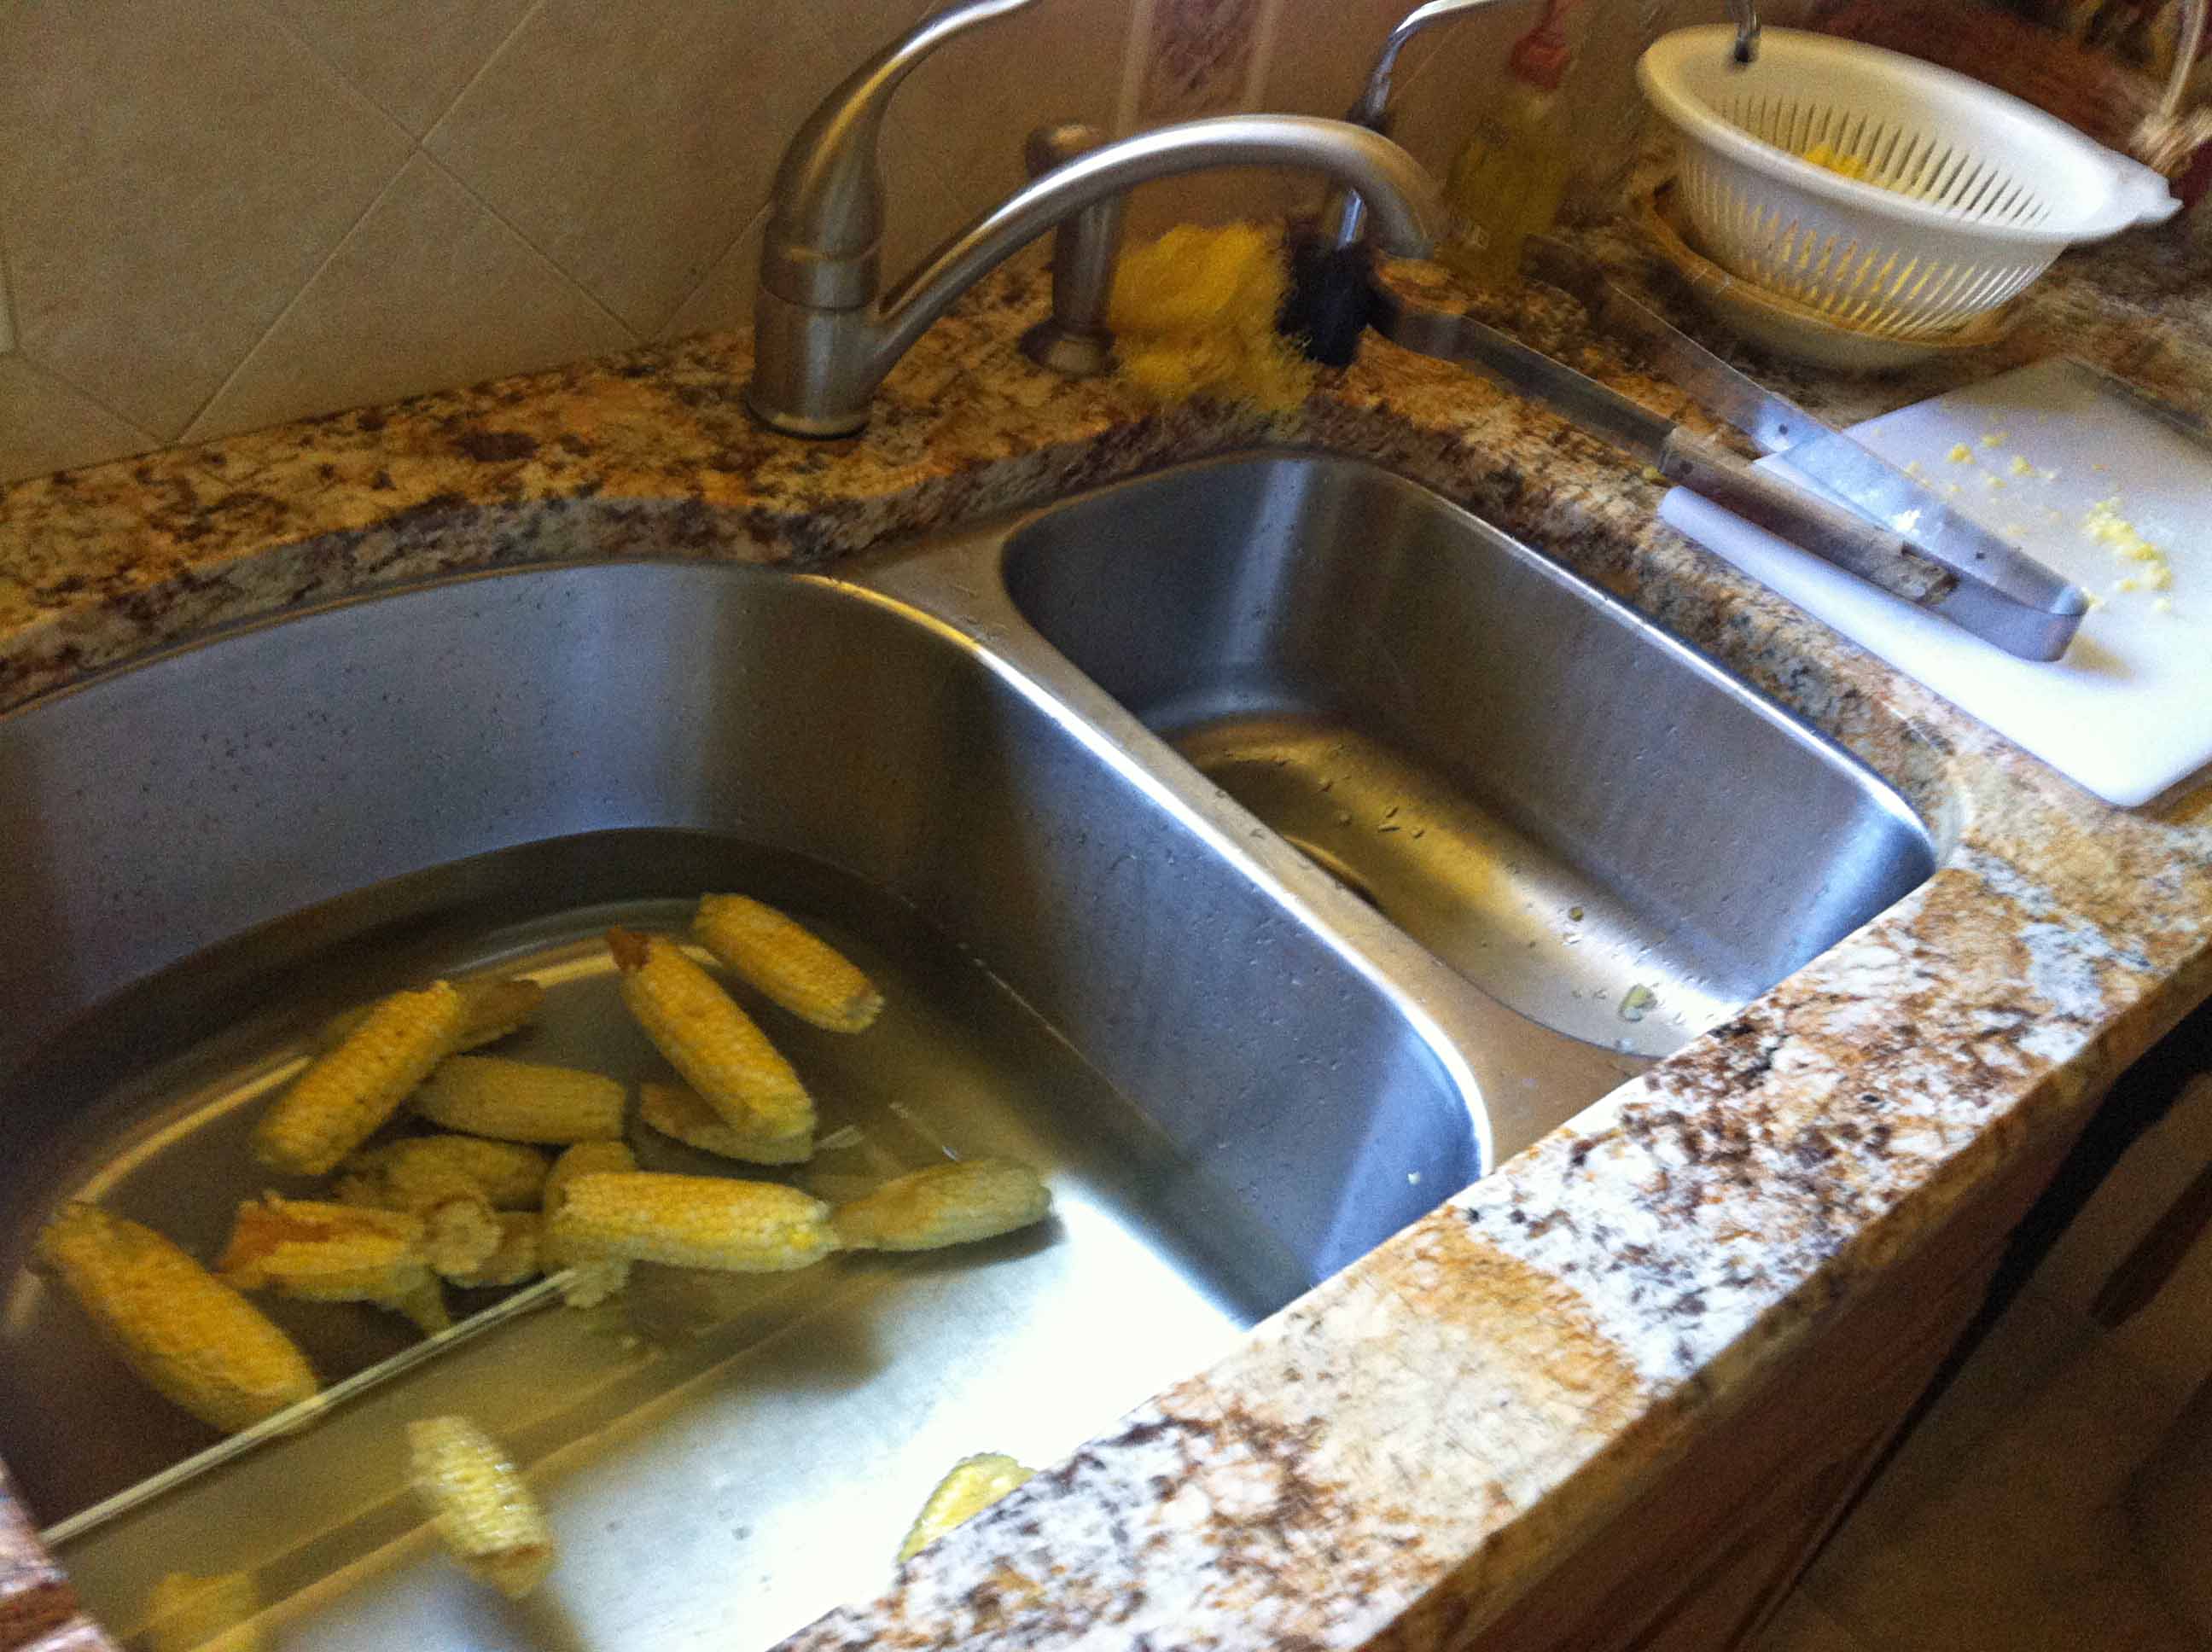
Step 2. Boil the ears for 4 minutes, then immediately put them in cold water


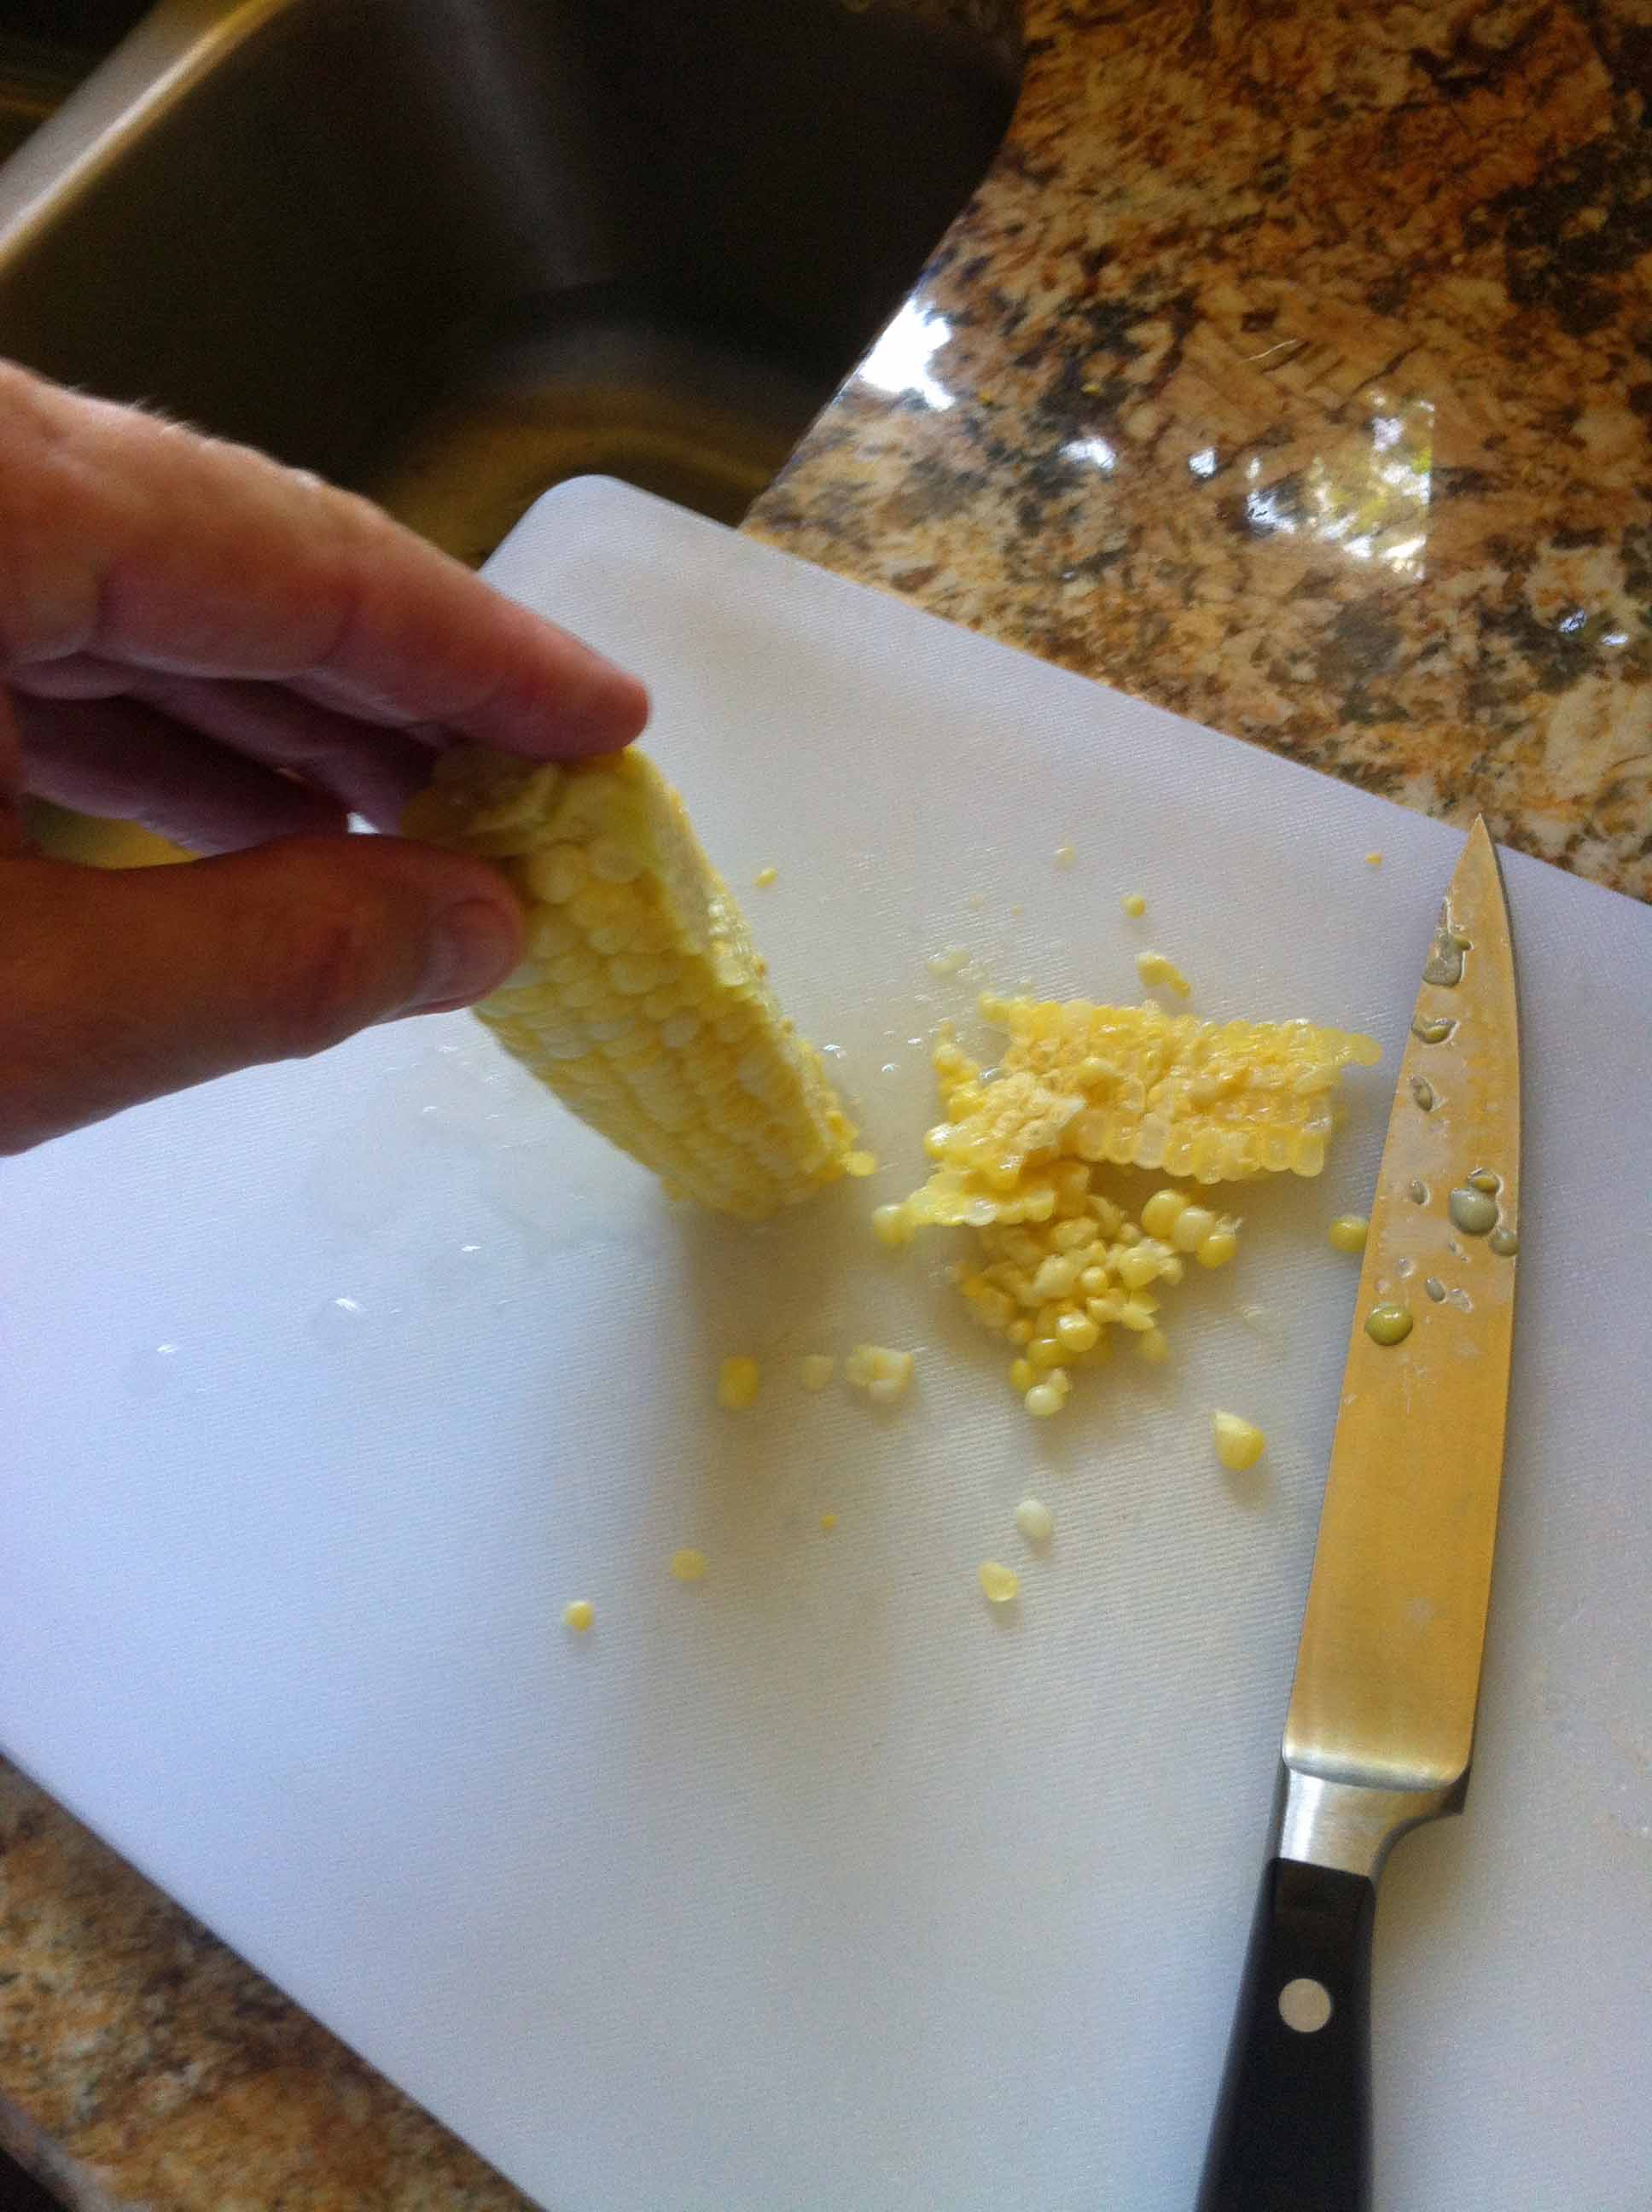
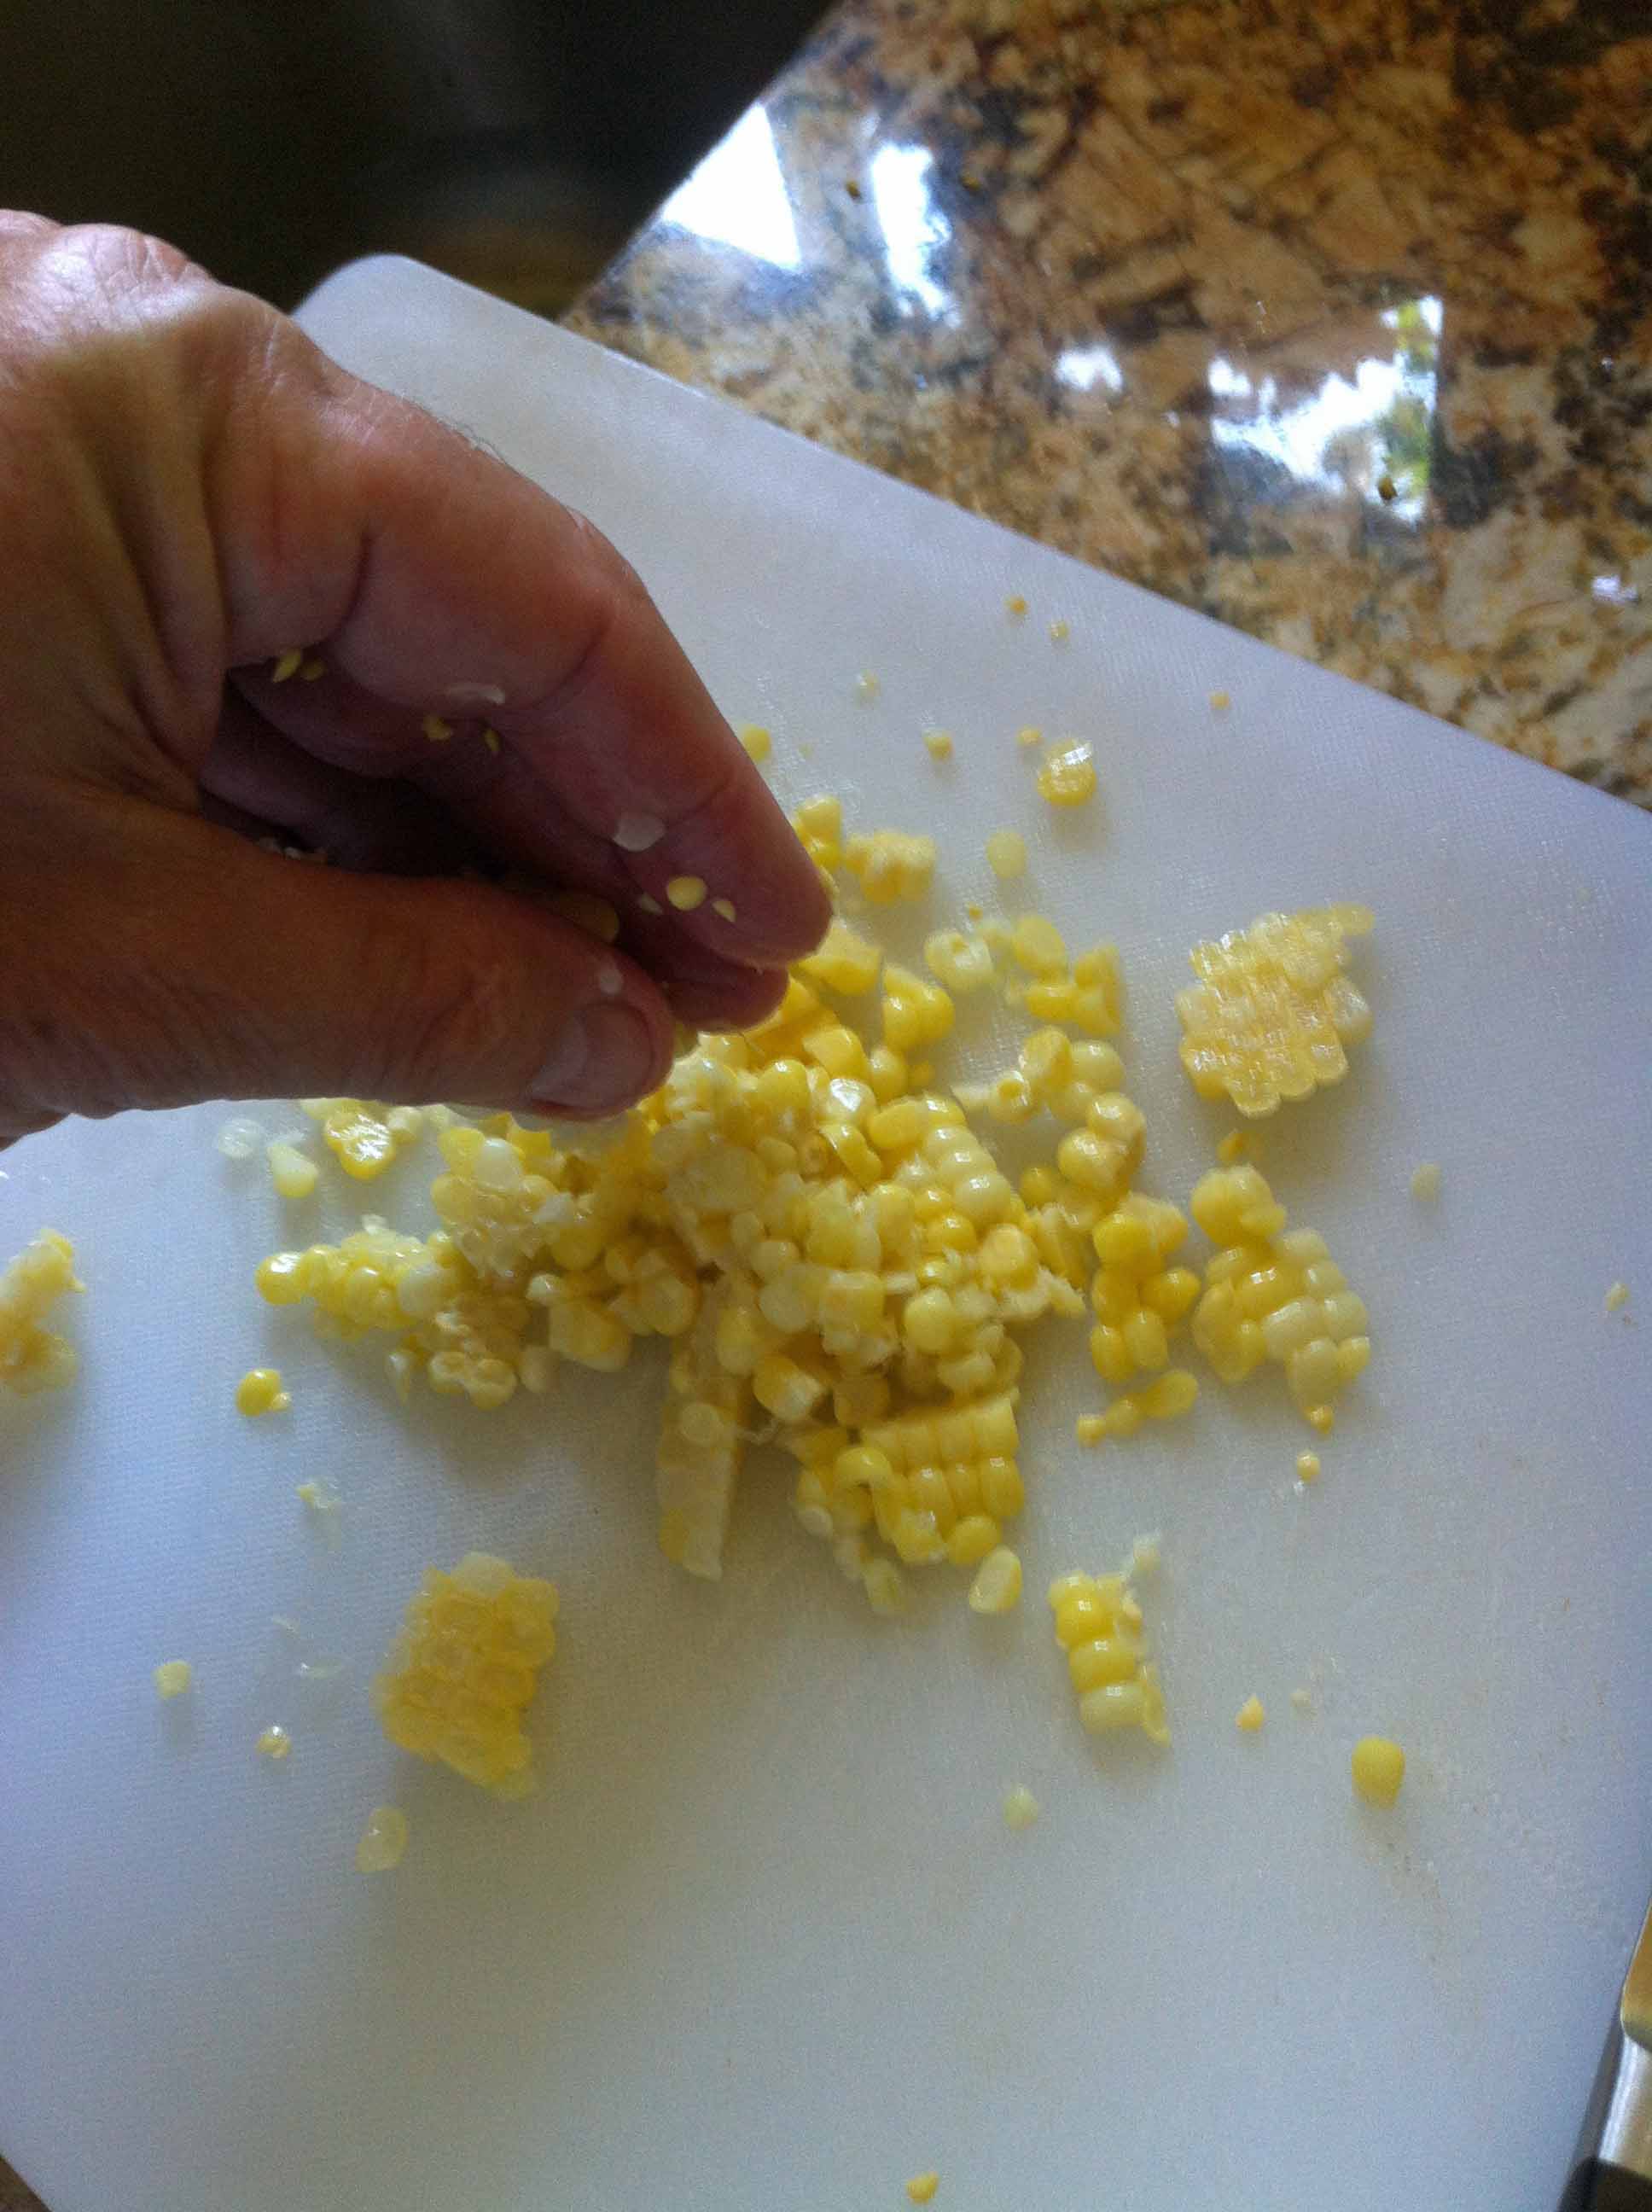
Step 3. Cut the corn off the ears with a sharp knife. Some of the corn kernels will stick together but you can break them apart easily with your fingers.
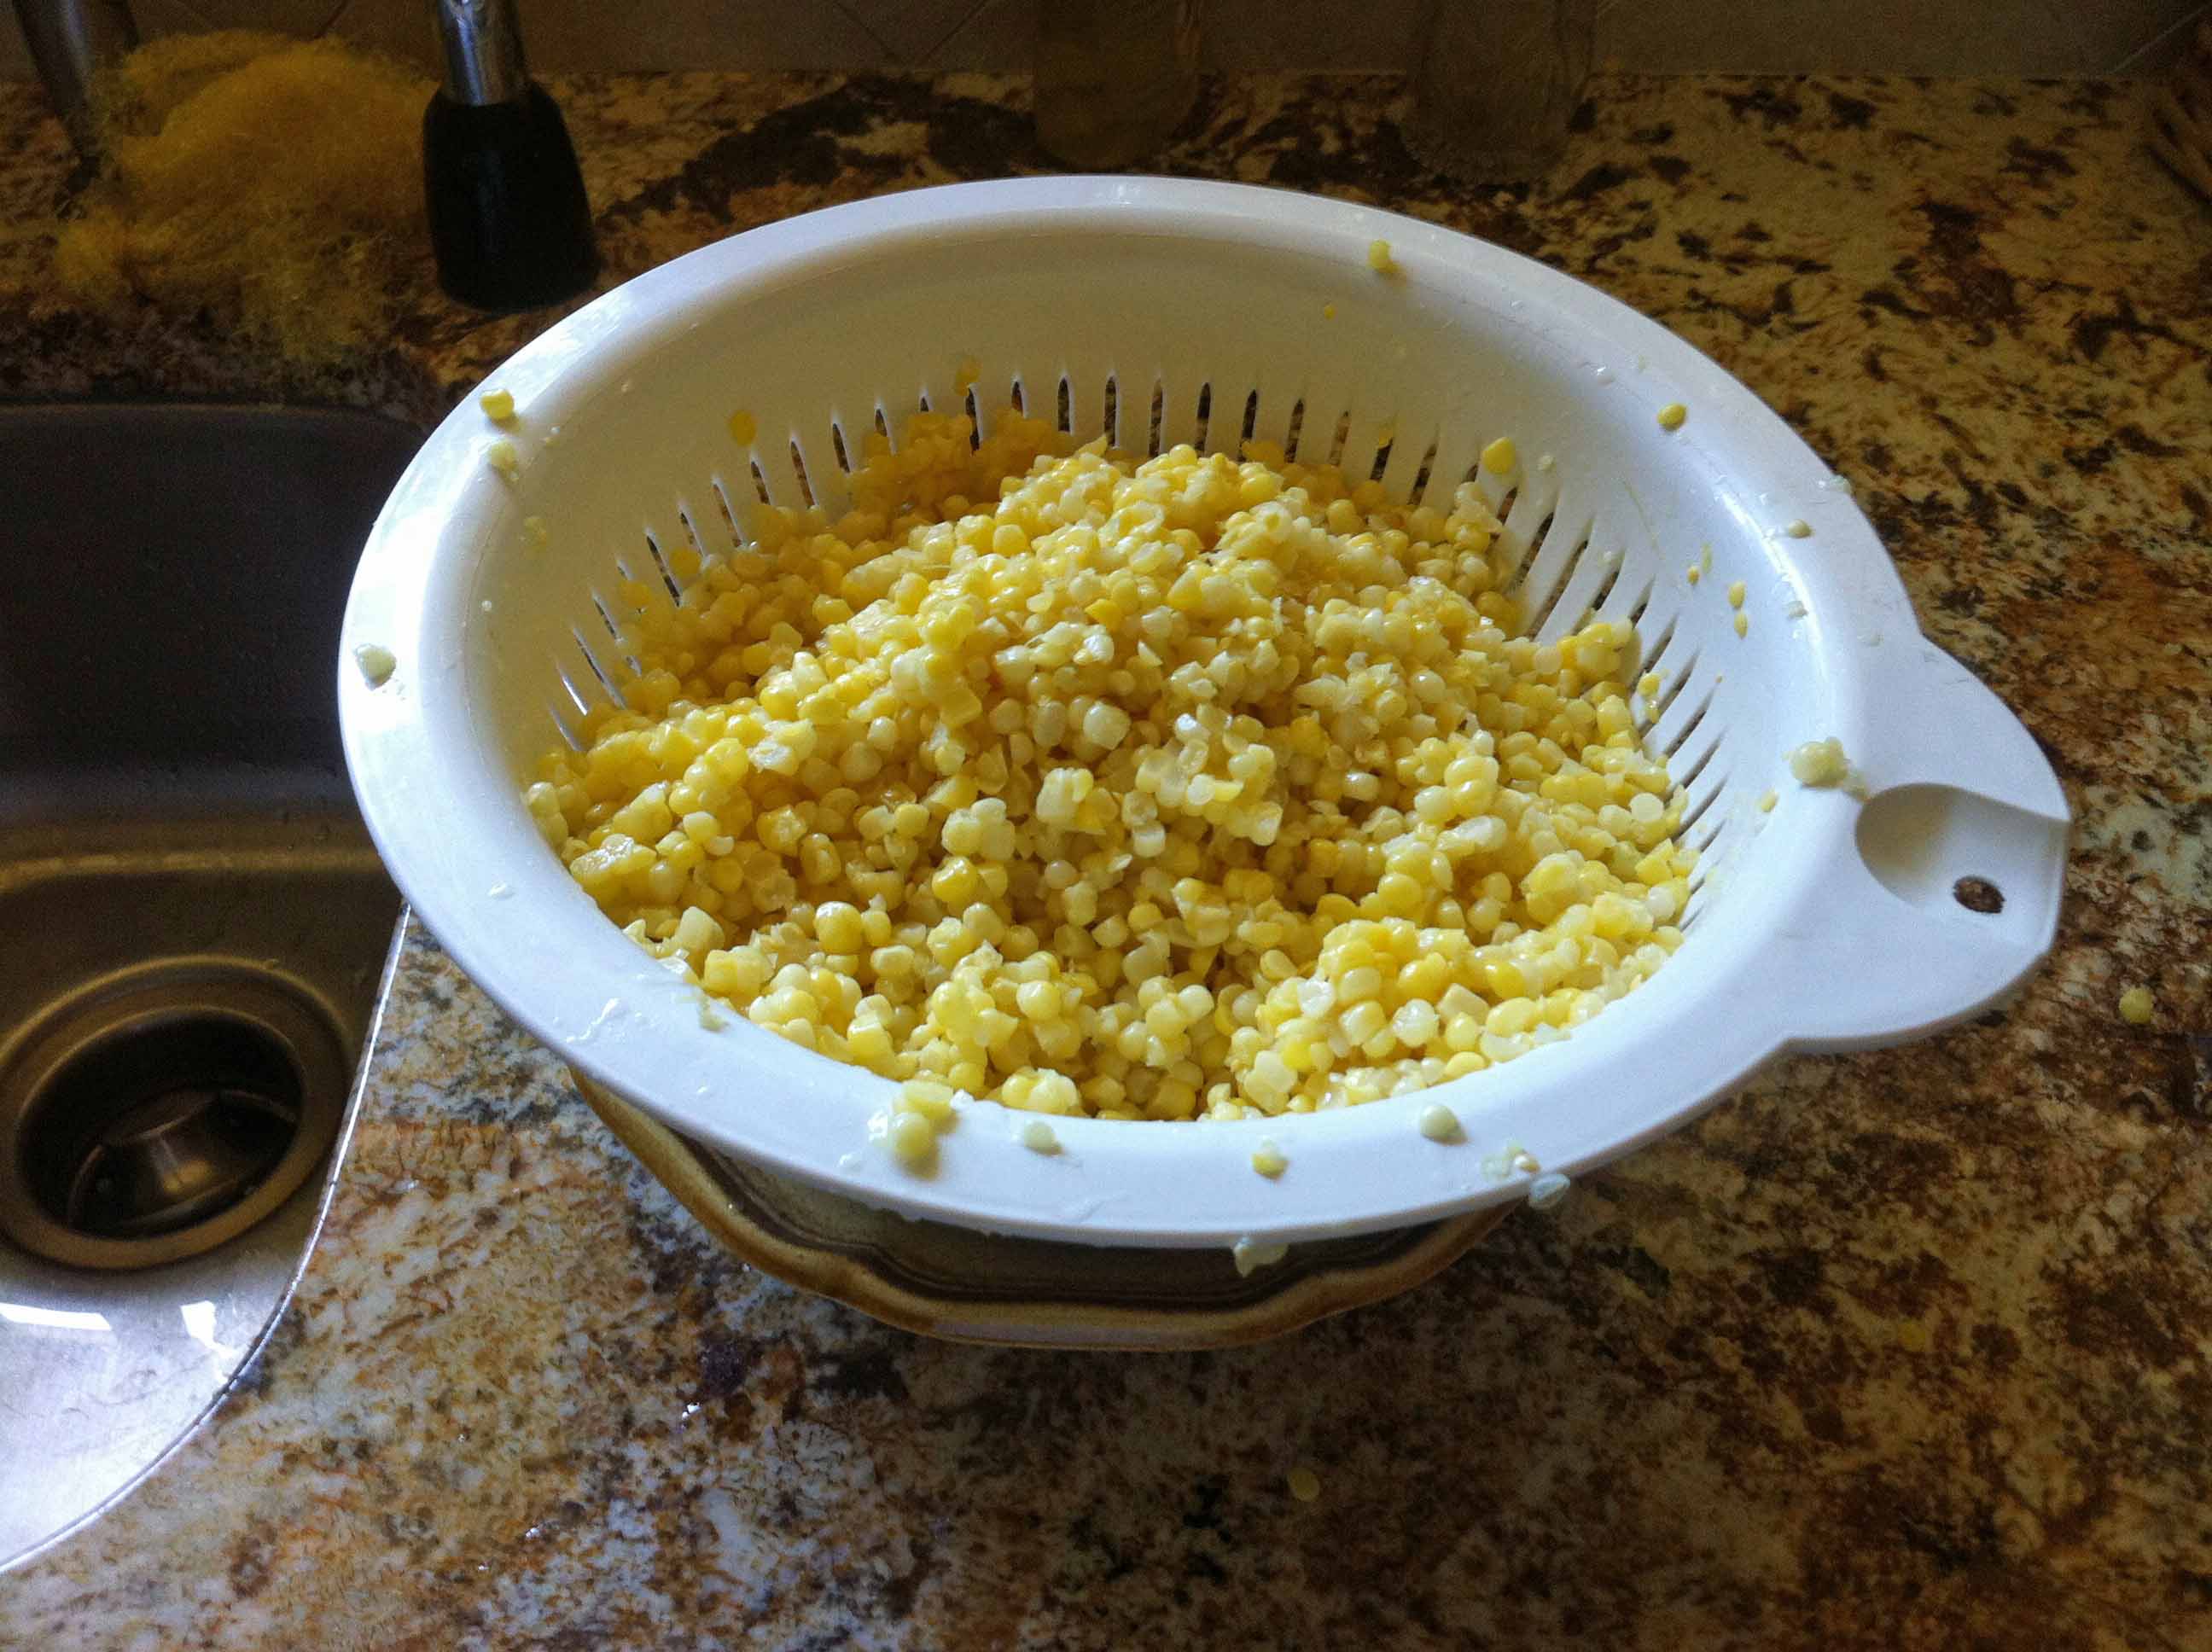
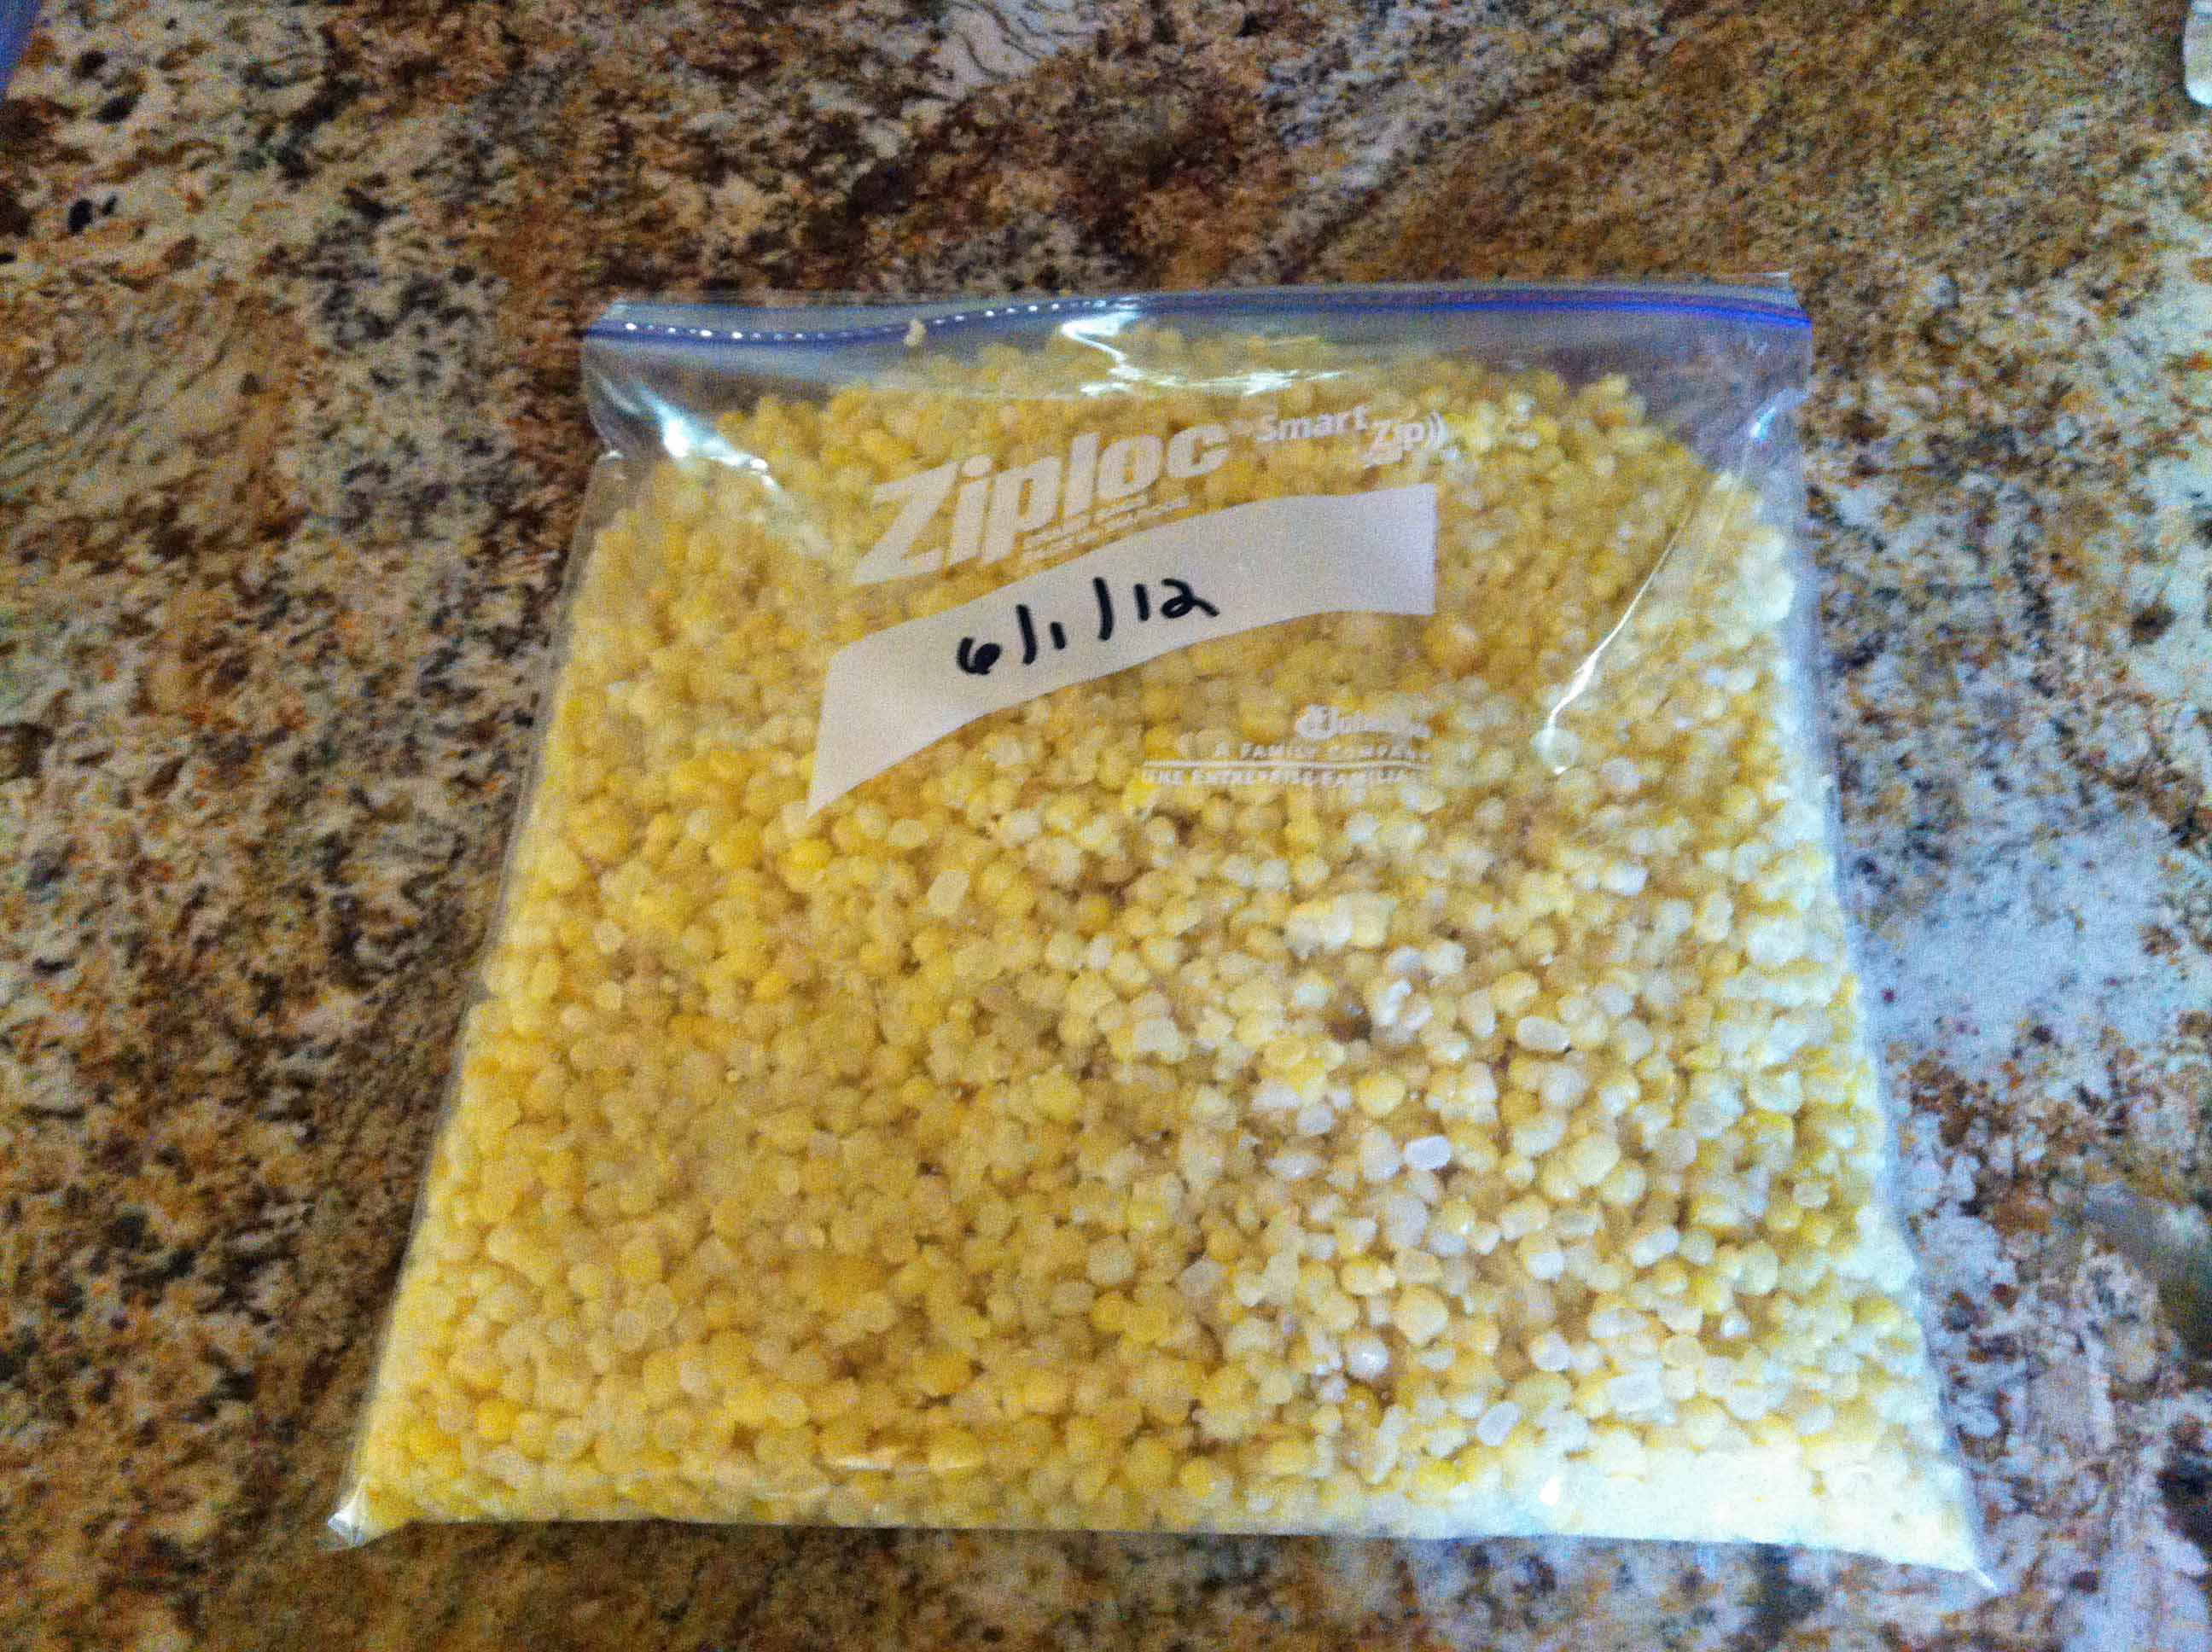
Step 4. Put the cut corn in a colander to drain and after draining place it in freezer bags. All done! You can open the bags and boil just enough for a meal keeping the rest frozen.
June 1, 2012
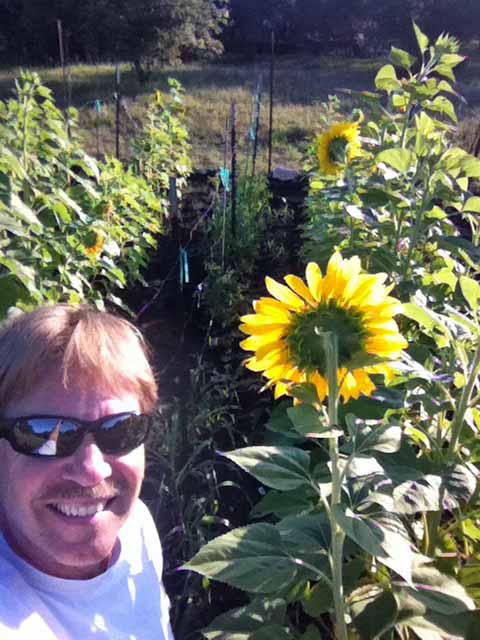
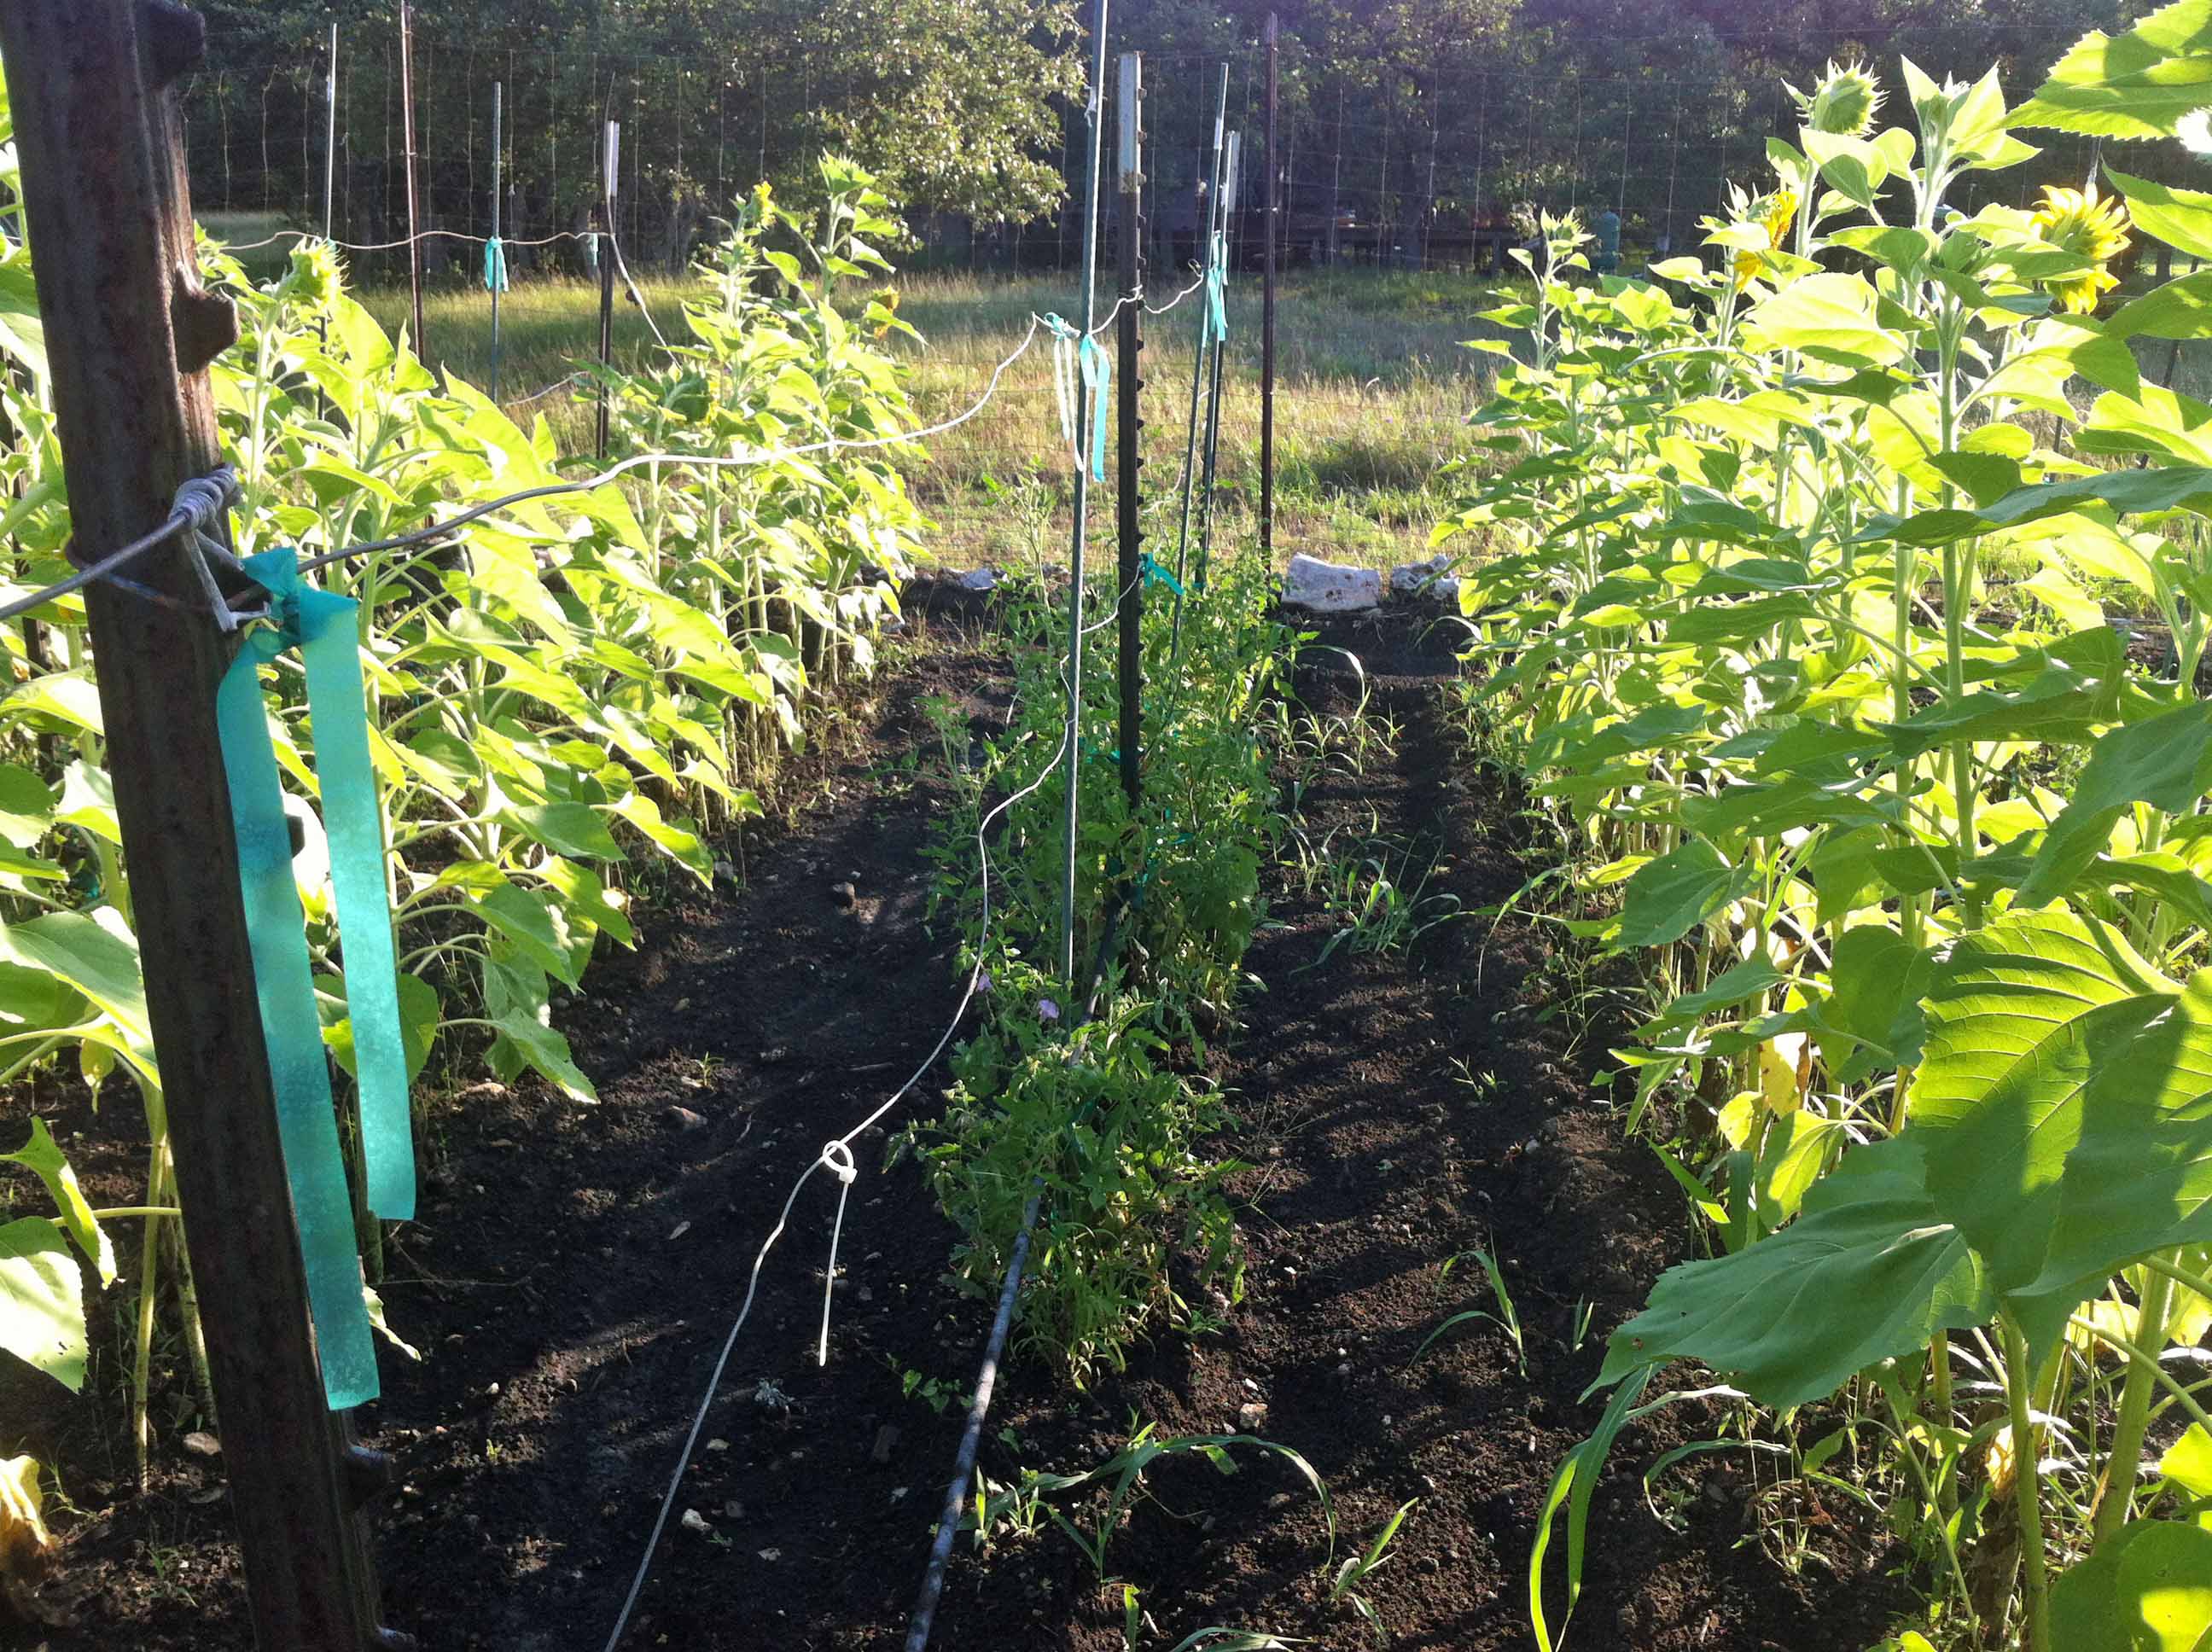
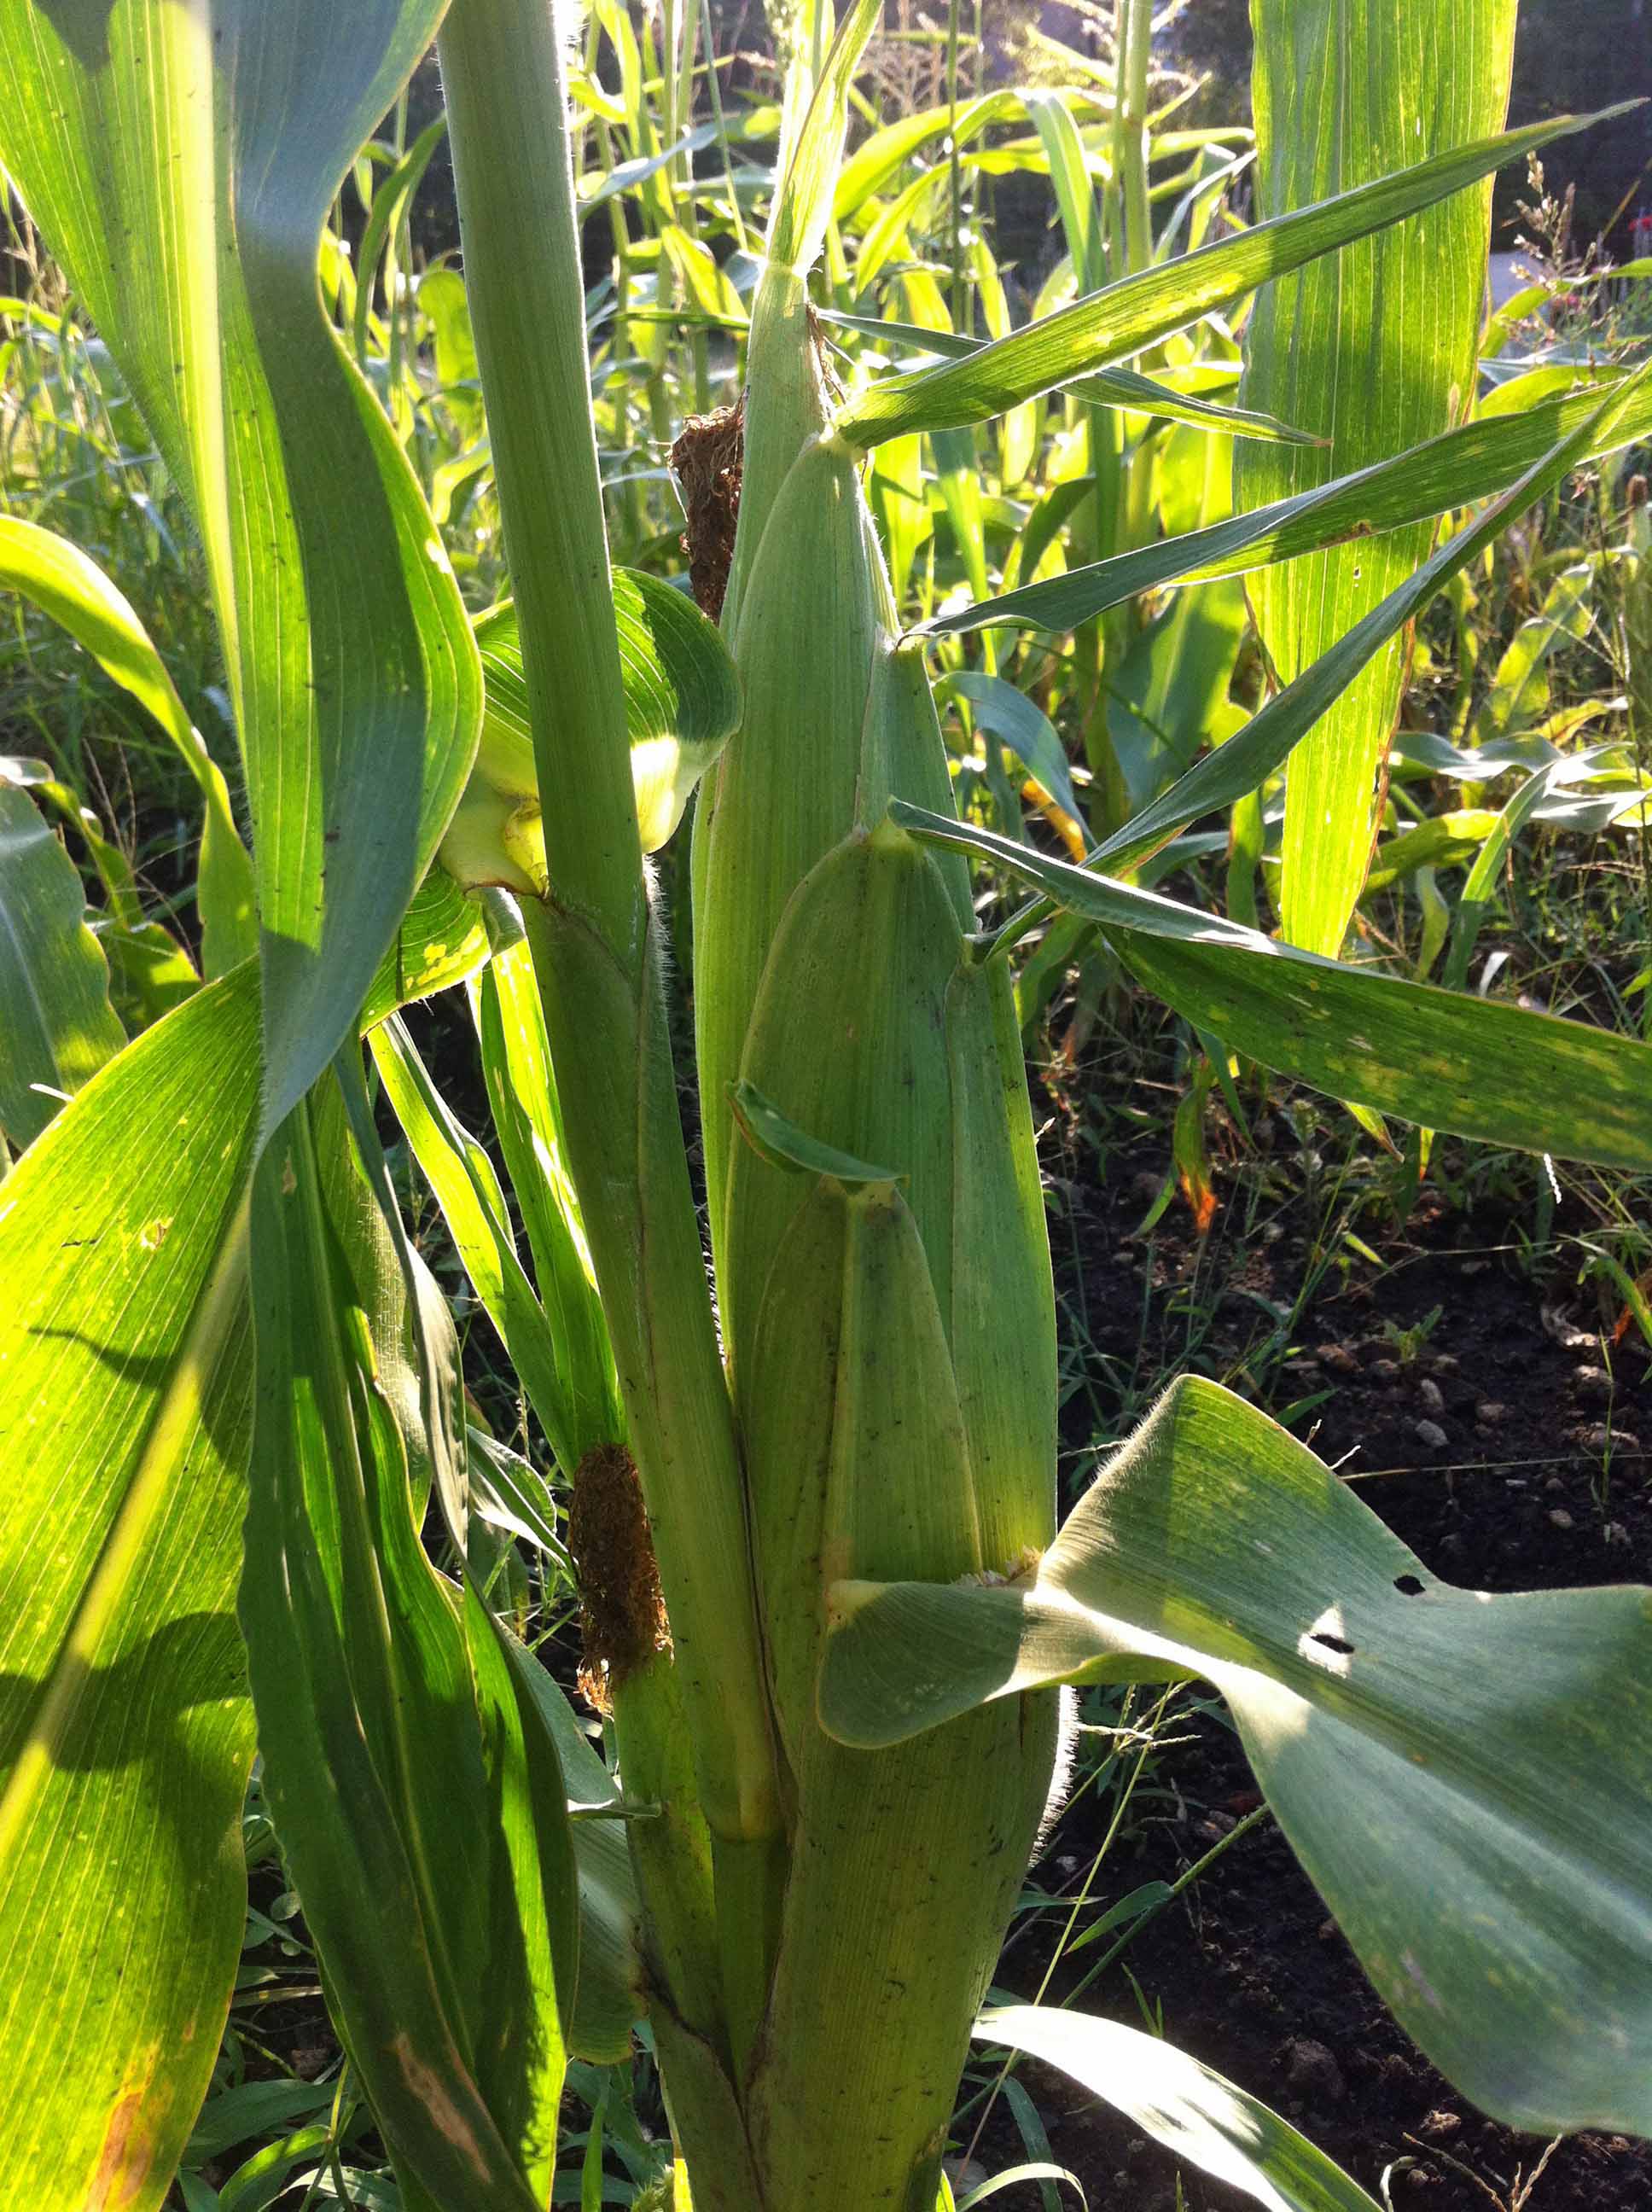
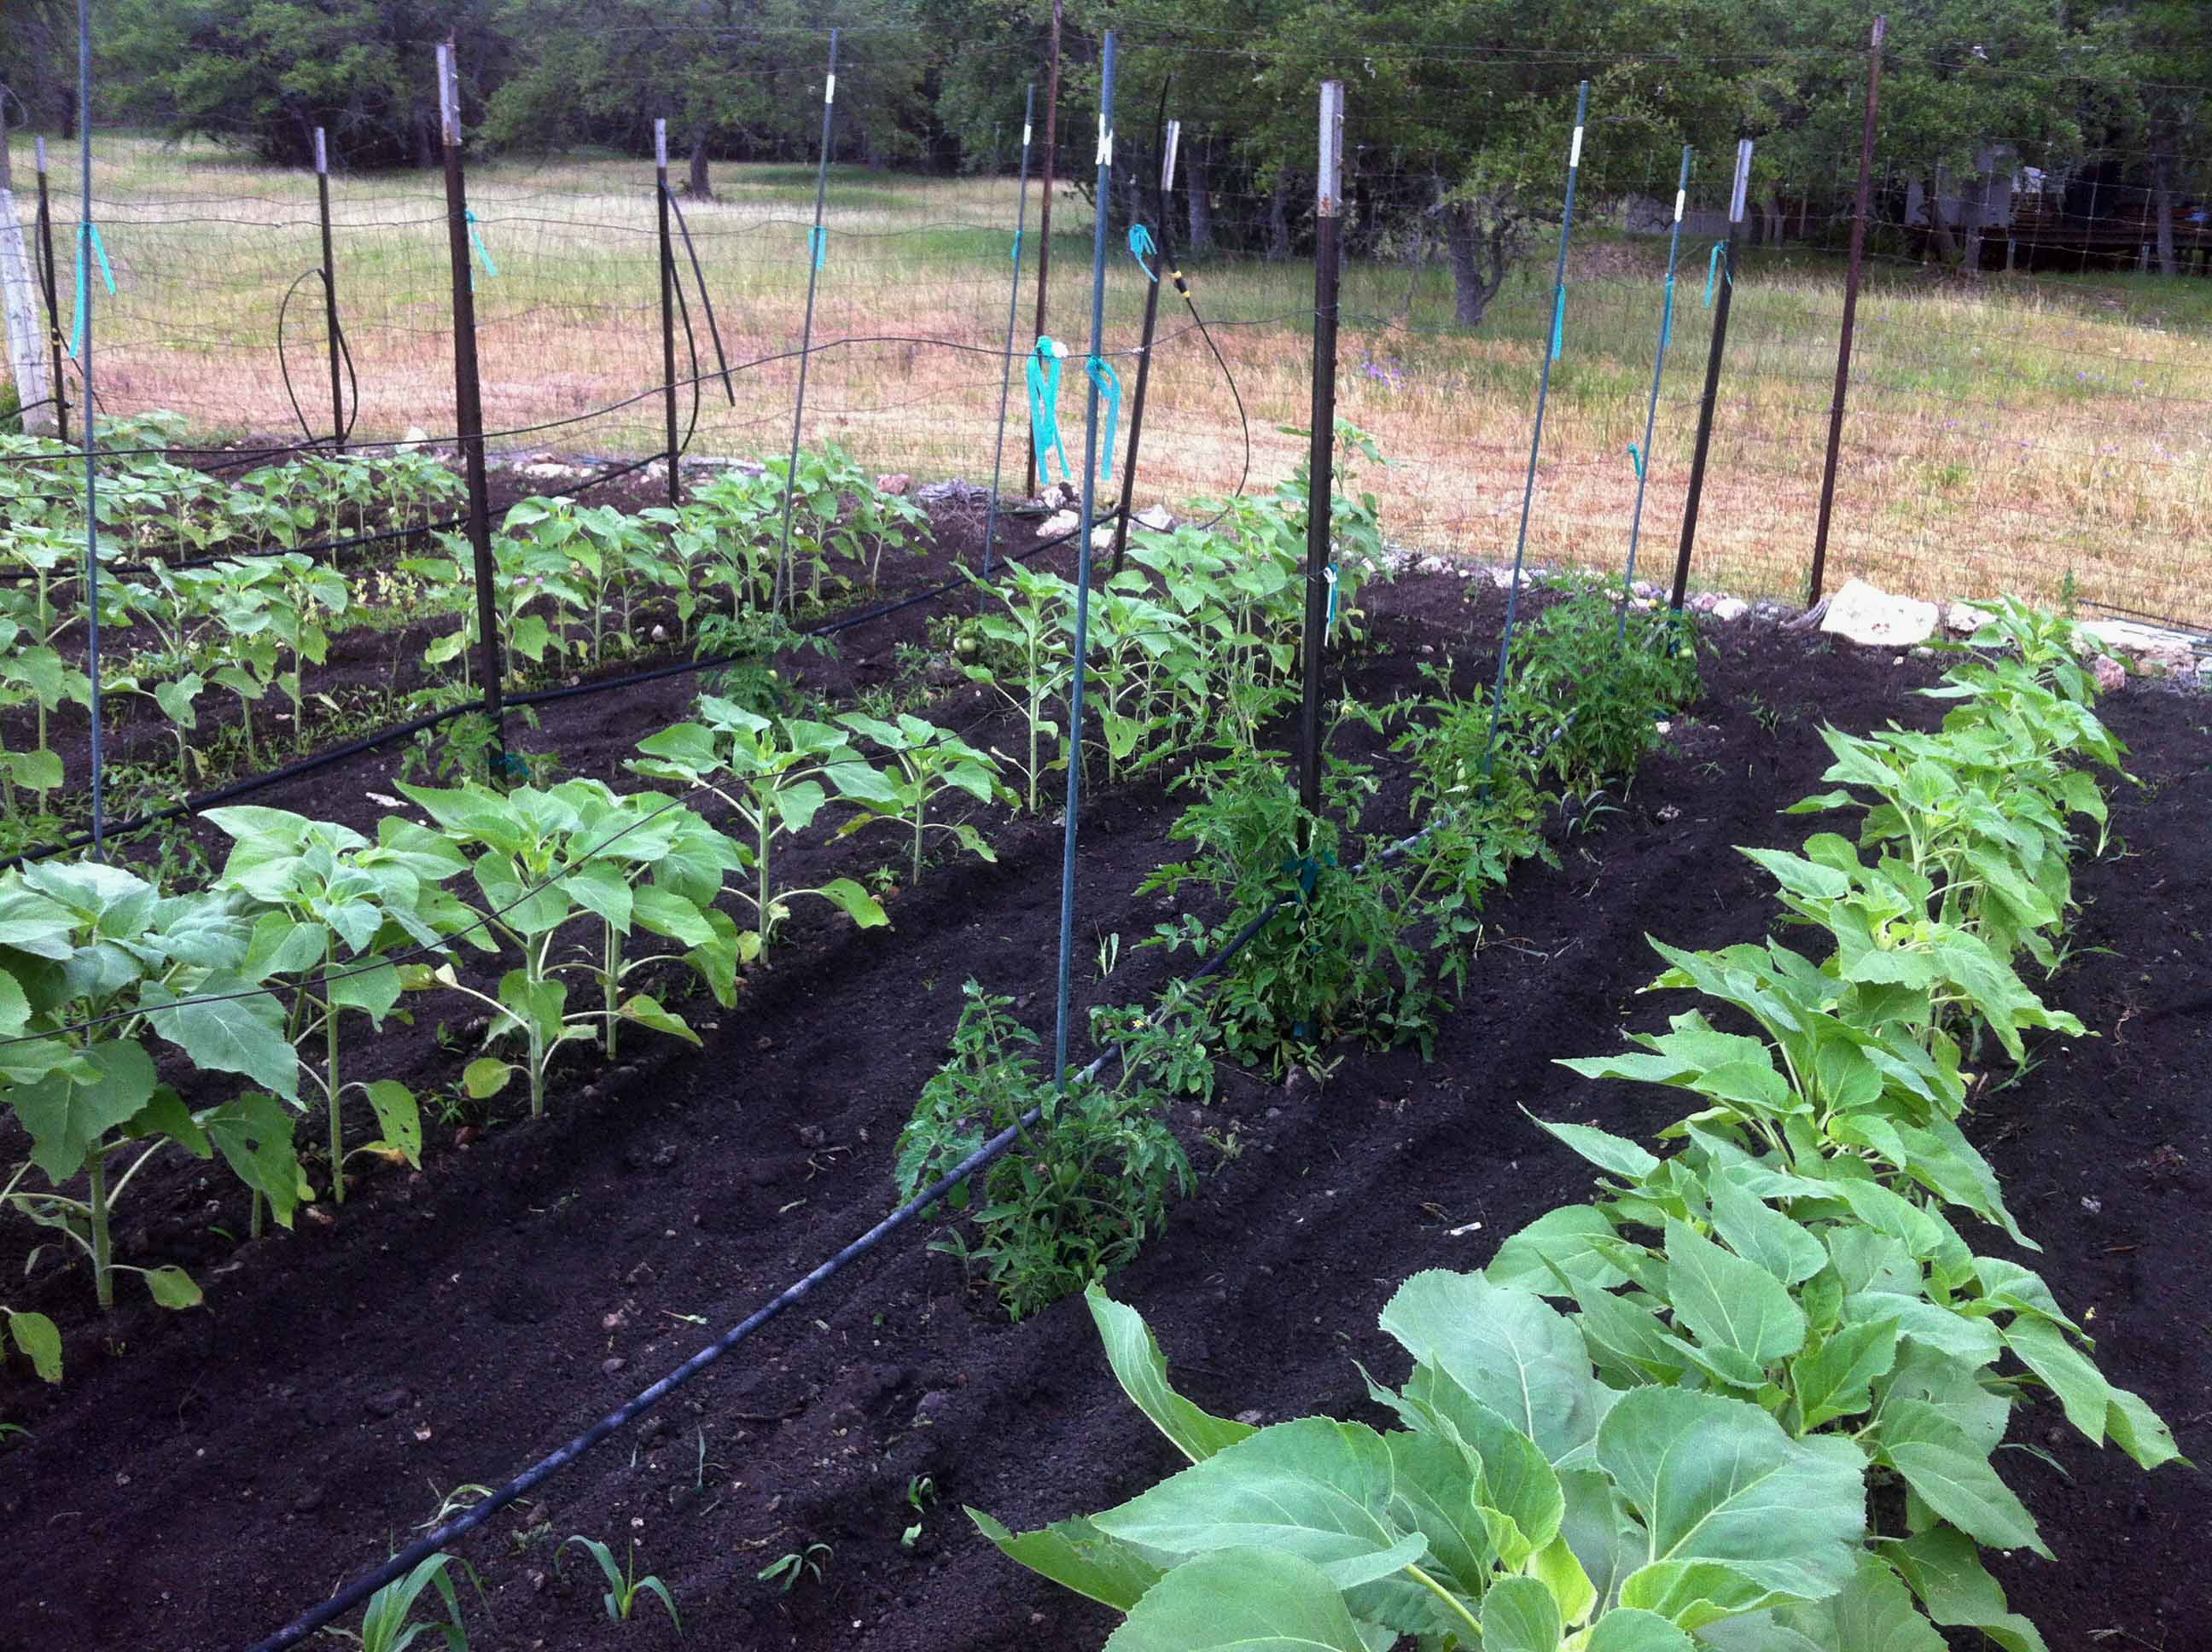
After returning from France for 10 days lots to do. After a pretty dry few days we got 1/4 of rain yesterday. The irrigation has been keeping up fine with temps in the high 80's and low 90's. June is the month when I usually have the largest harvests. Today I picked all the corn and will process and freeze it today. Some I will keep to eat off the cob but for the most part you can't eat it fast enough to keep it from going bad so freezing is the best option. I'll outline that process in the next couple of days. The test planting sunflowers between the rows of tomatoes seems to be working. The tomatoes should start a larger production shortly and they are getting good morning and afternoon shade. Here you can see that the sunflowers are now over my head and in the next pic you can see the shaded tomato plants. With all the rows of sunflowers we will have a huge sunflower seed production this year.
The corn here. I usually clean it all out in the garden then bring it in for processing. Pretty messy otherwise and it all gets tilled back into the garden anyway.
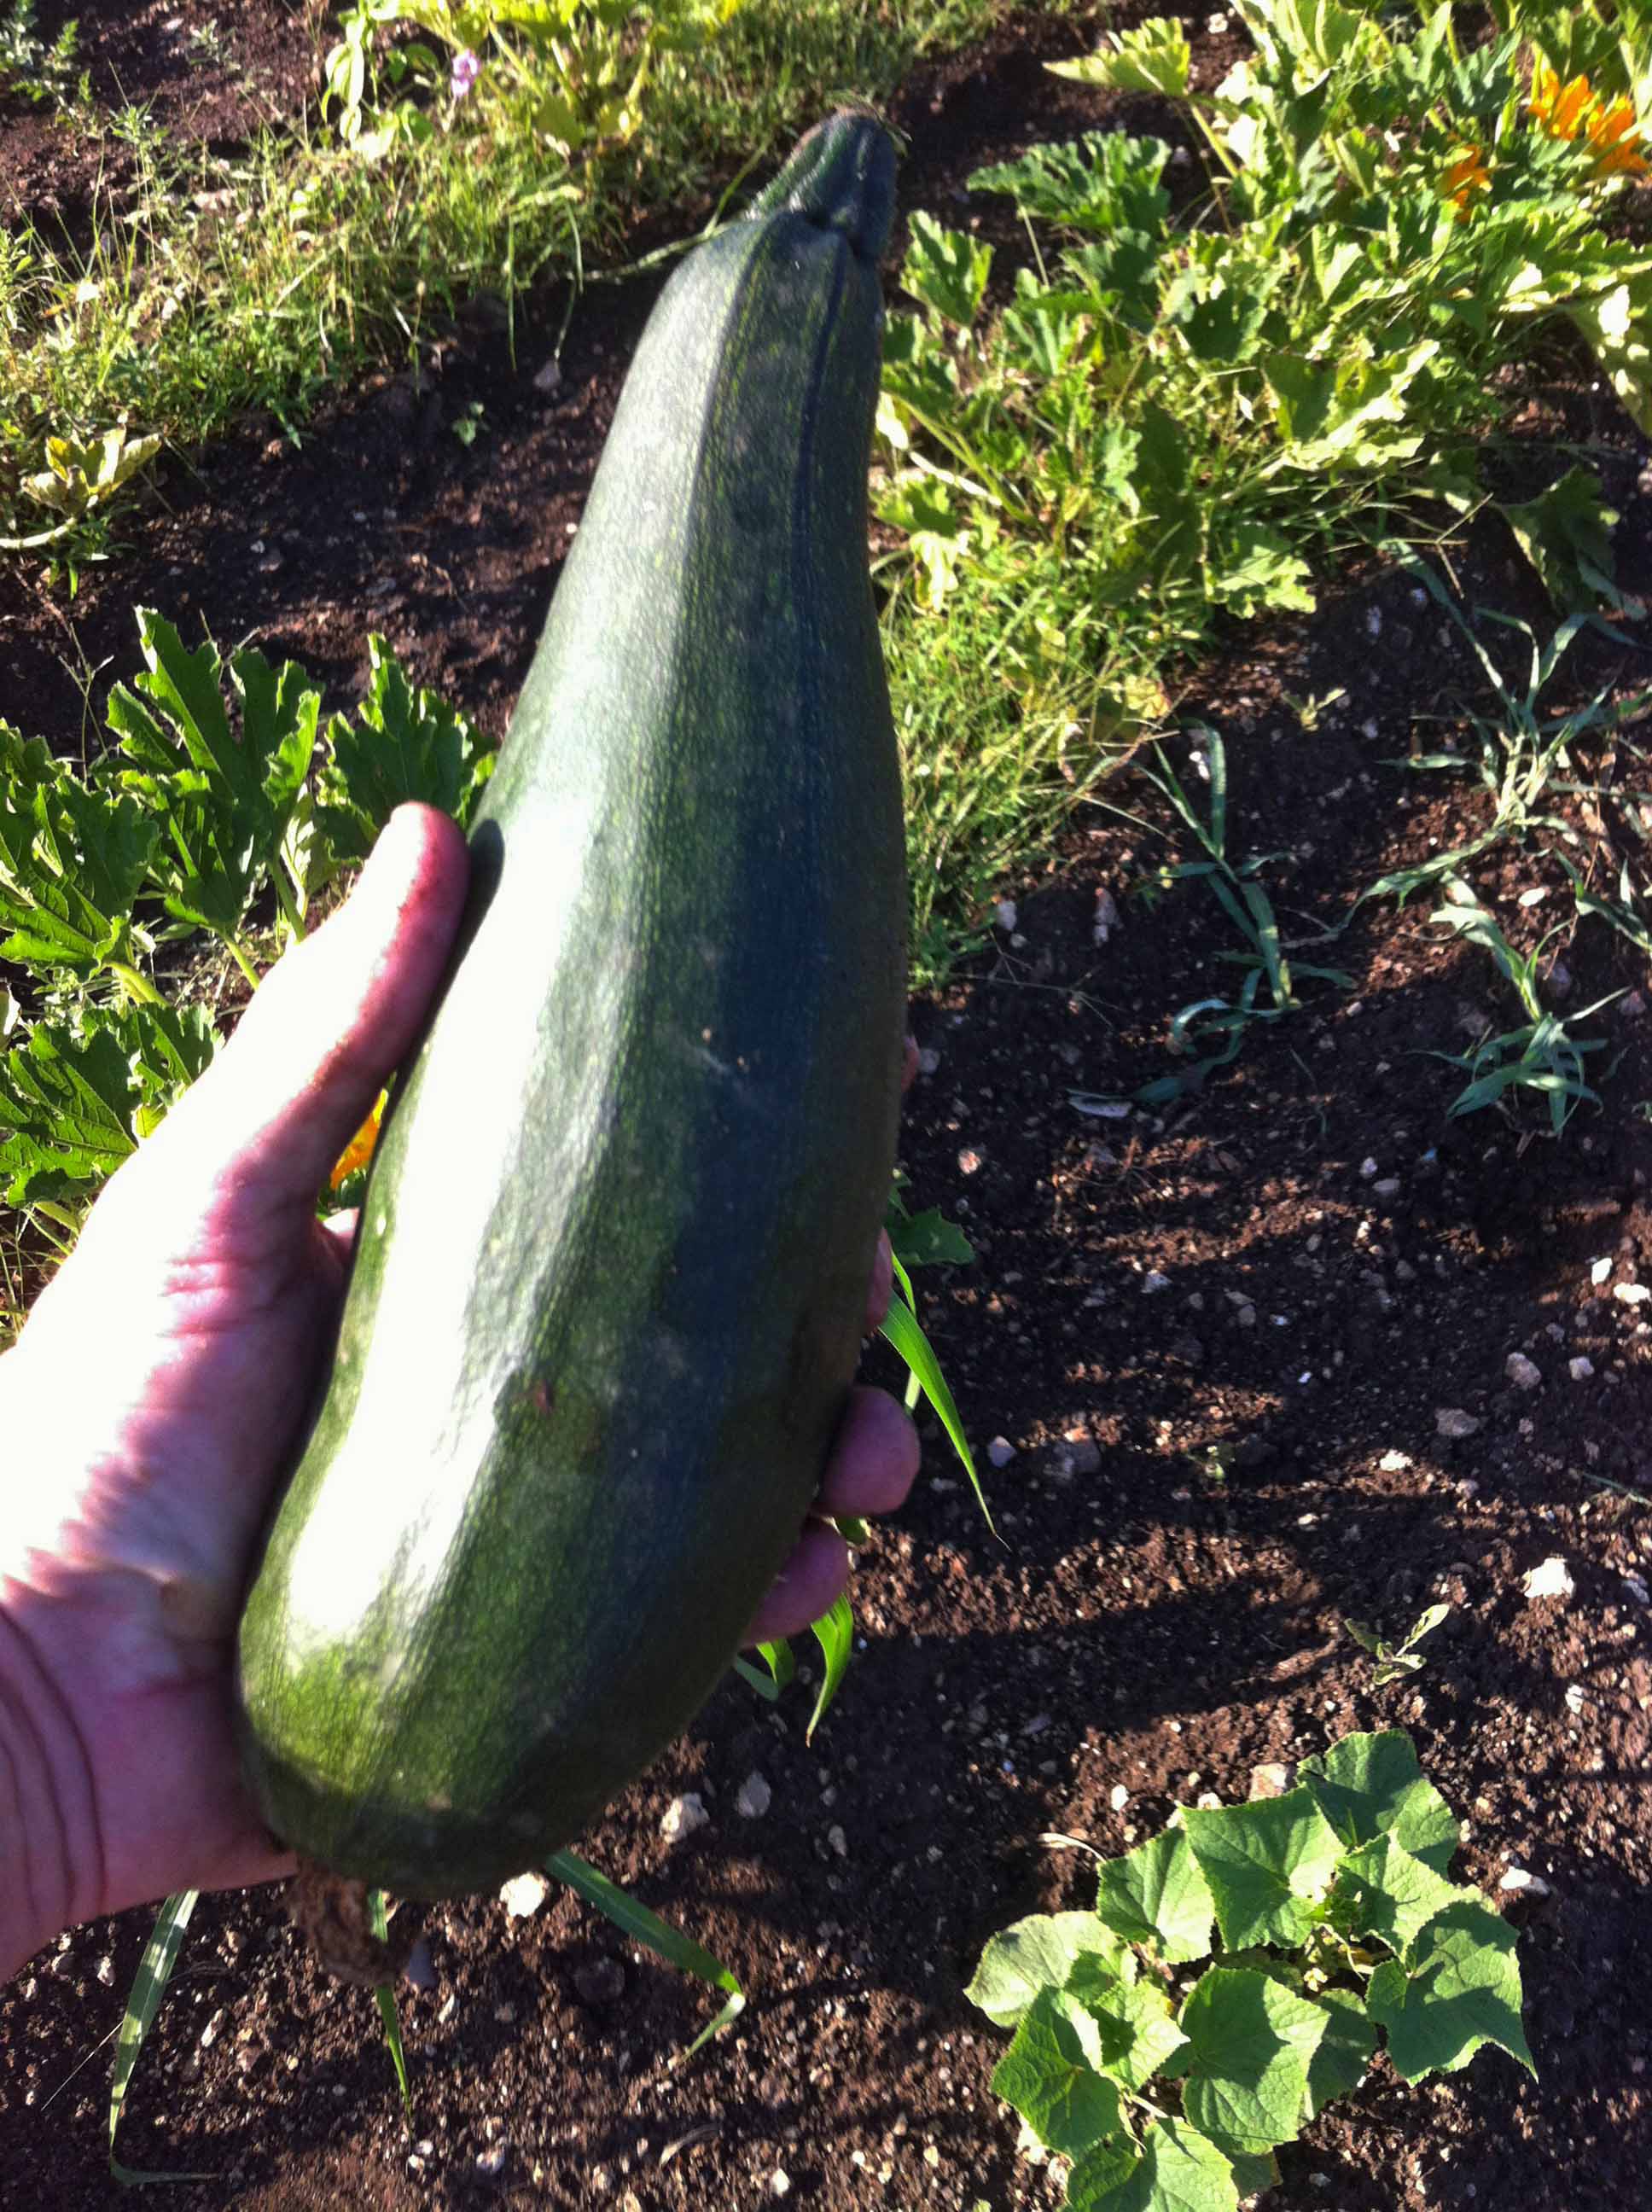
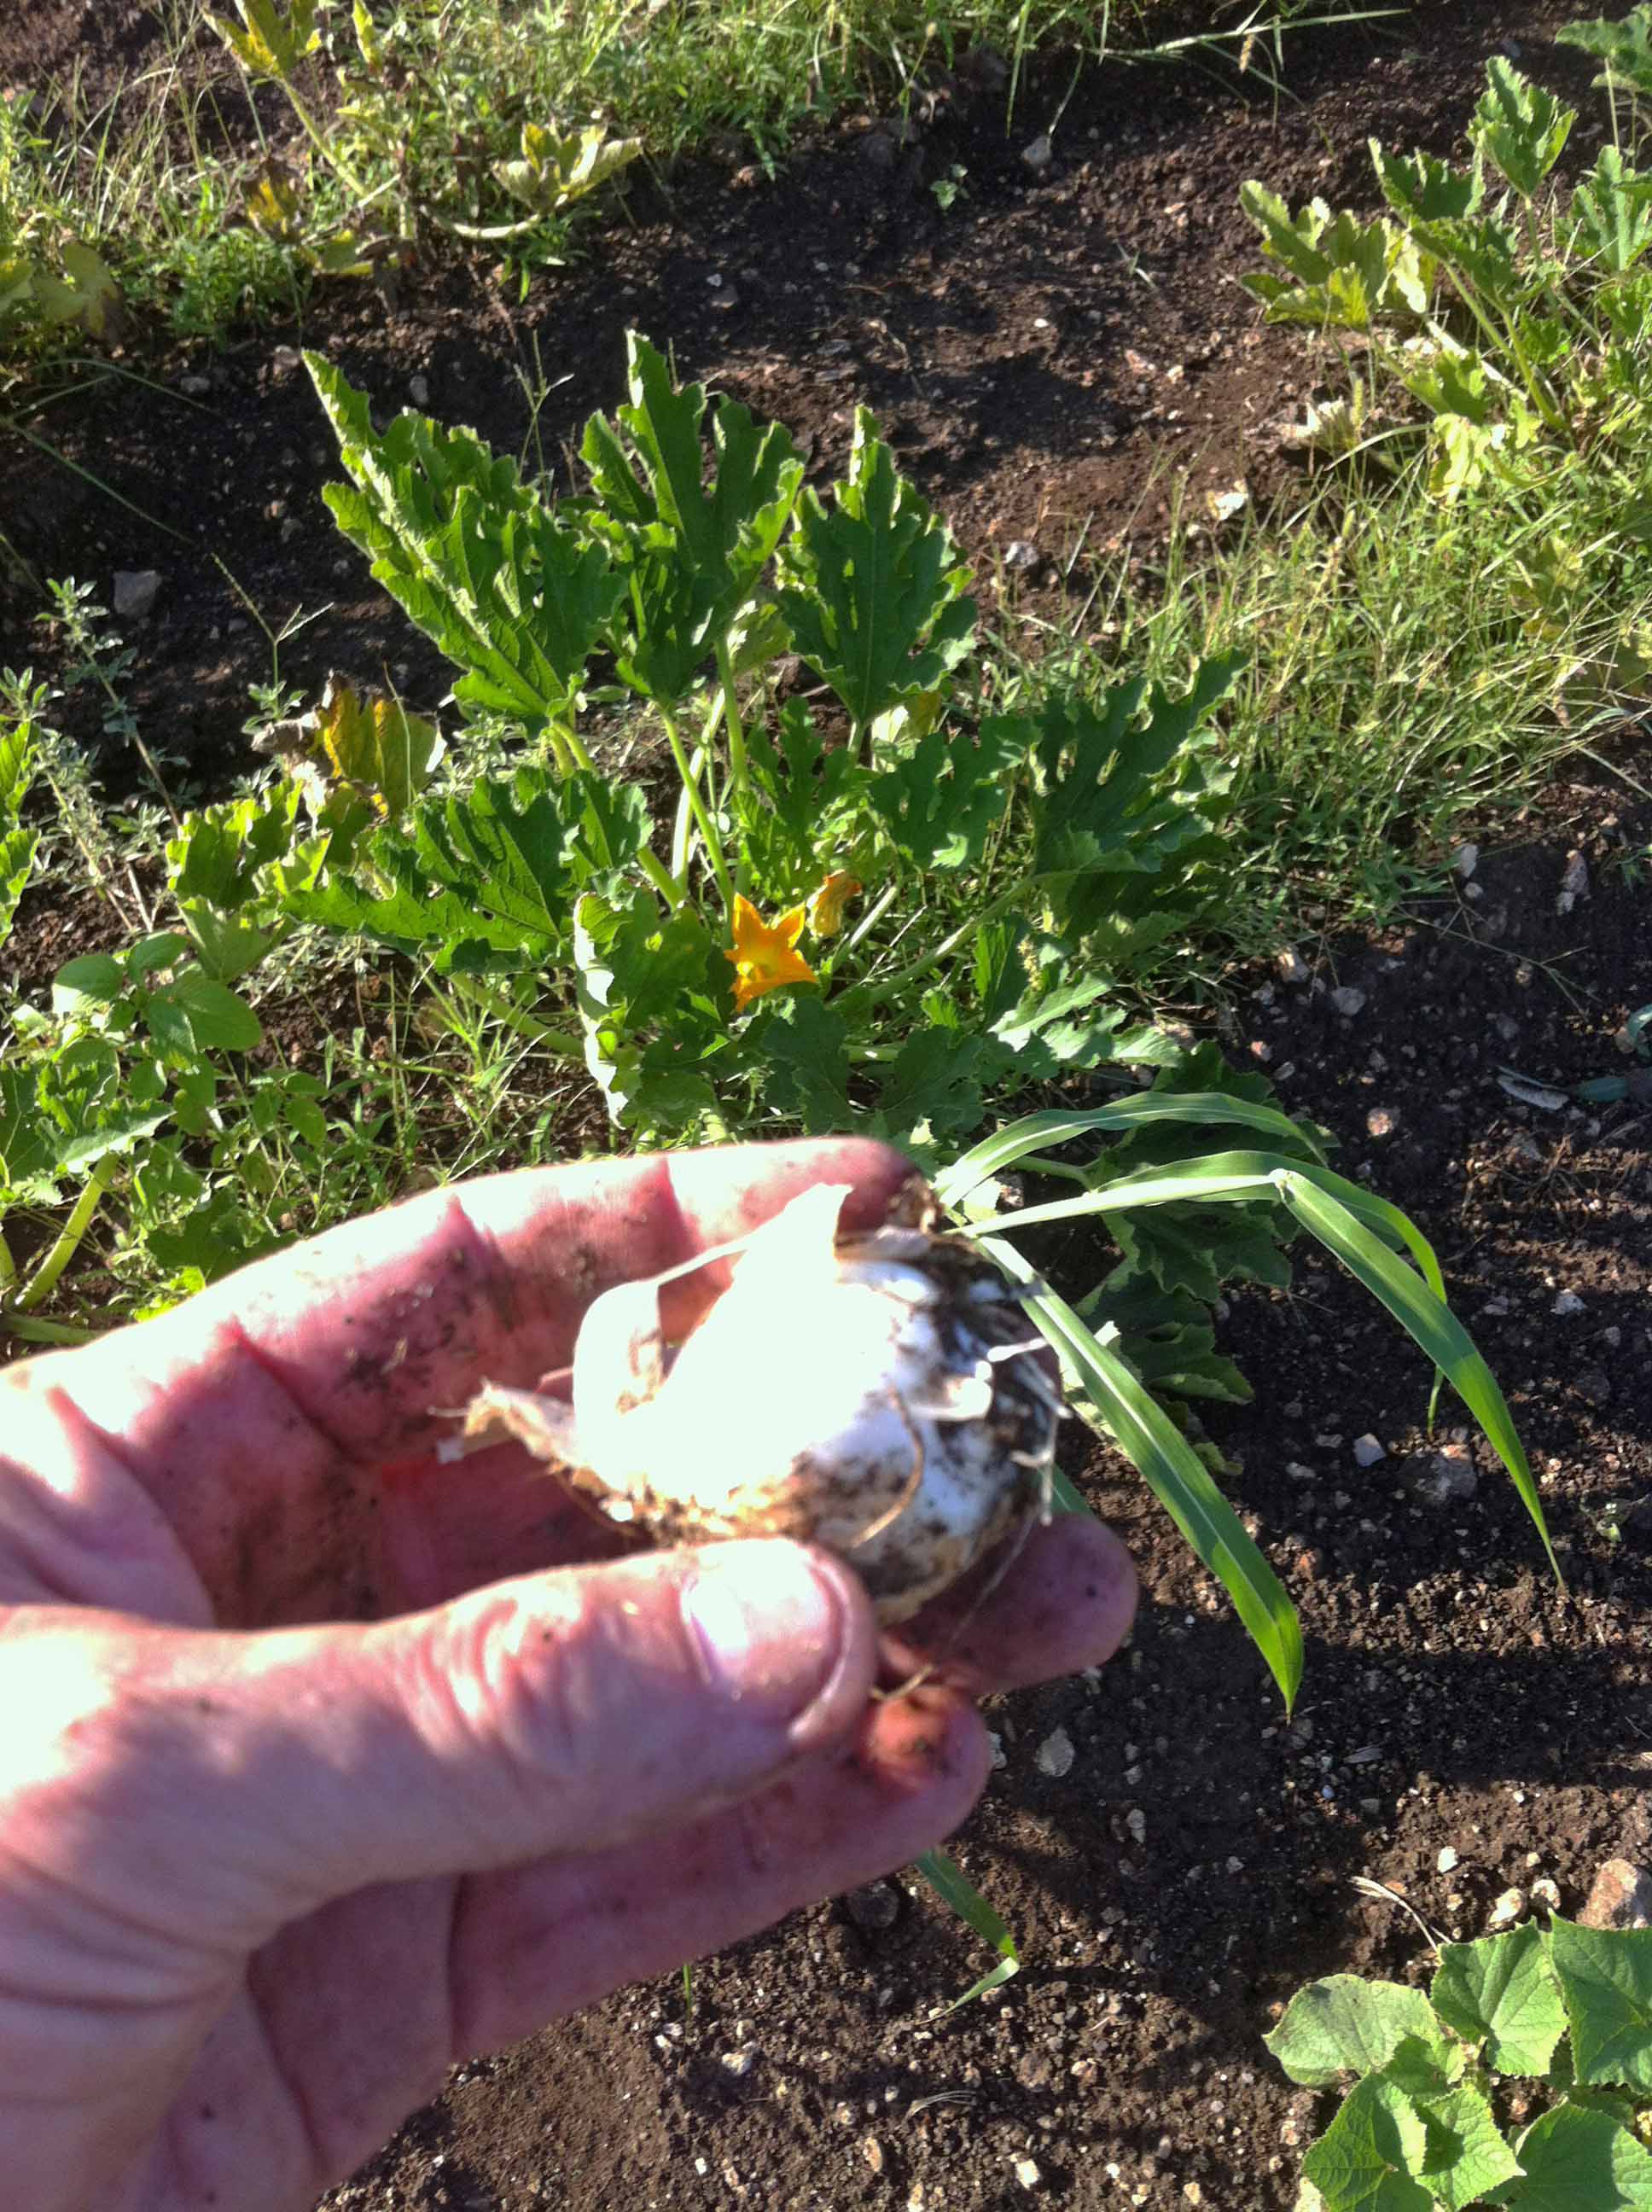
Zucchini and garlic picked today.
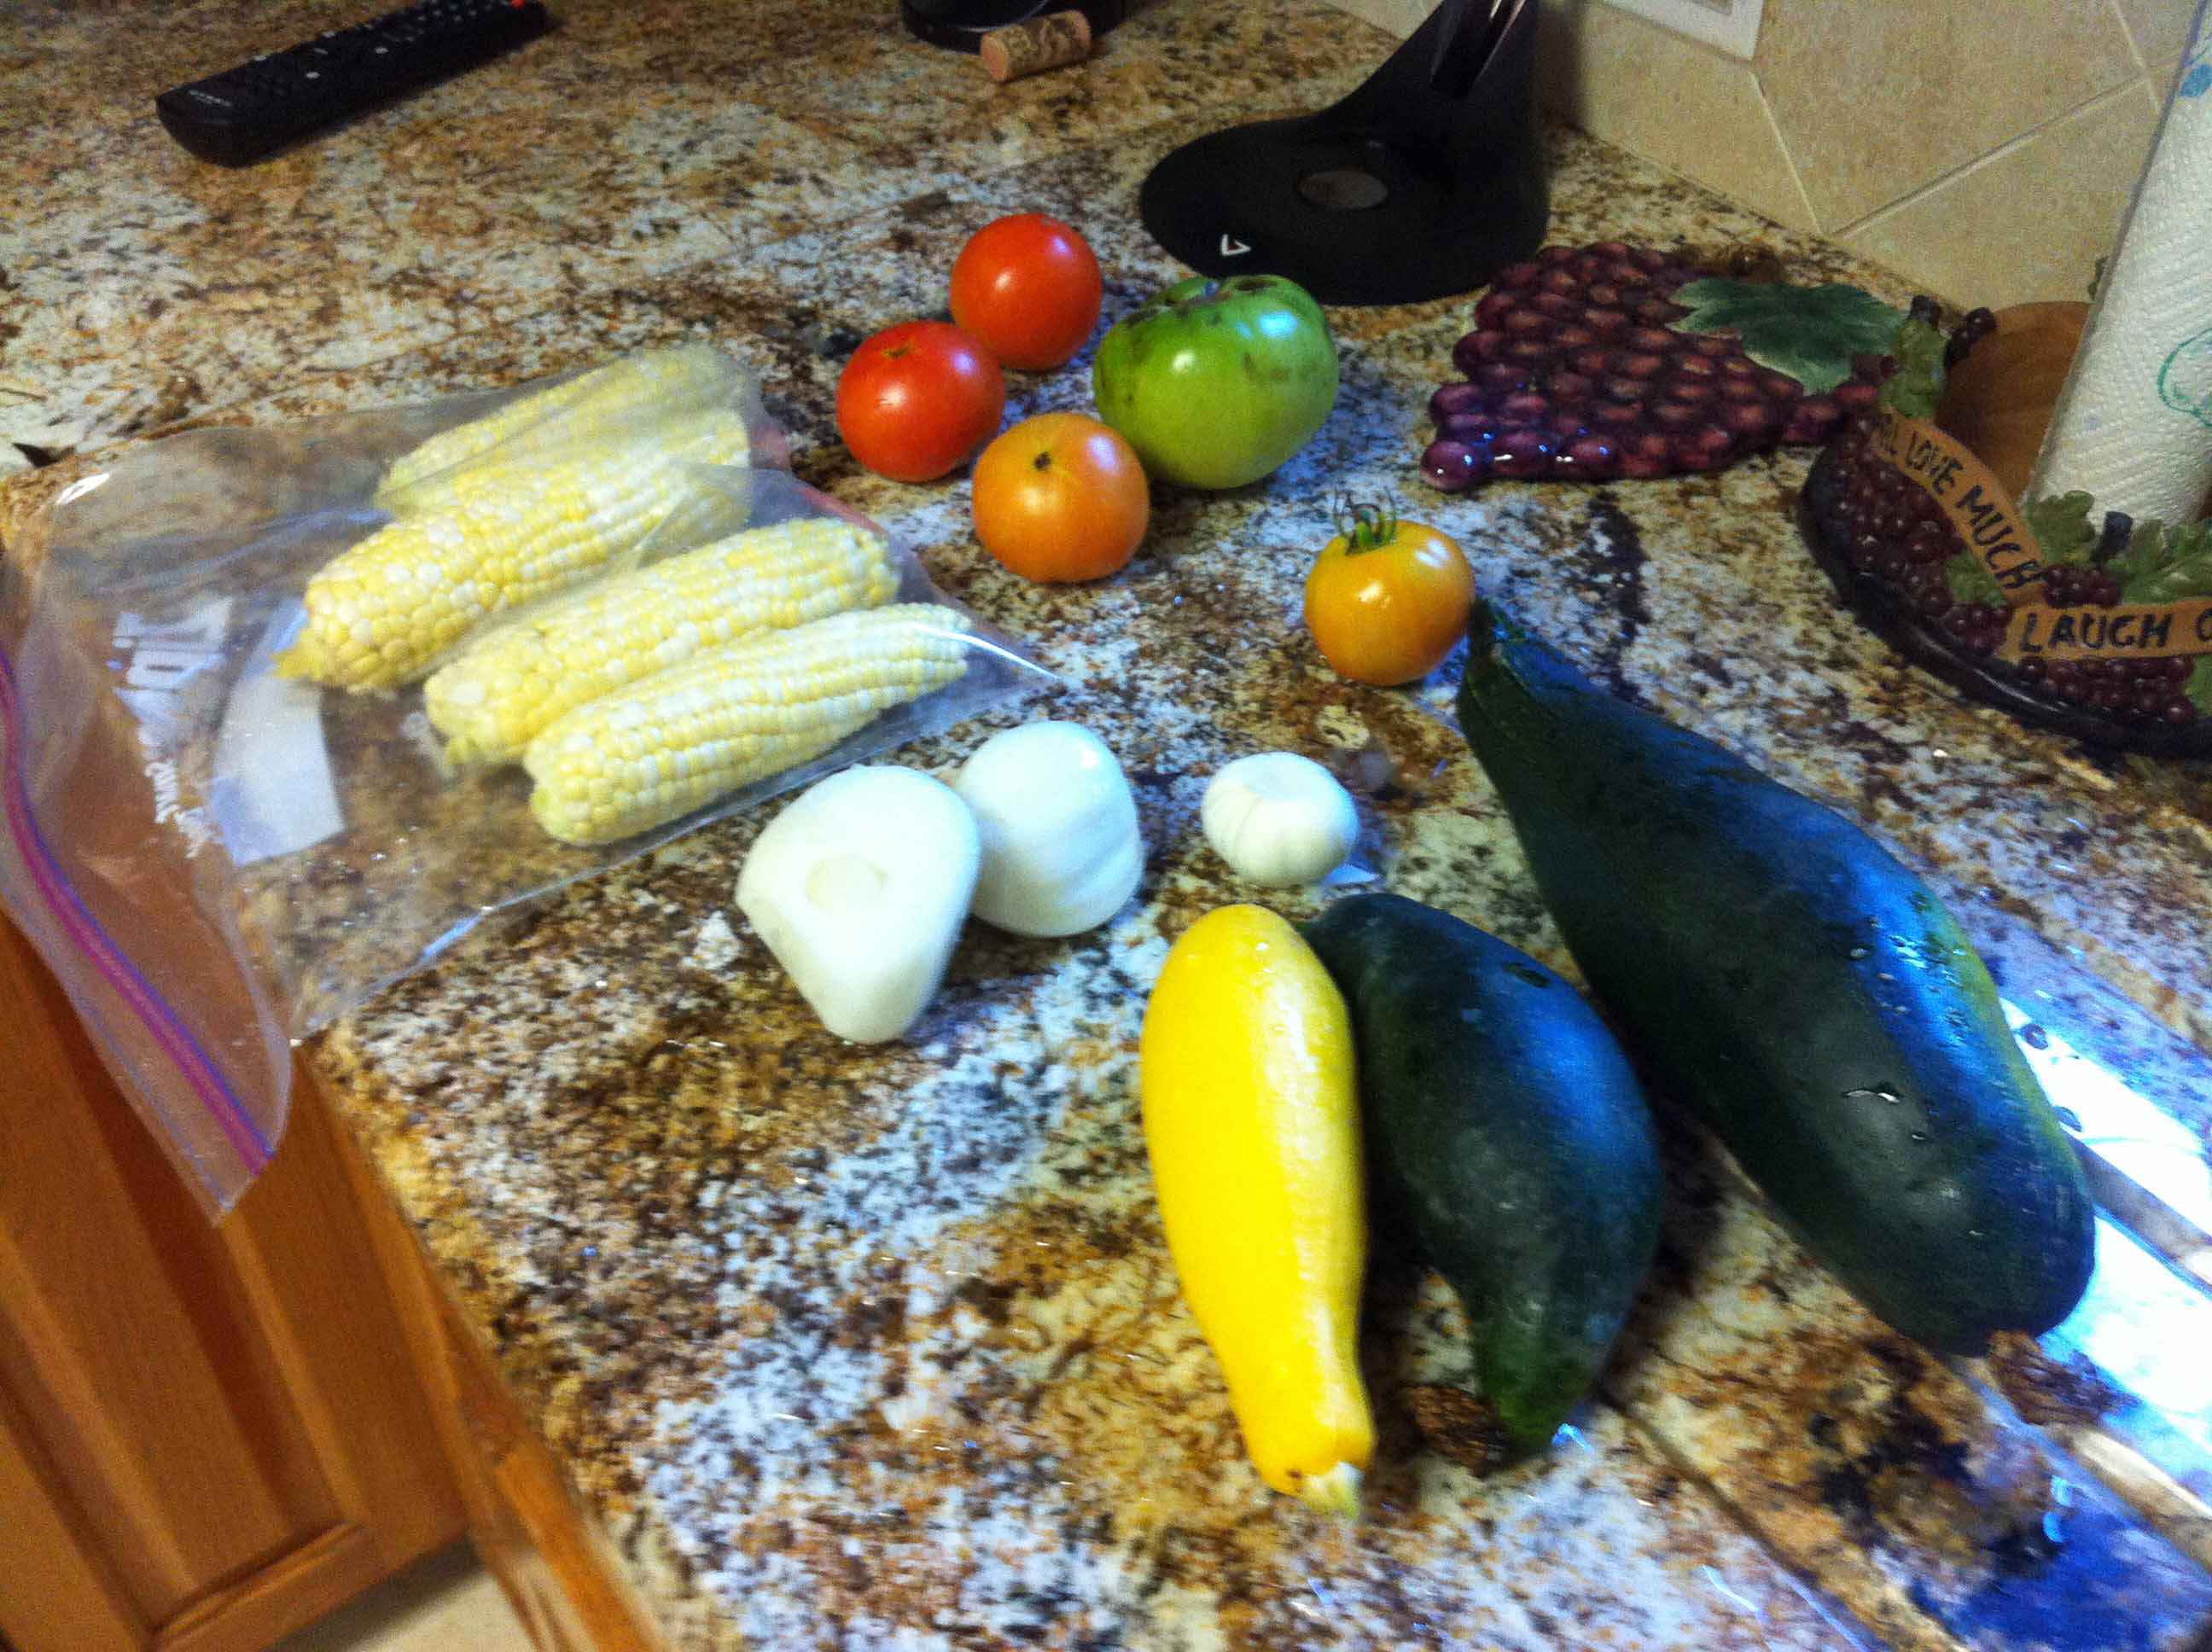
And some of today's harvest. Onion, garlic, zucchini, corn and tomatoes. Also a bucket full of corn to freeze. That process tomorrow.
May 15, 2012
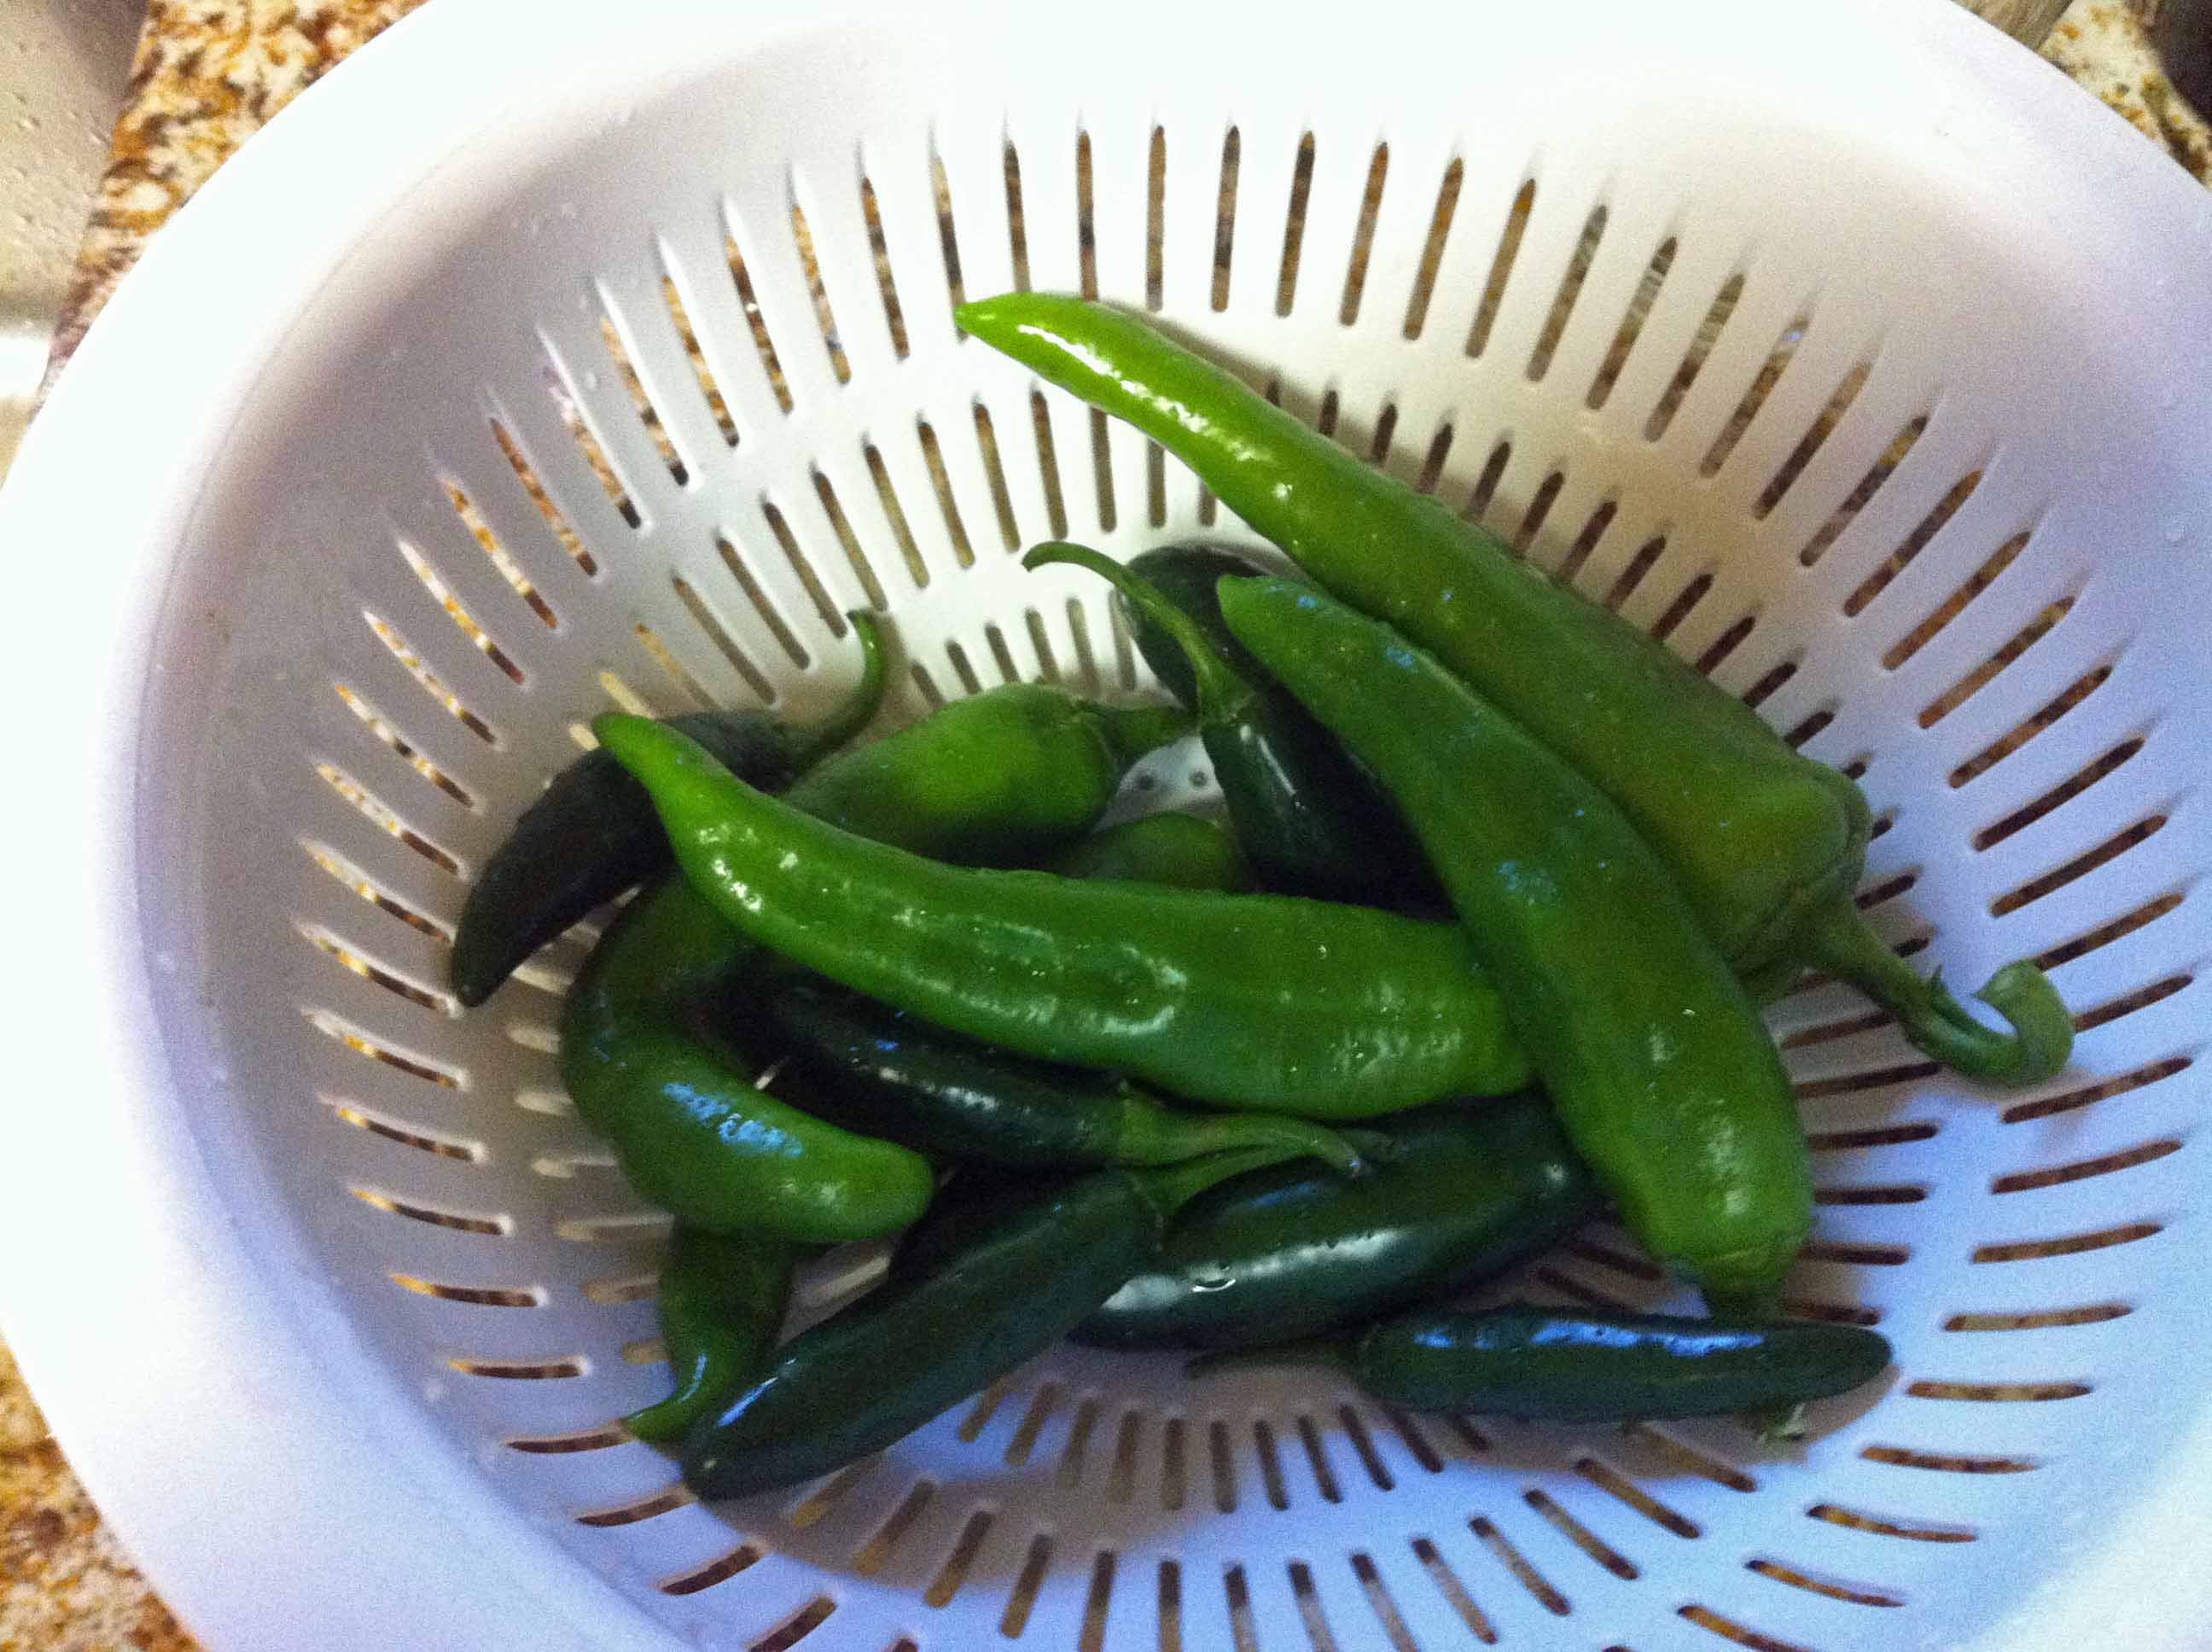
We've had 5 inches of rain this week and cool temps with highs mostly in the 70's and low 80's (even a couple of days in the 60's). Quite a change from last year. Several things are producing now and I'm in the caning and freezing stage now. Peppers, tomatoes, onions, yellow squash and green beans have all been picked and stored this week. Zucchini's are almost ready as are the green peas and corn. Info on freezing green beans can be found on last year's blog here: garden.htm .
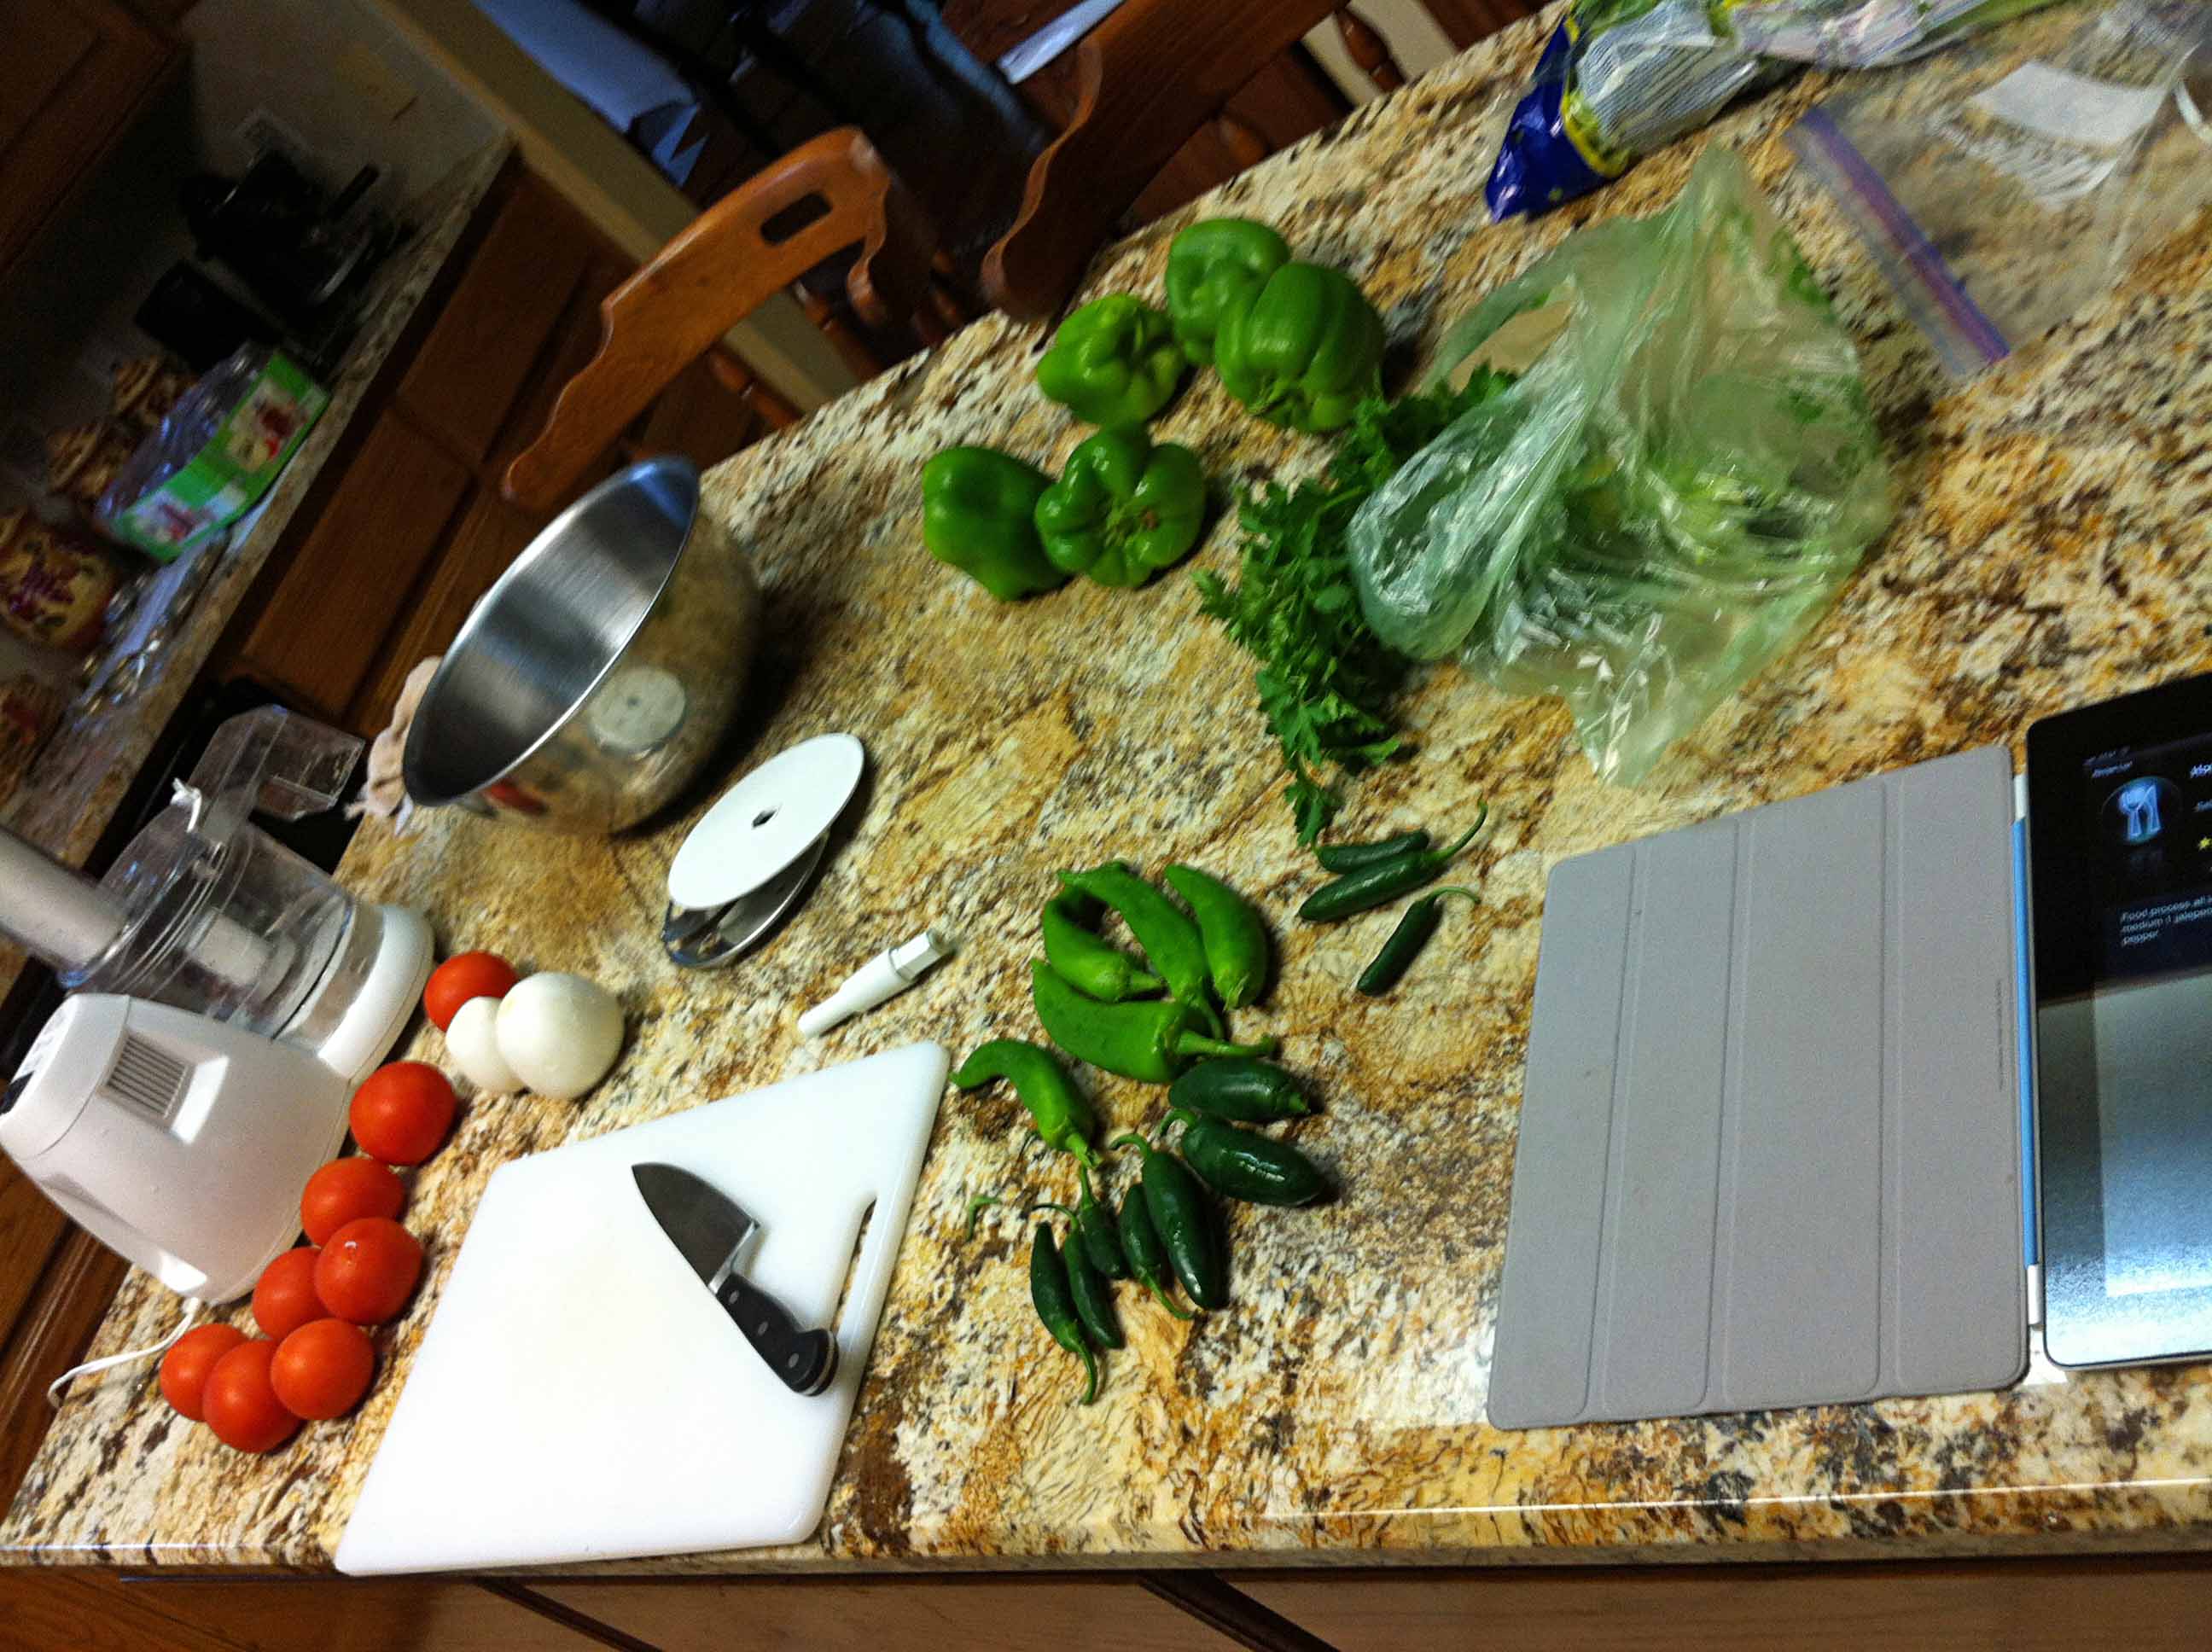
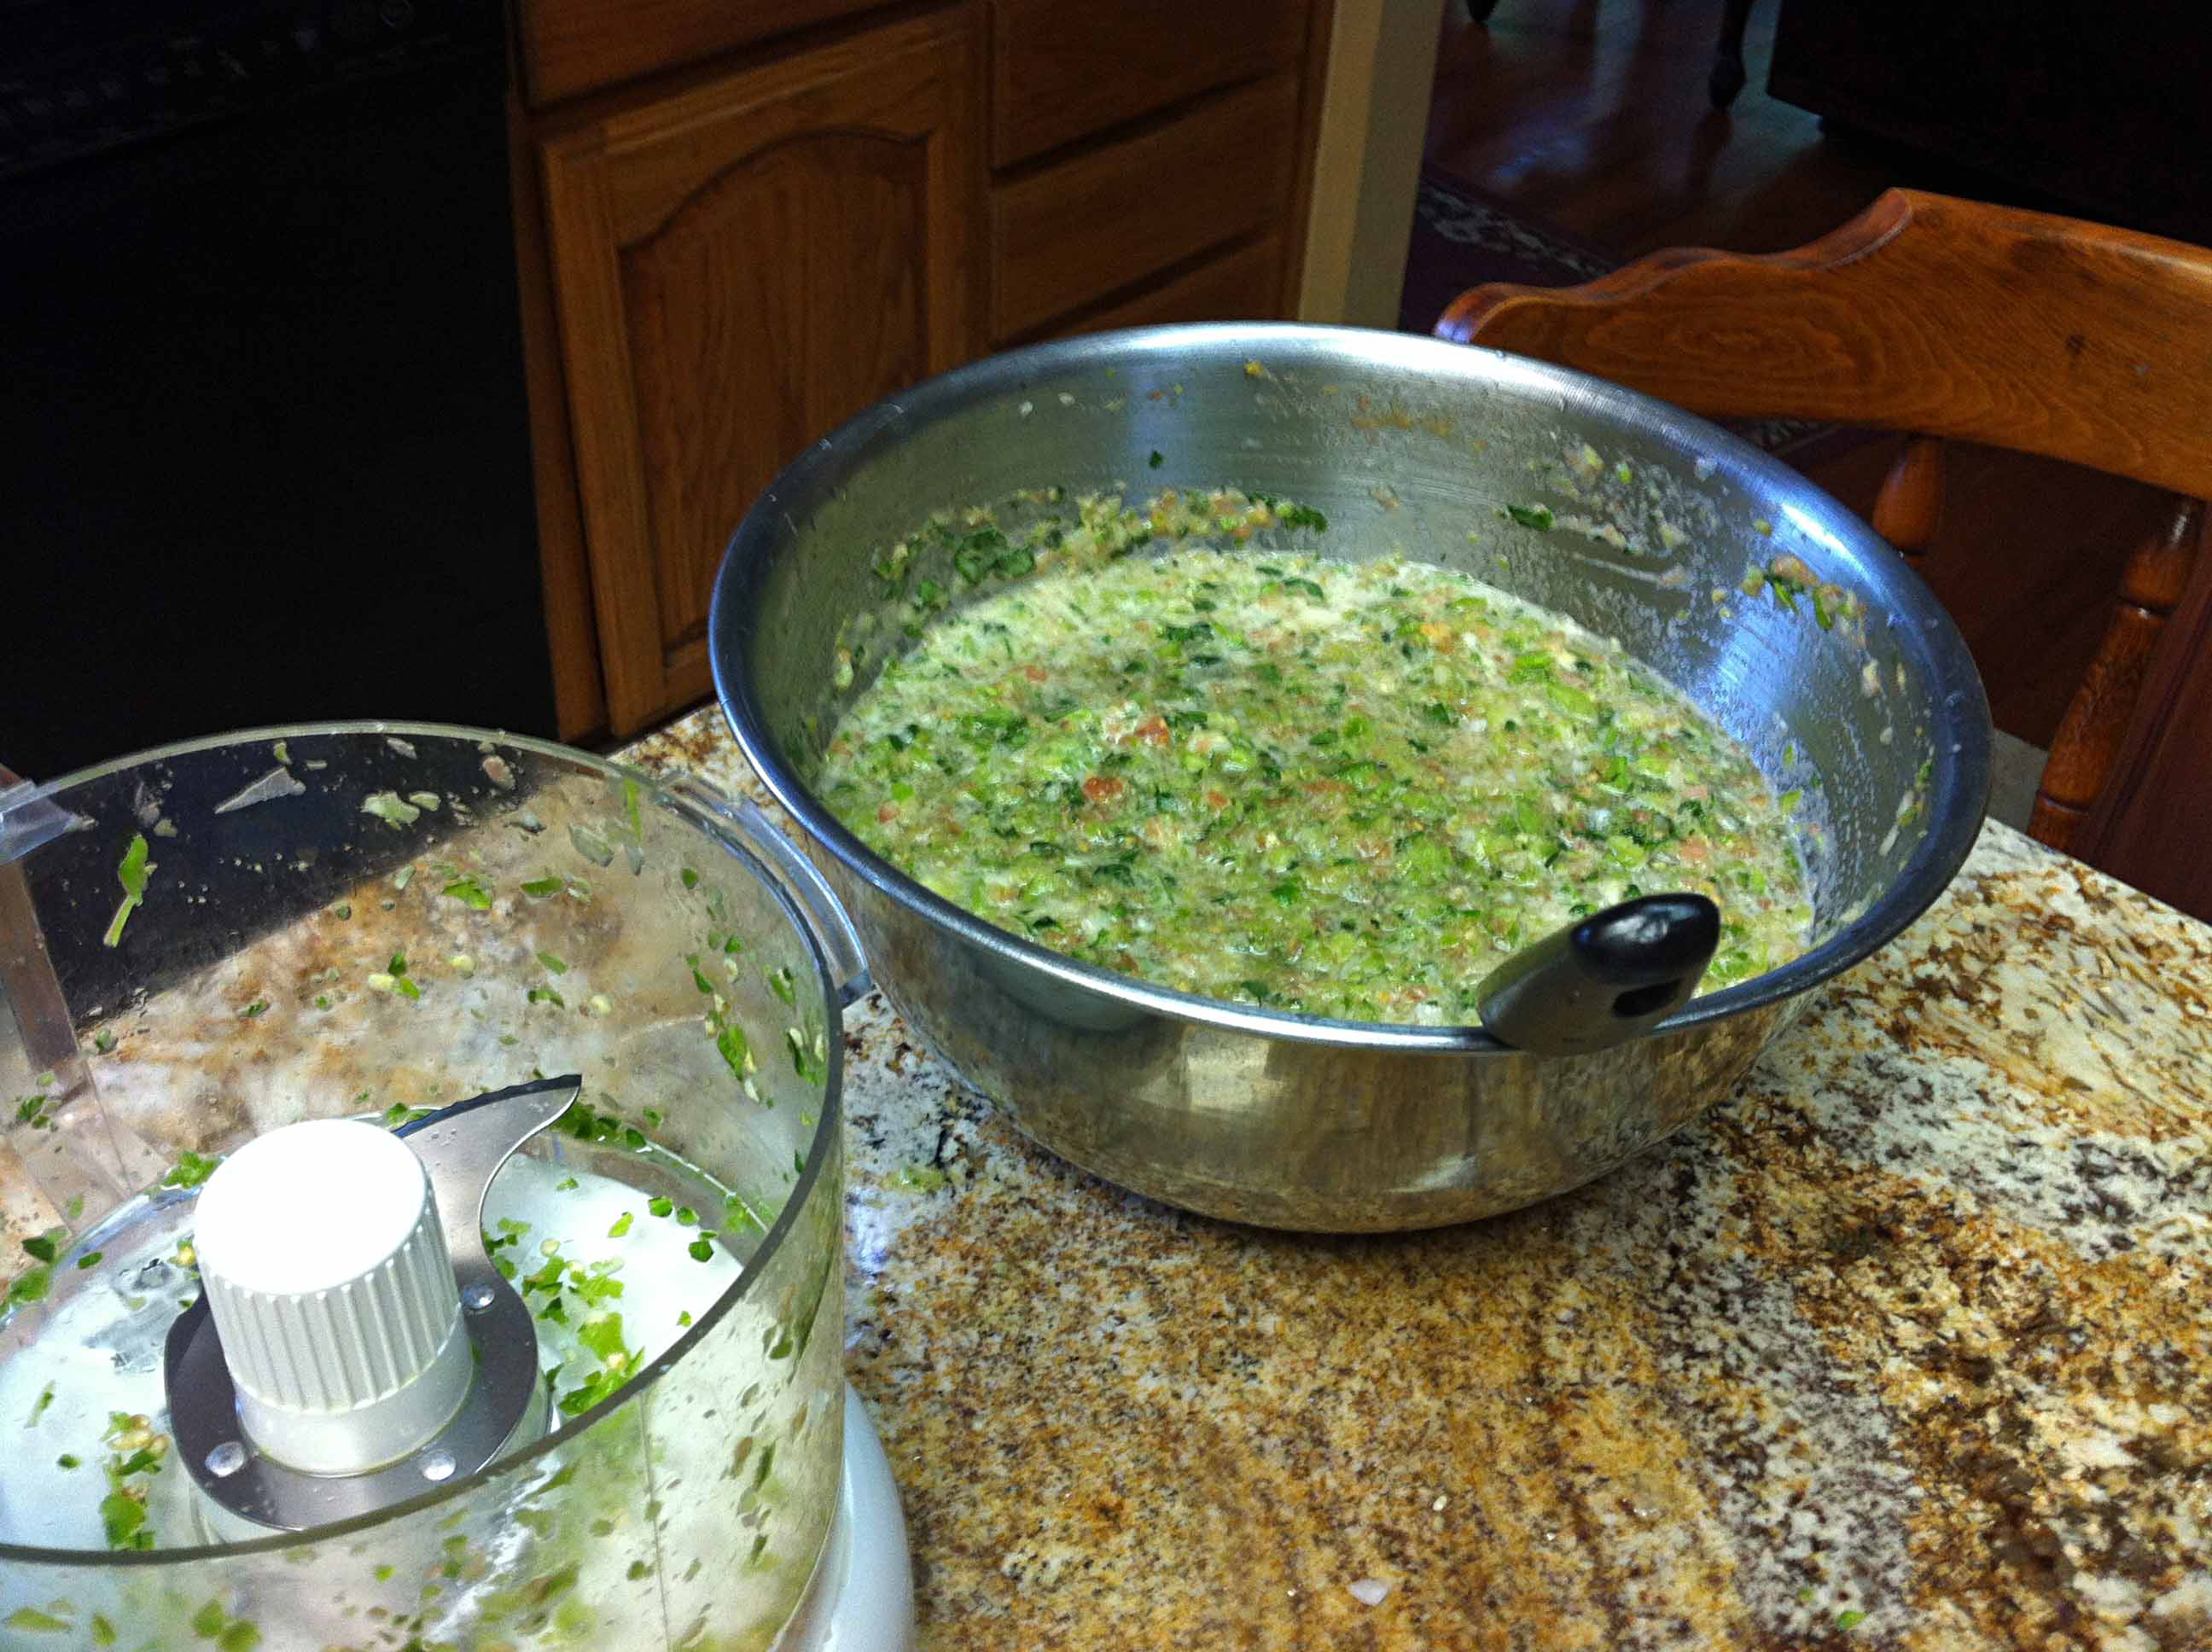
Today I picked everything to make salsa and the recipe is here (this is Ron Ledbetter's recipe slightly tweaked - thanks Ron, it's great every year!):
¾ each celery stalks
5 each bell peppers
8 medium tomatoes pealed
¾ cups cilantro
4 tablespoons salt
4 tablespoons olive oil
4 each juice from limes
5 each Anaheim peppers
1 each onion
⅓ cups vinegar
2 tablespoons sugar
Procedure:
Food process all ingredients and mix together. For mild add 3 serrano peppers,
for medium 1 jalepeno and 3 serrano, for hot 3 serrano 2 jalepeno and 1 habenaro
pepper.
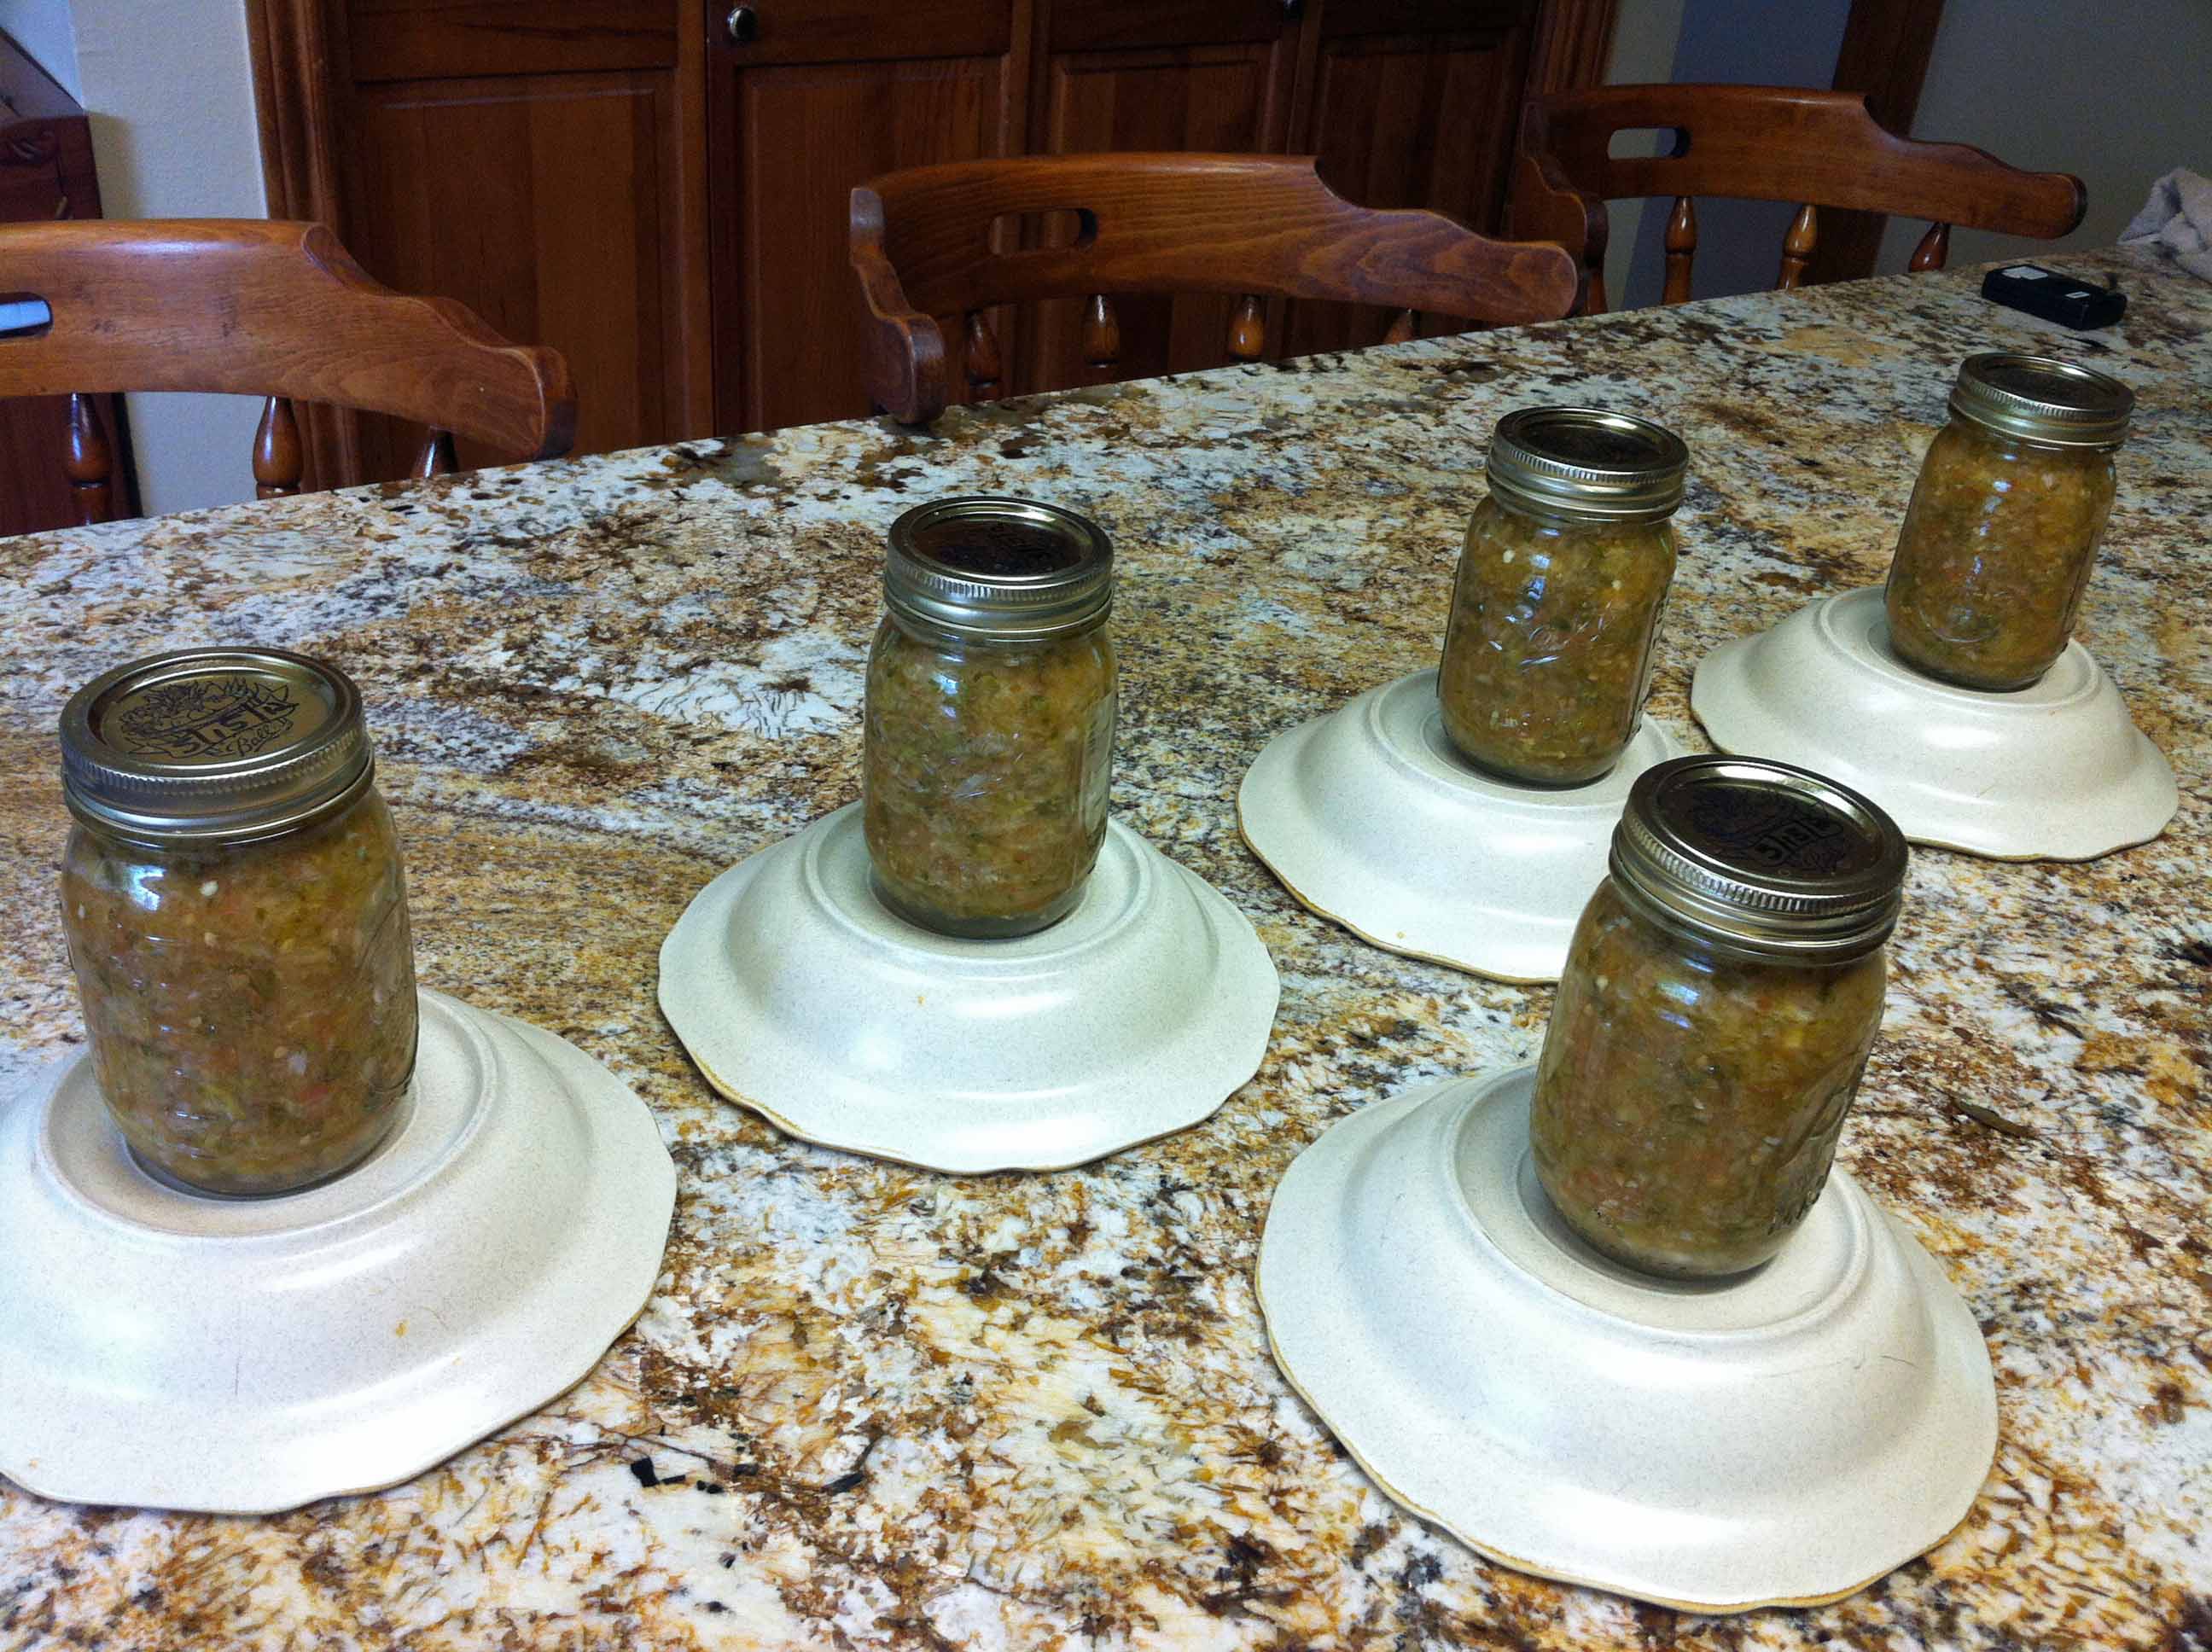
All the ingredients came from the garden except the celery. It doesn't do well in our heat. You can preserve this by canning it. Put the salsa in pint jars and fill them to the ring near the top of the jar (about 1/2 inch air space). Clean the rim of the jar for a good seal and place new lids and rings on the jars. Boil the jars under water (or in a canner) for 30 minutes. This is the same process as canning tomatoes on last year's blog, only less time for the smaller jars. As the jars cool the lids will pop down under a vacuum. We've kept this salsa for 3 years with no problems.
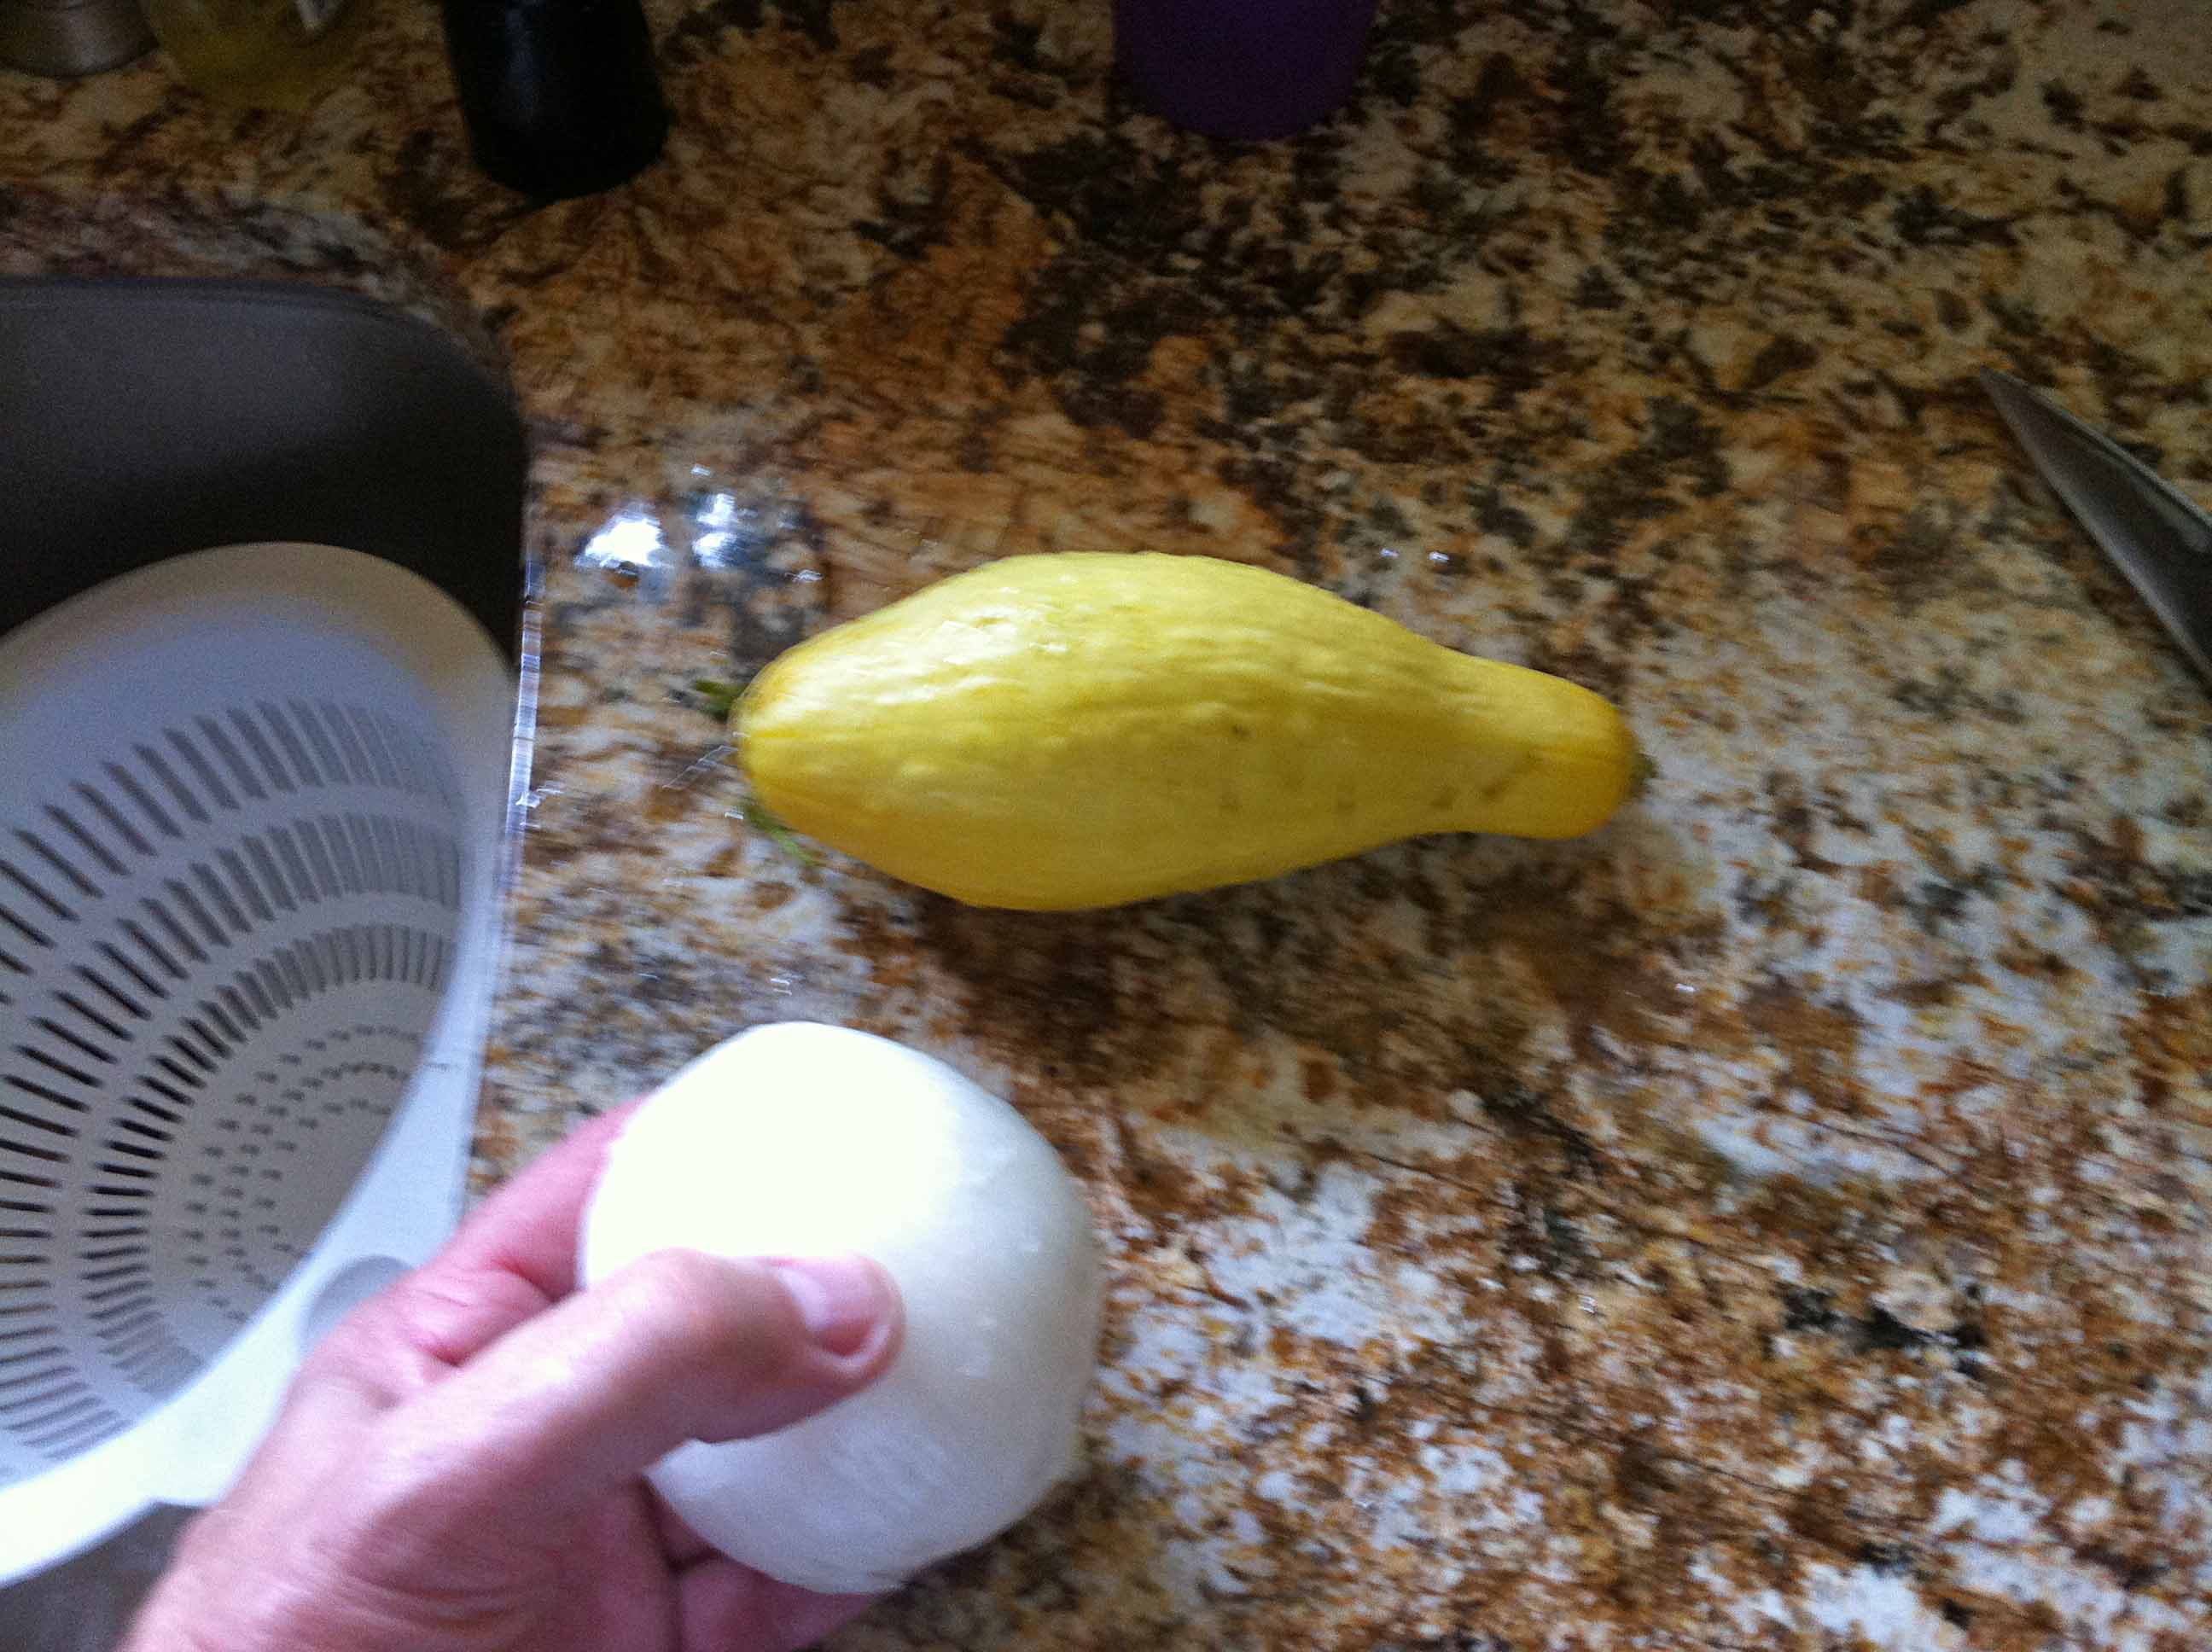
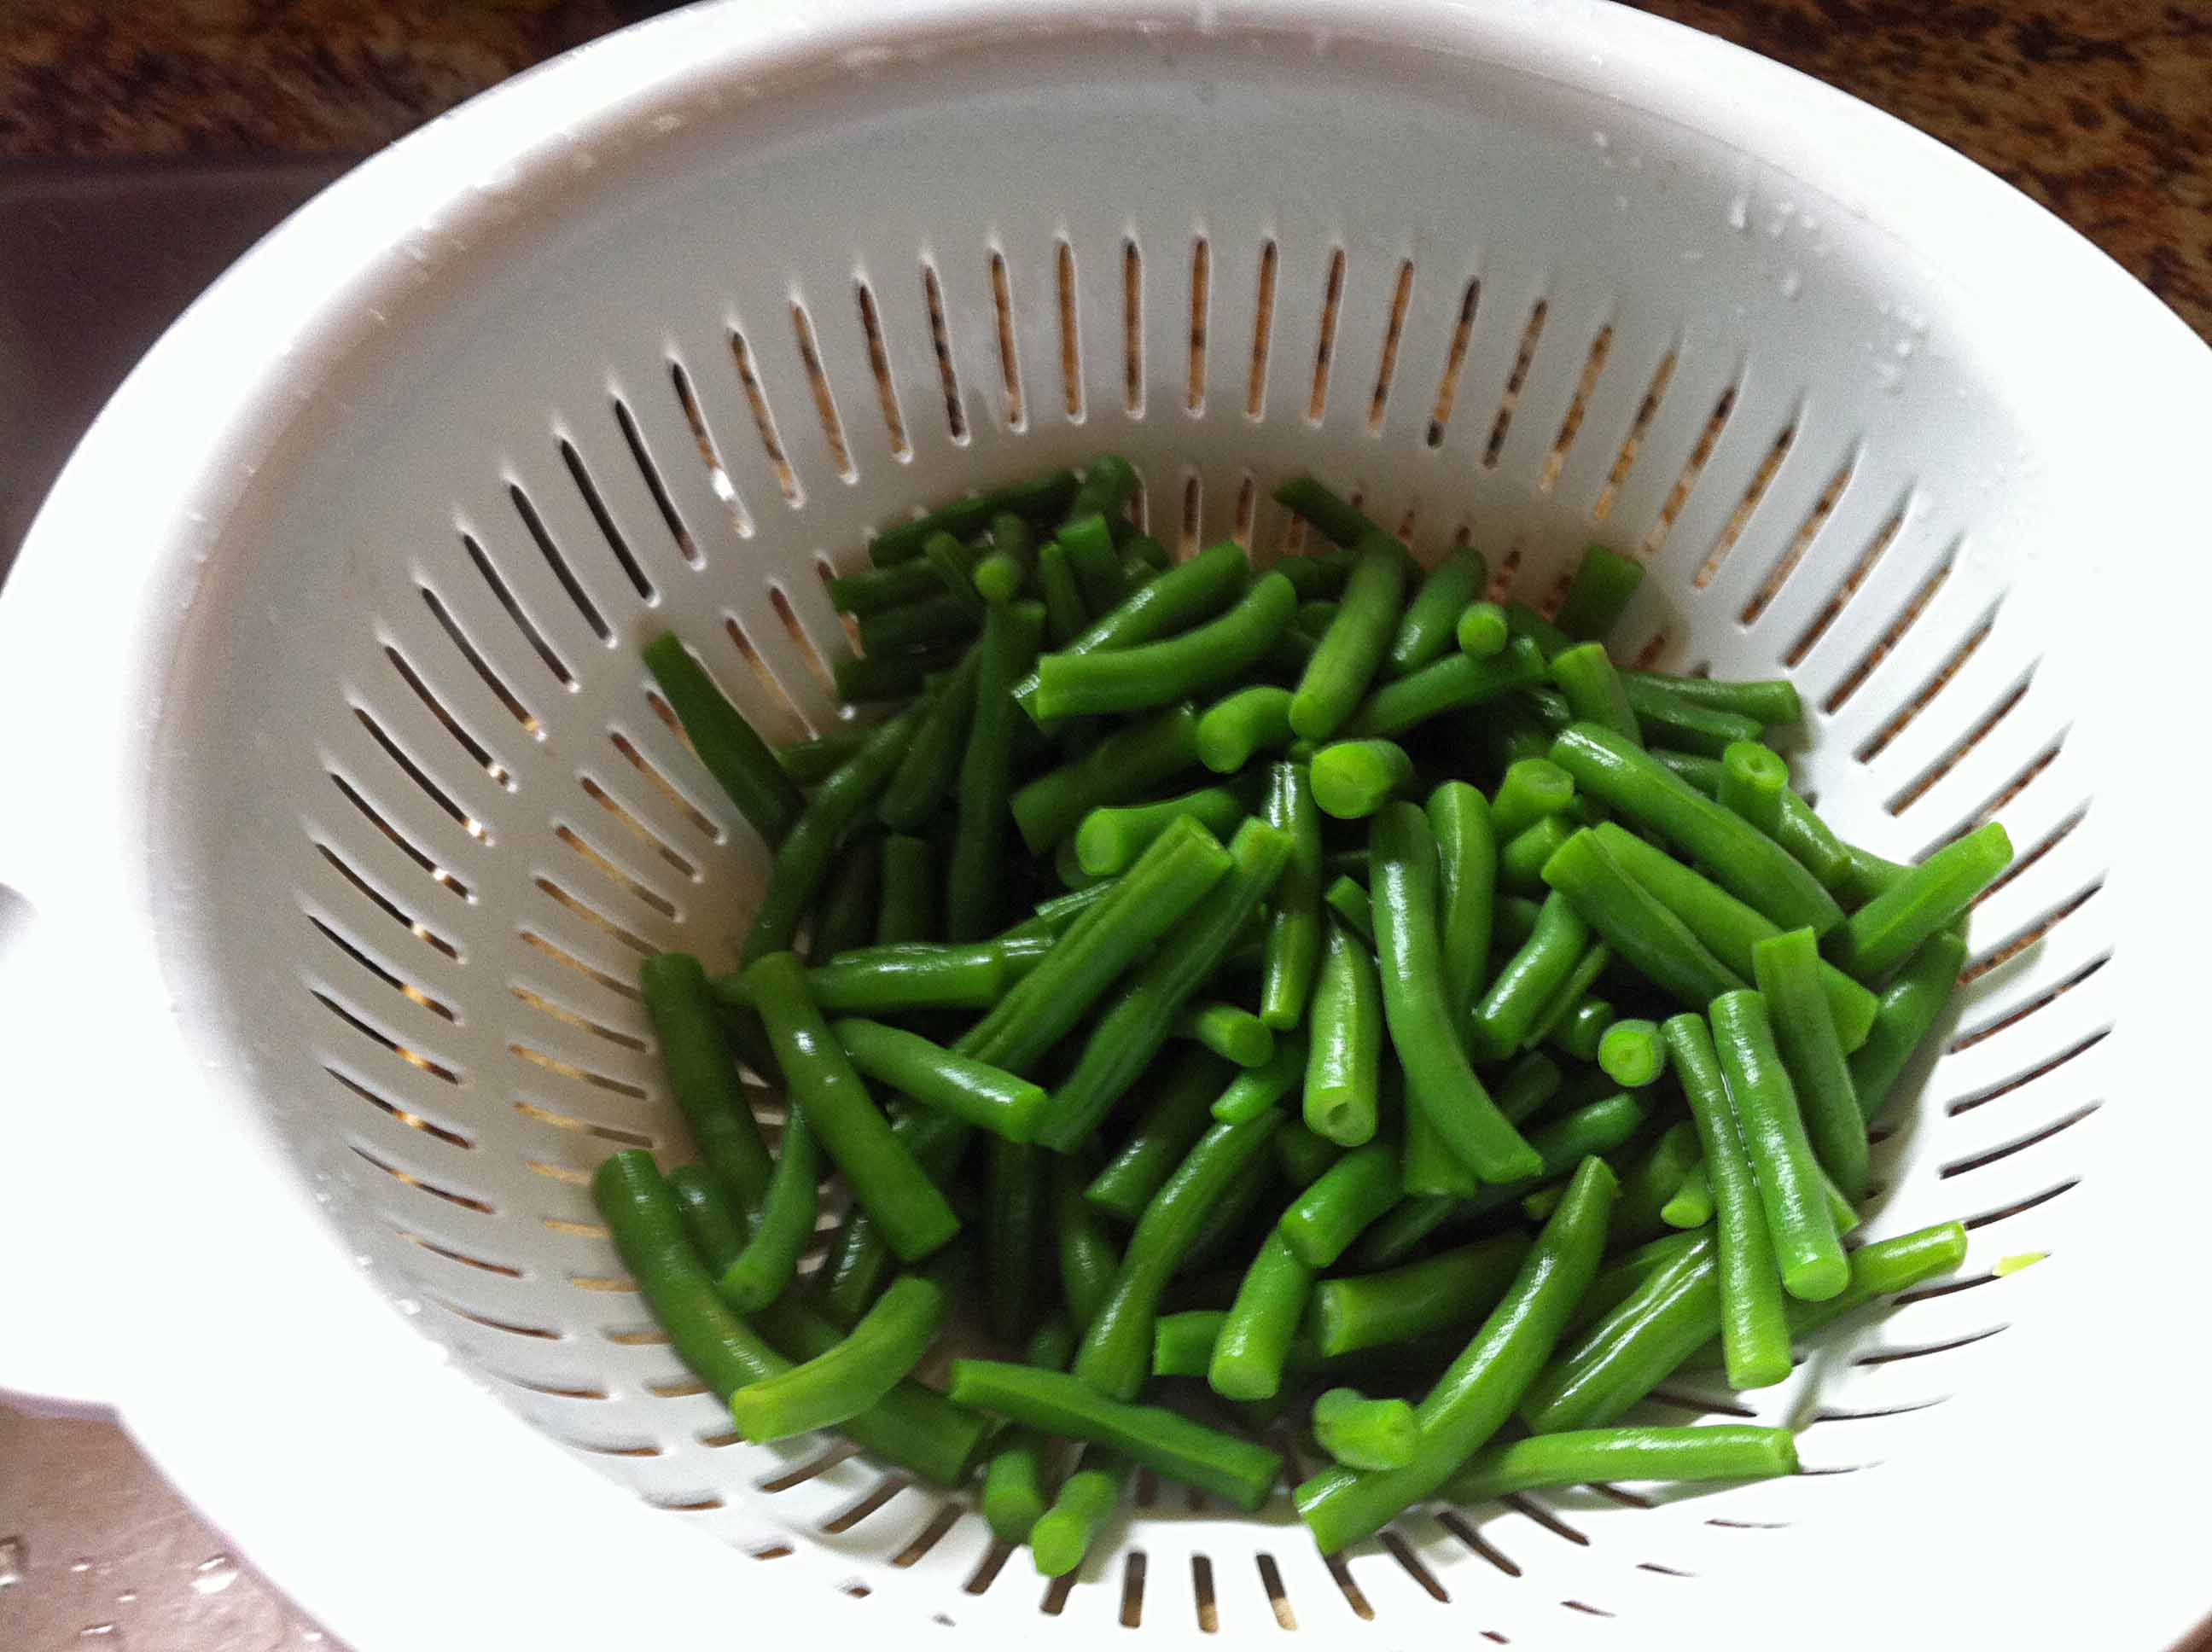
Yellow squash, onions and green beans cut blanched and ready to freeze
May 2, 2012
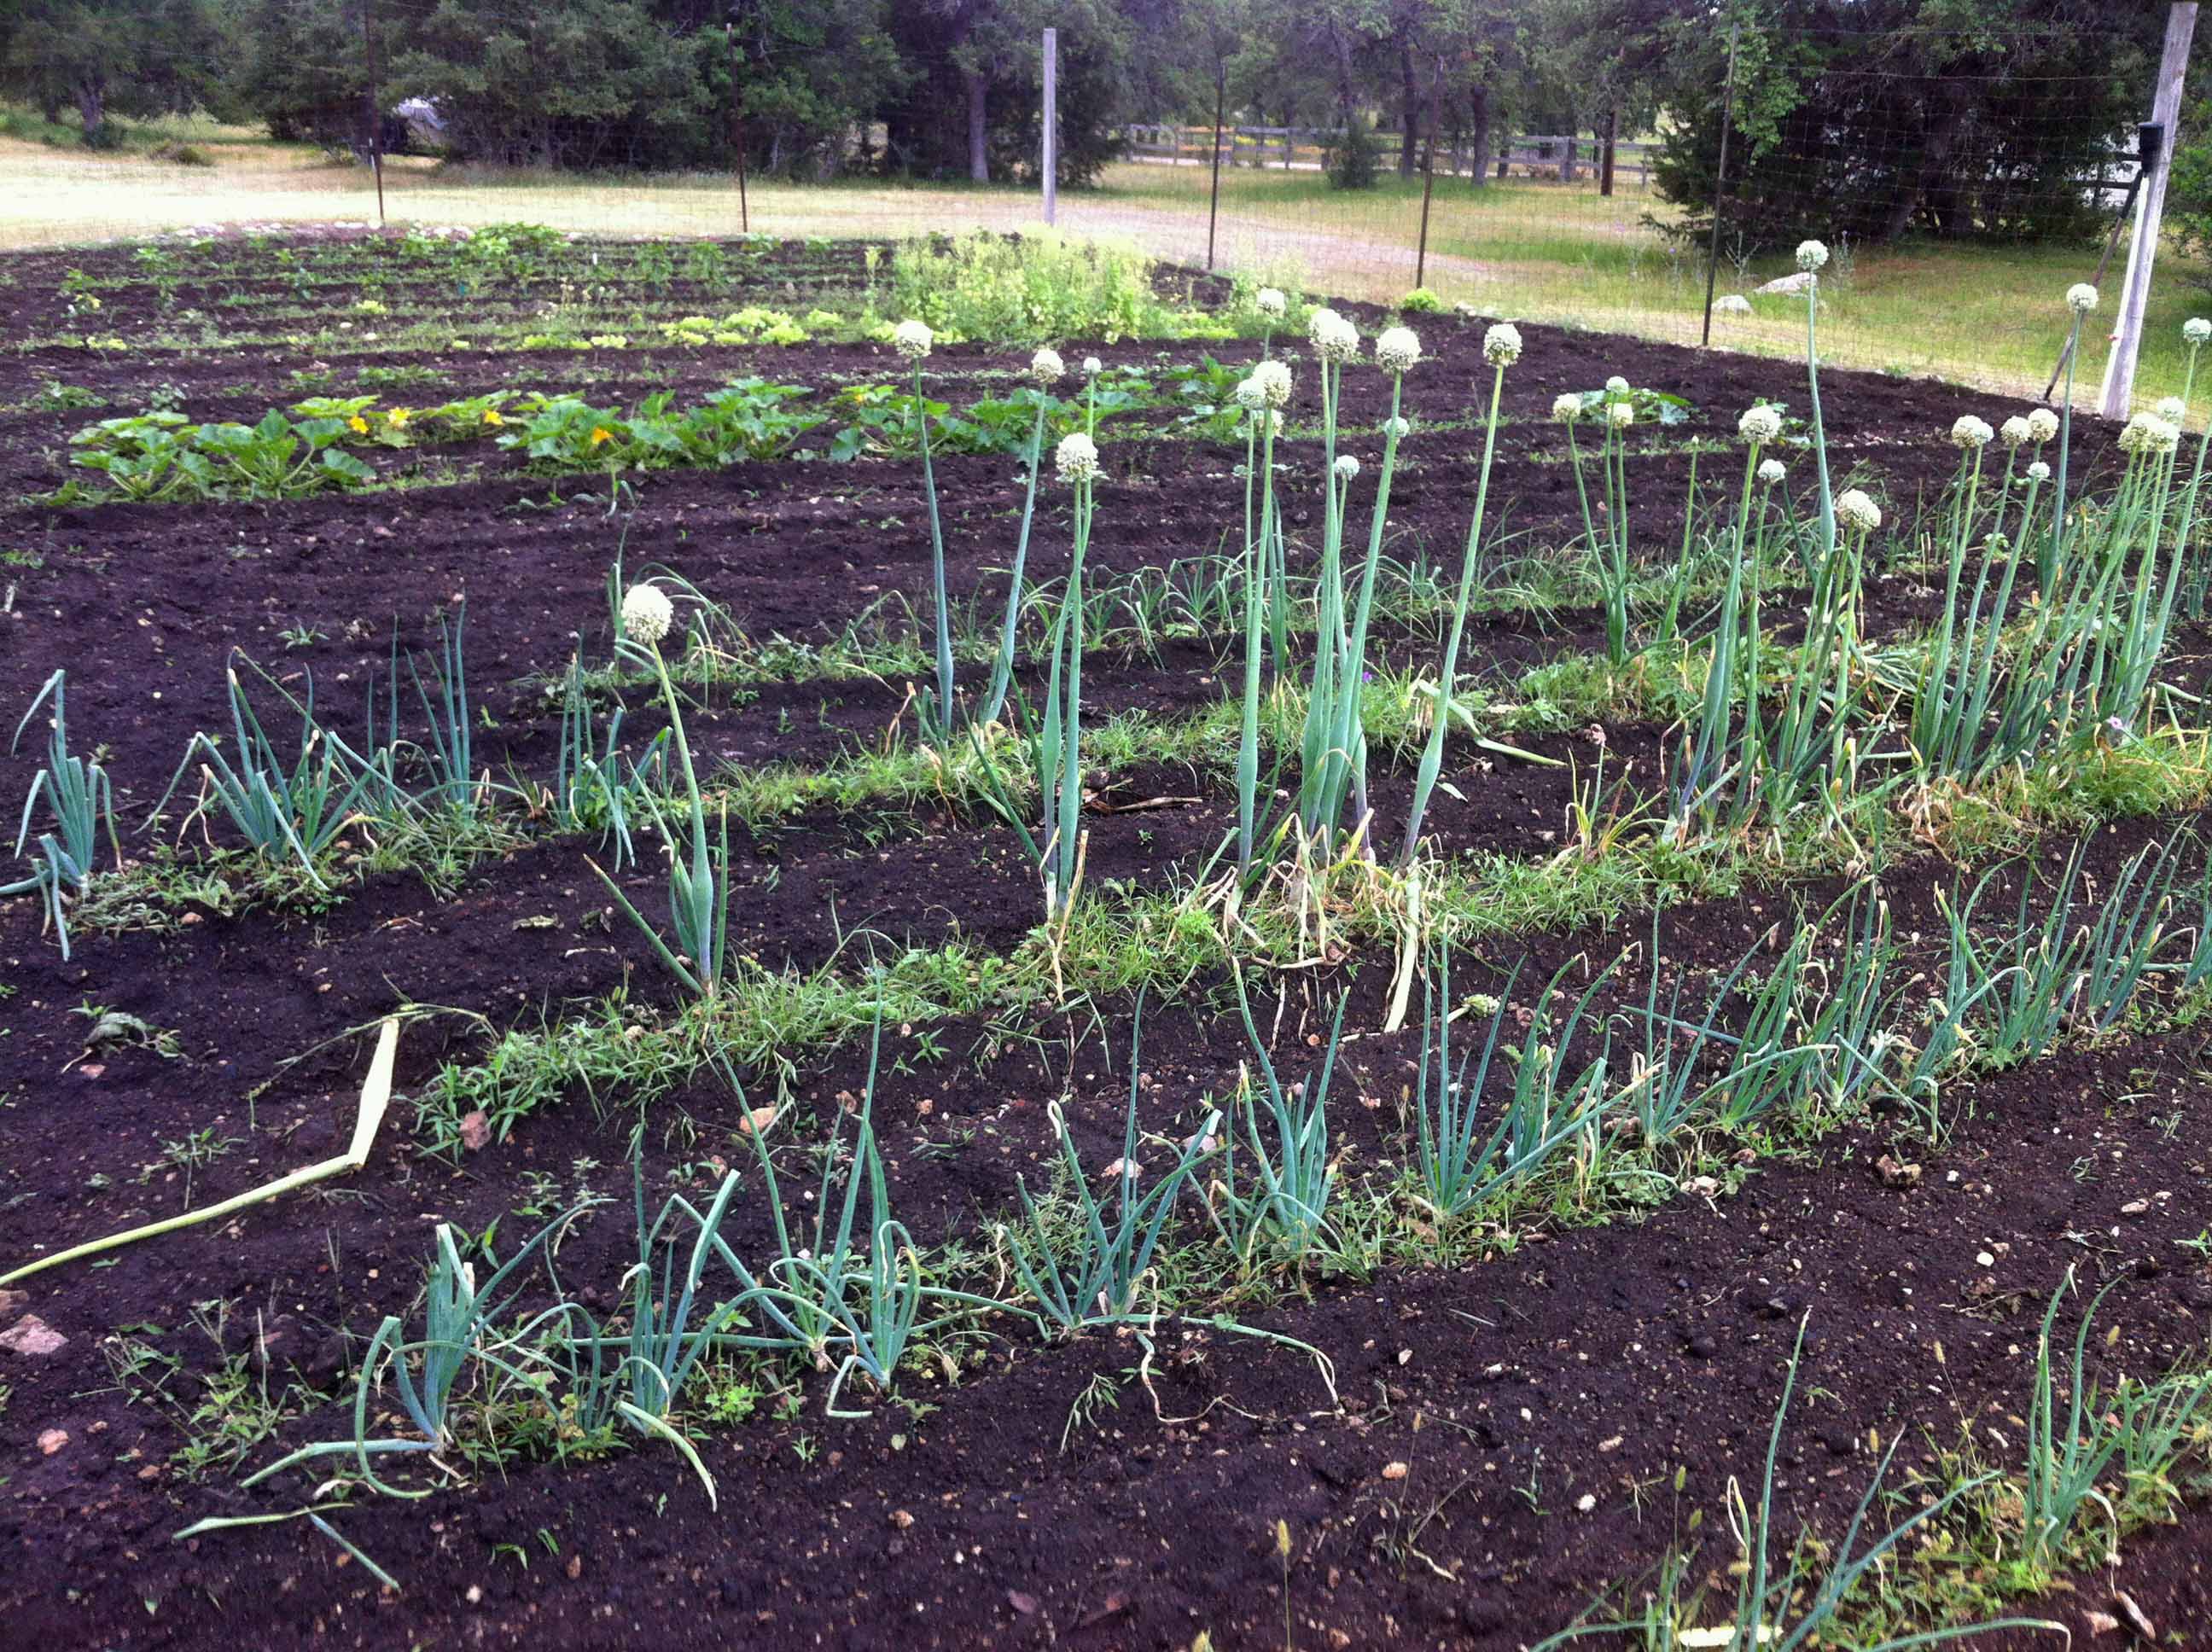
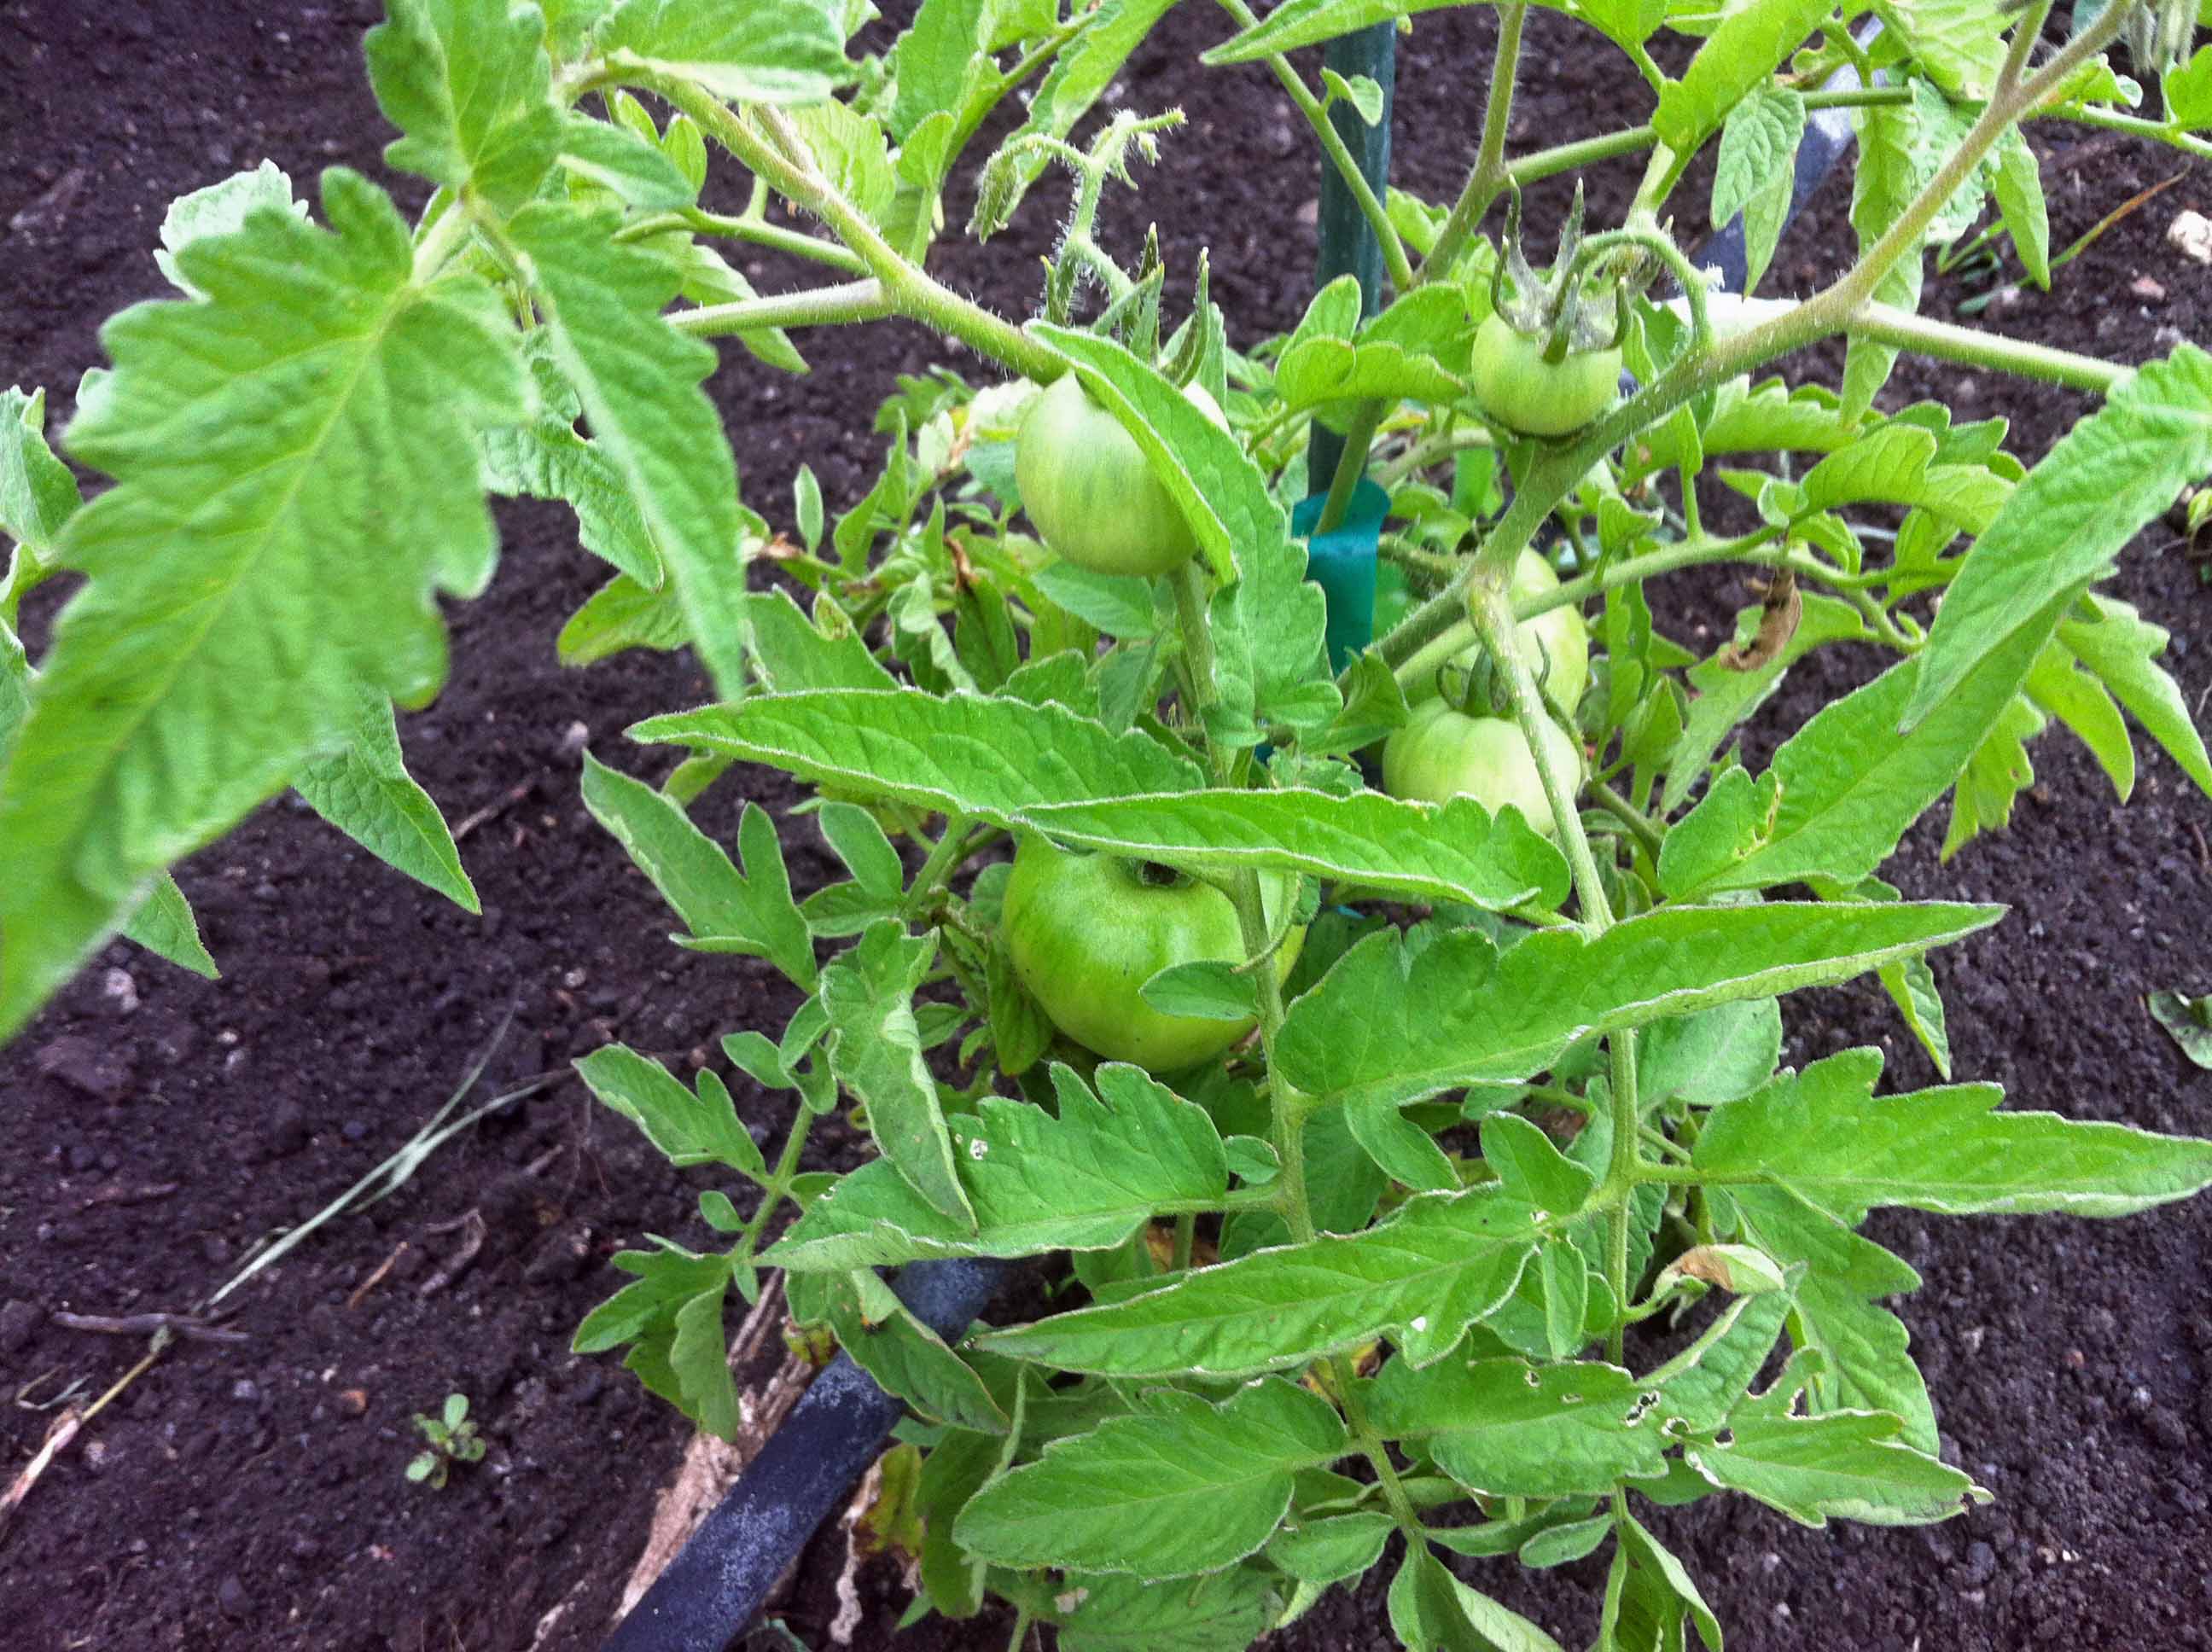
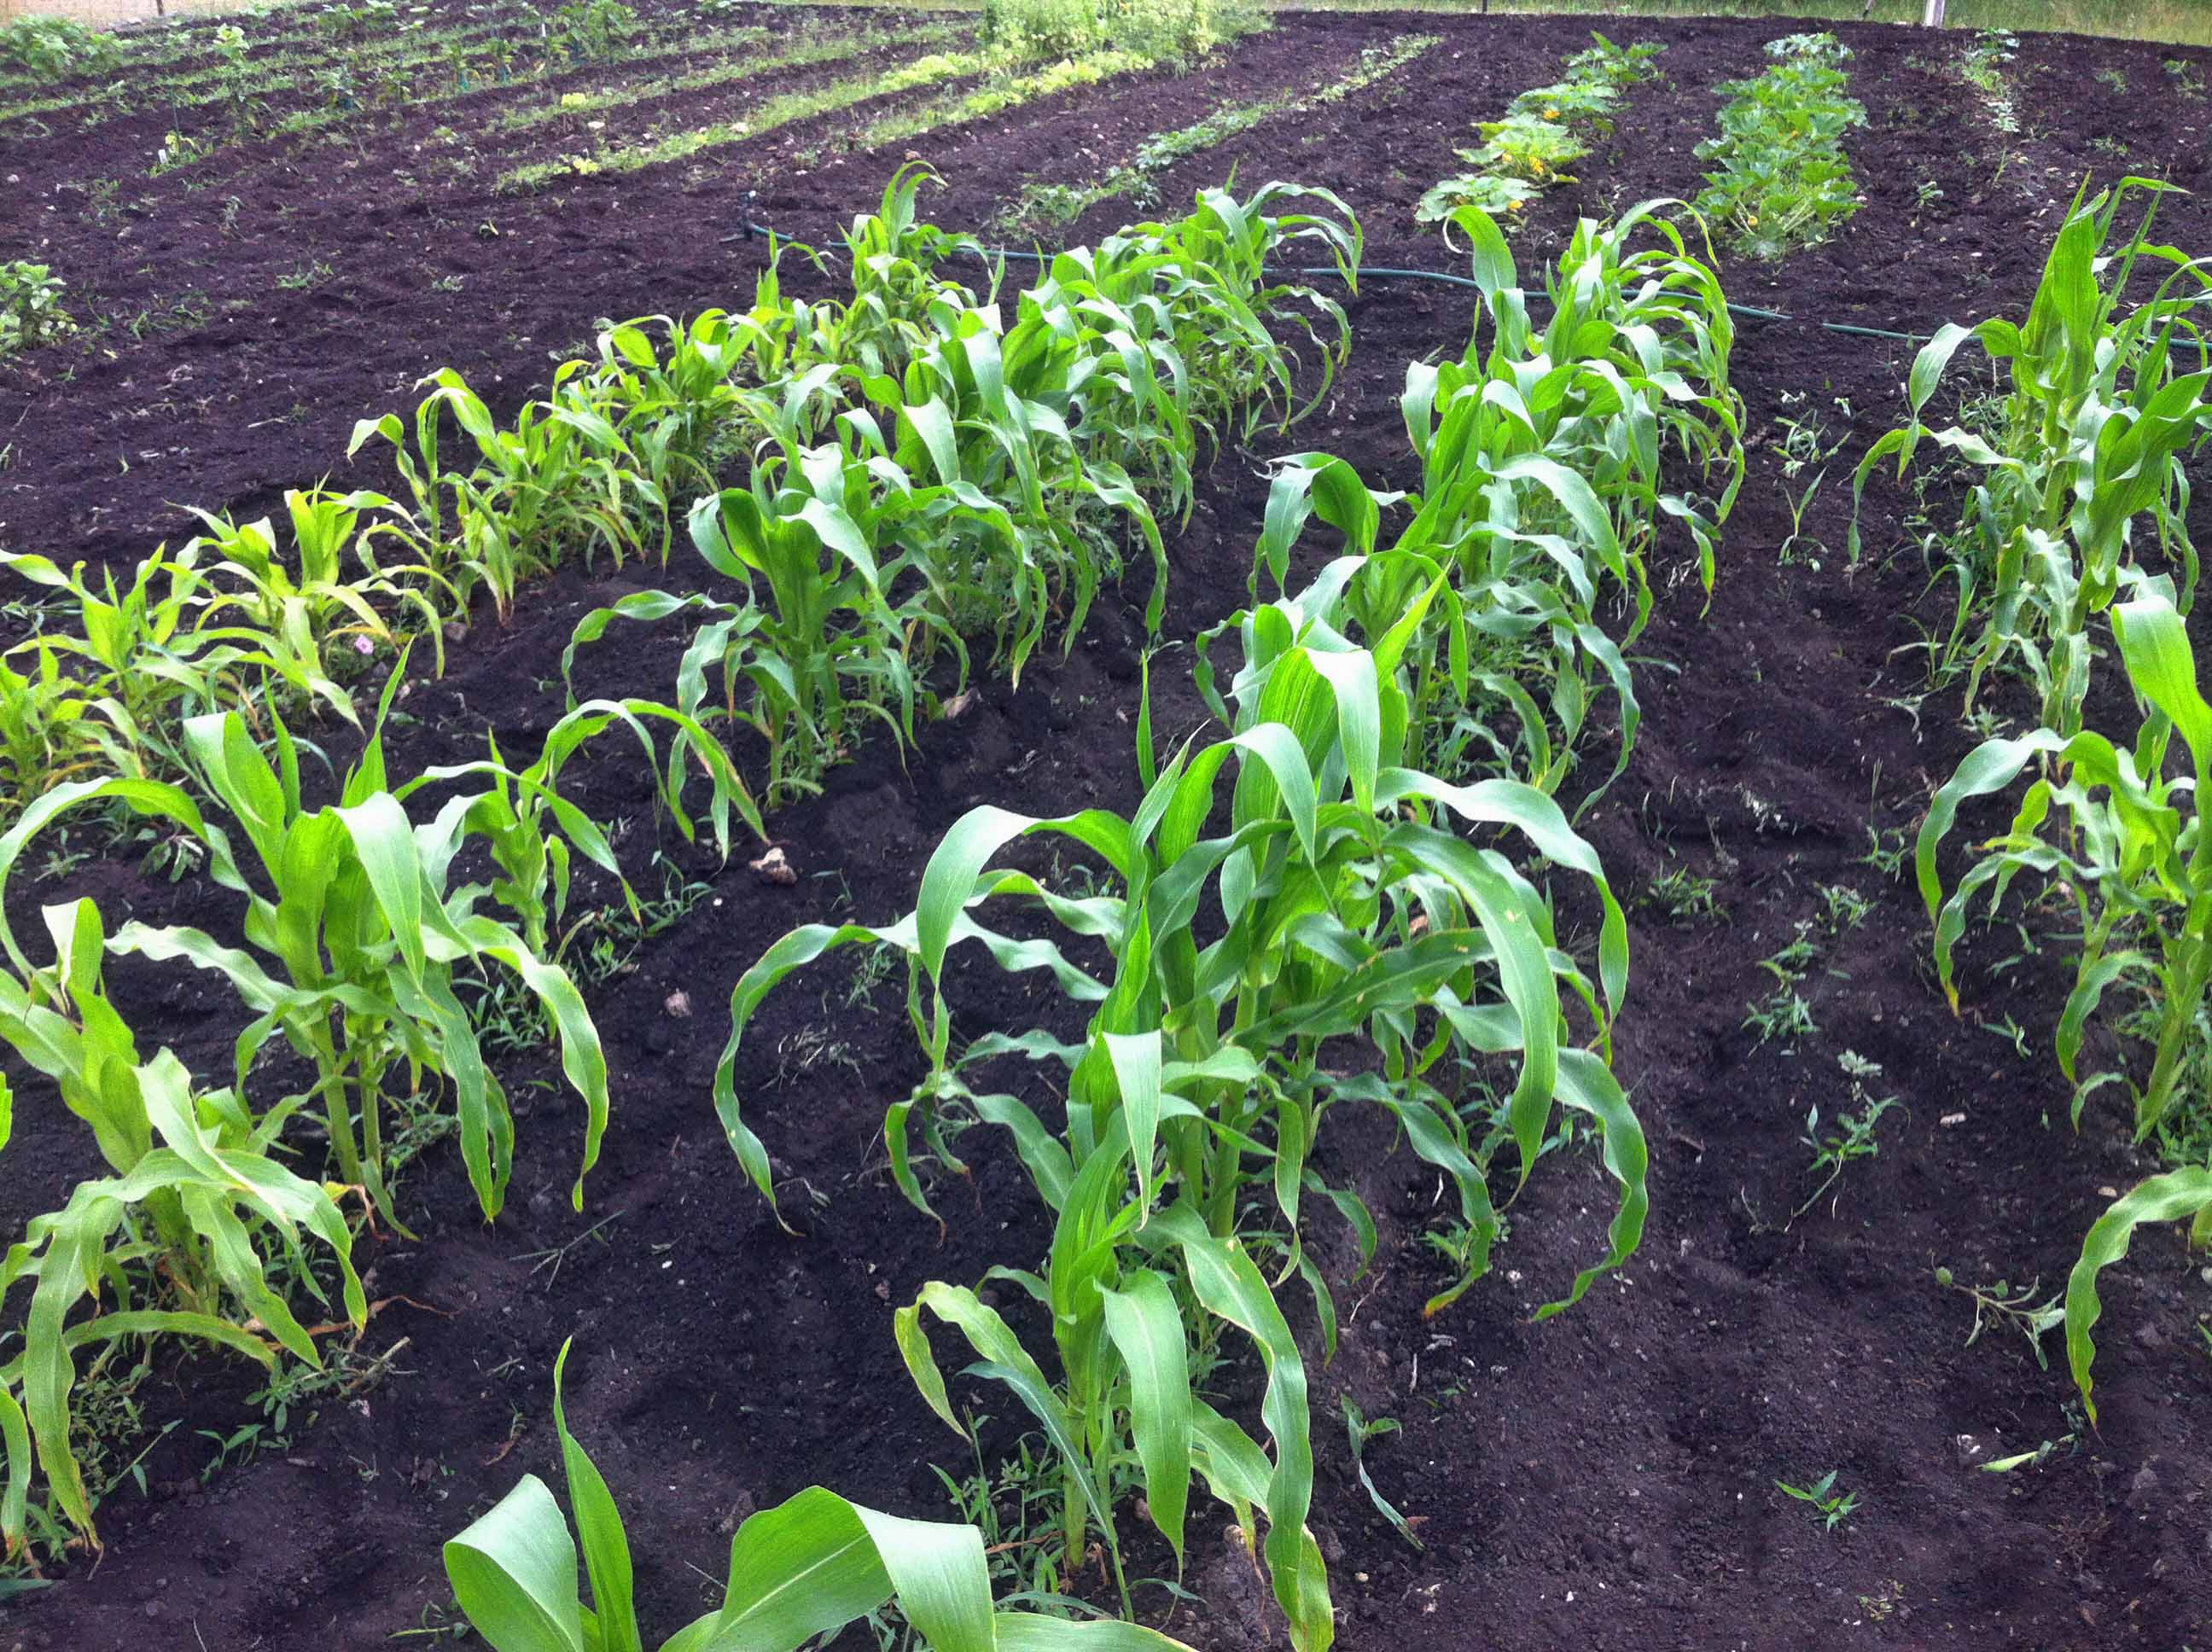
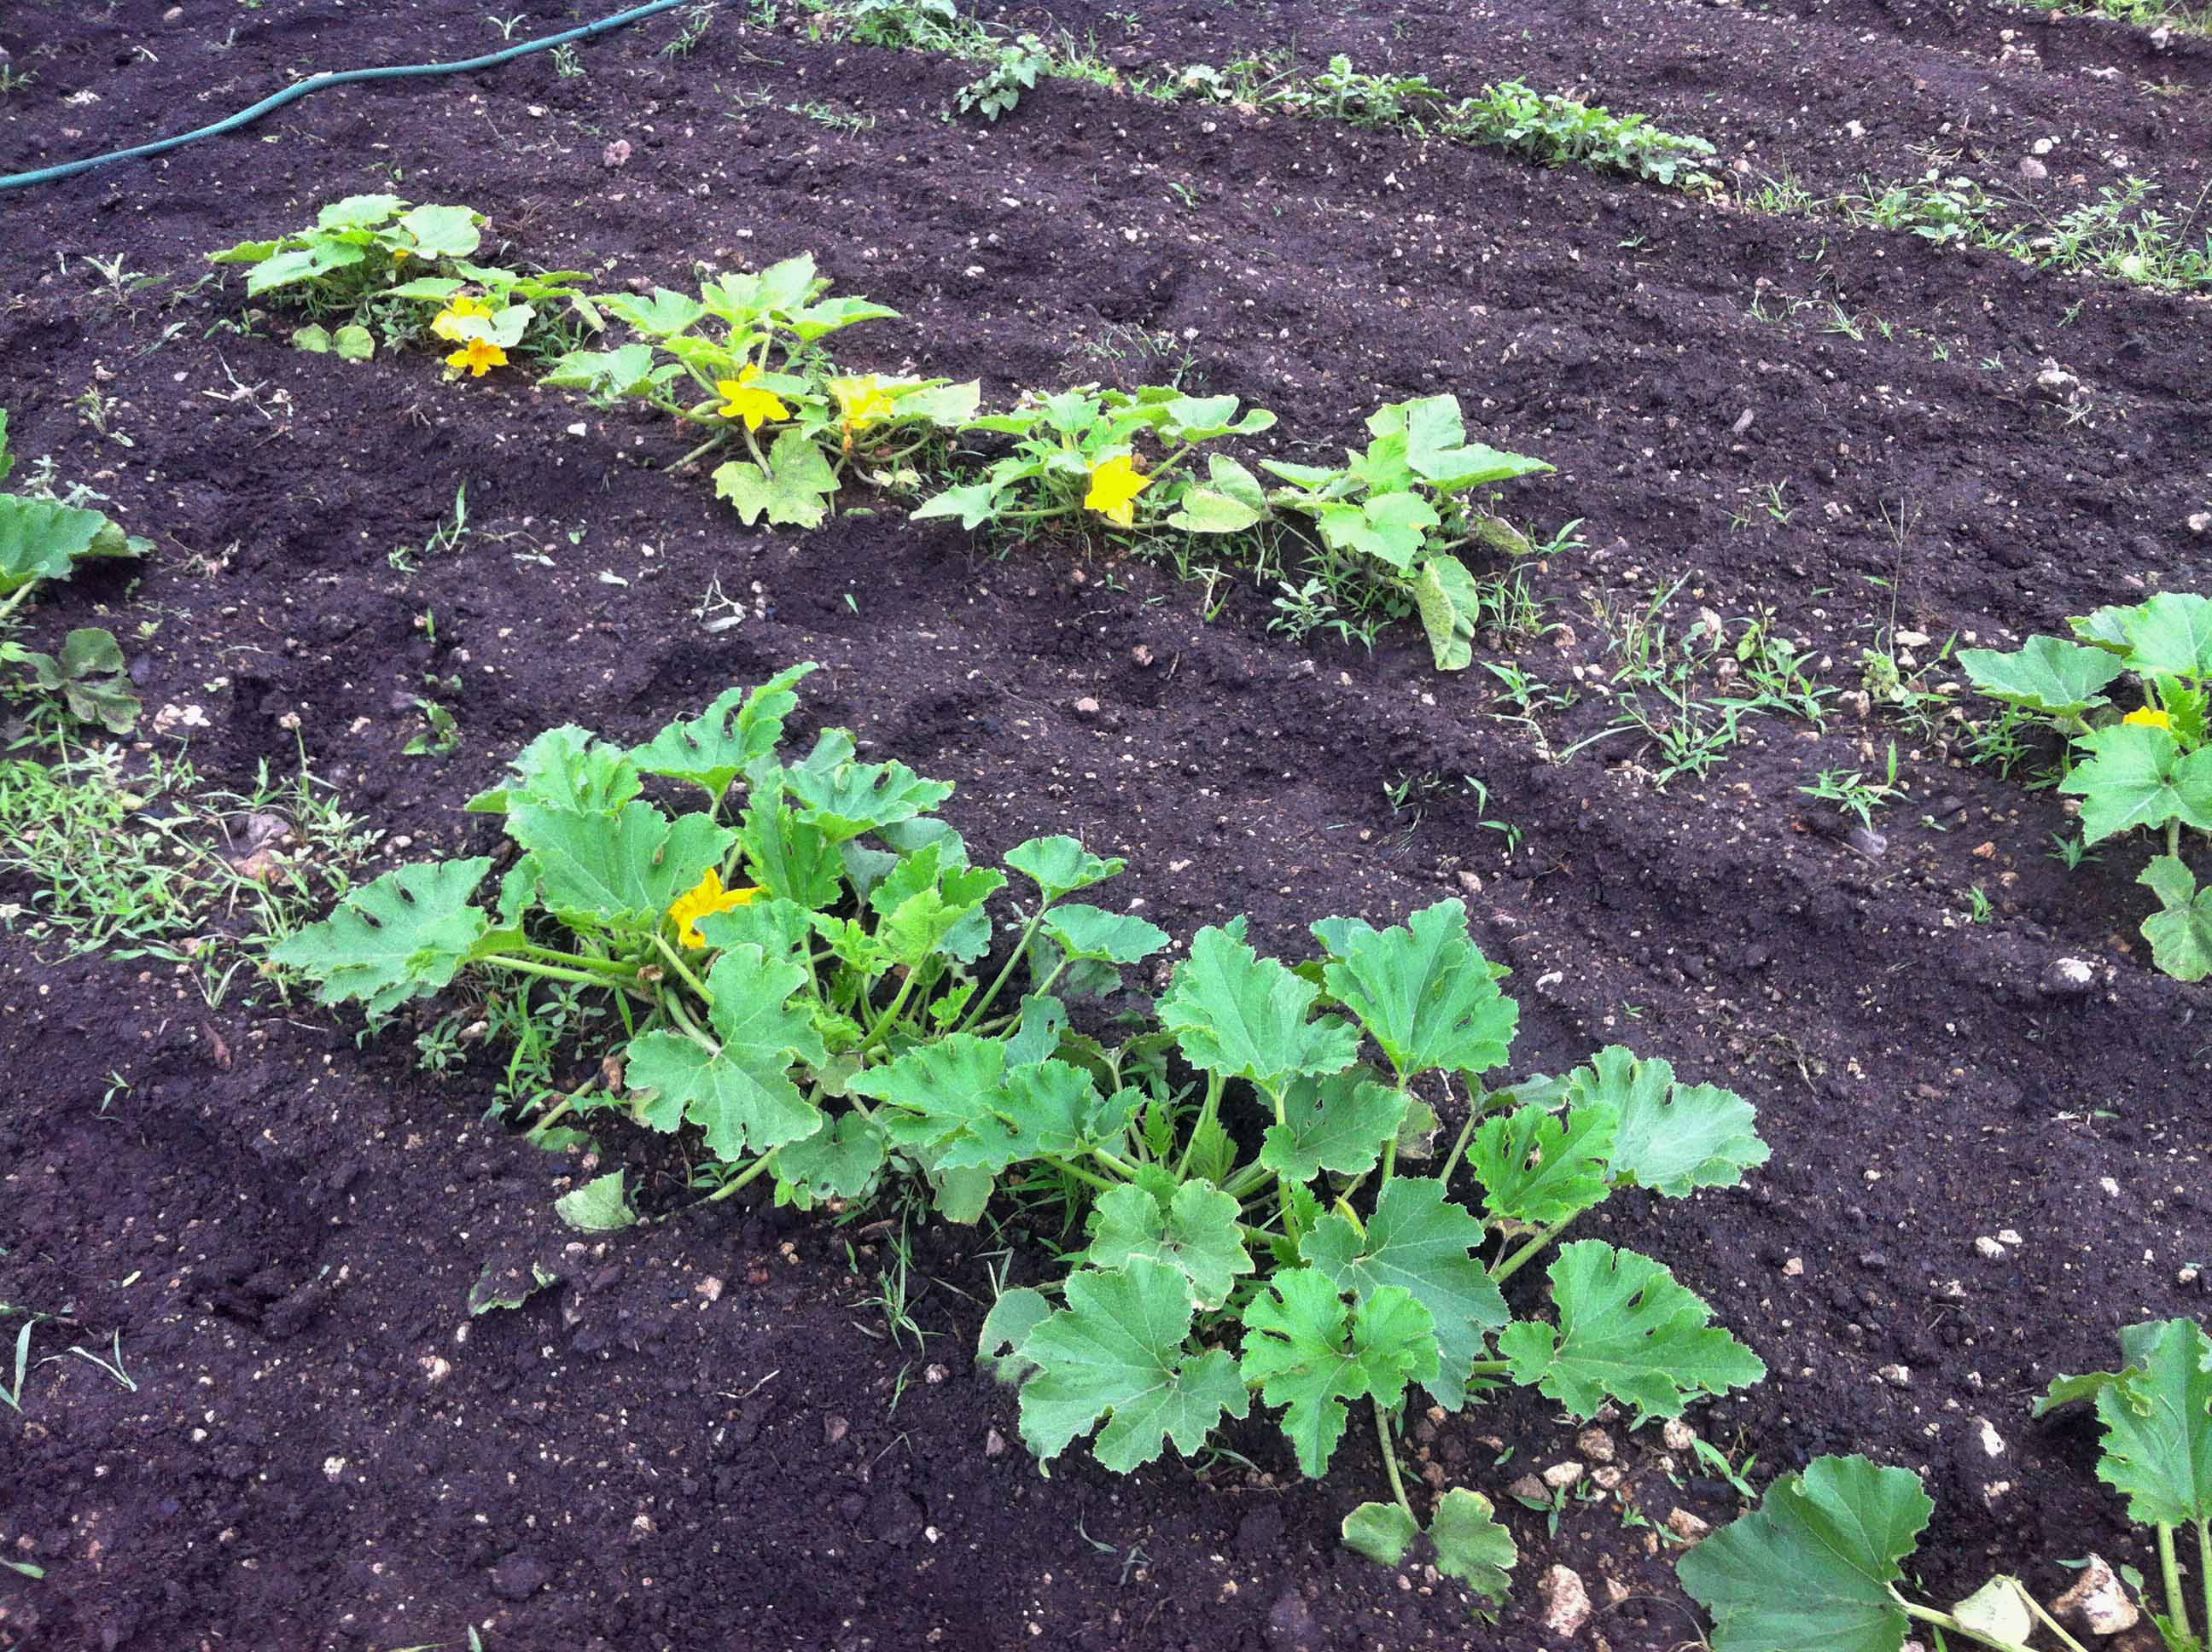
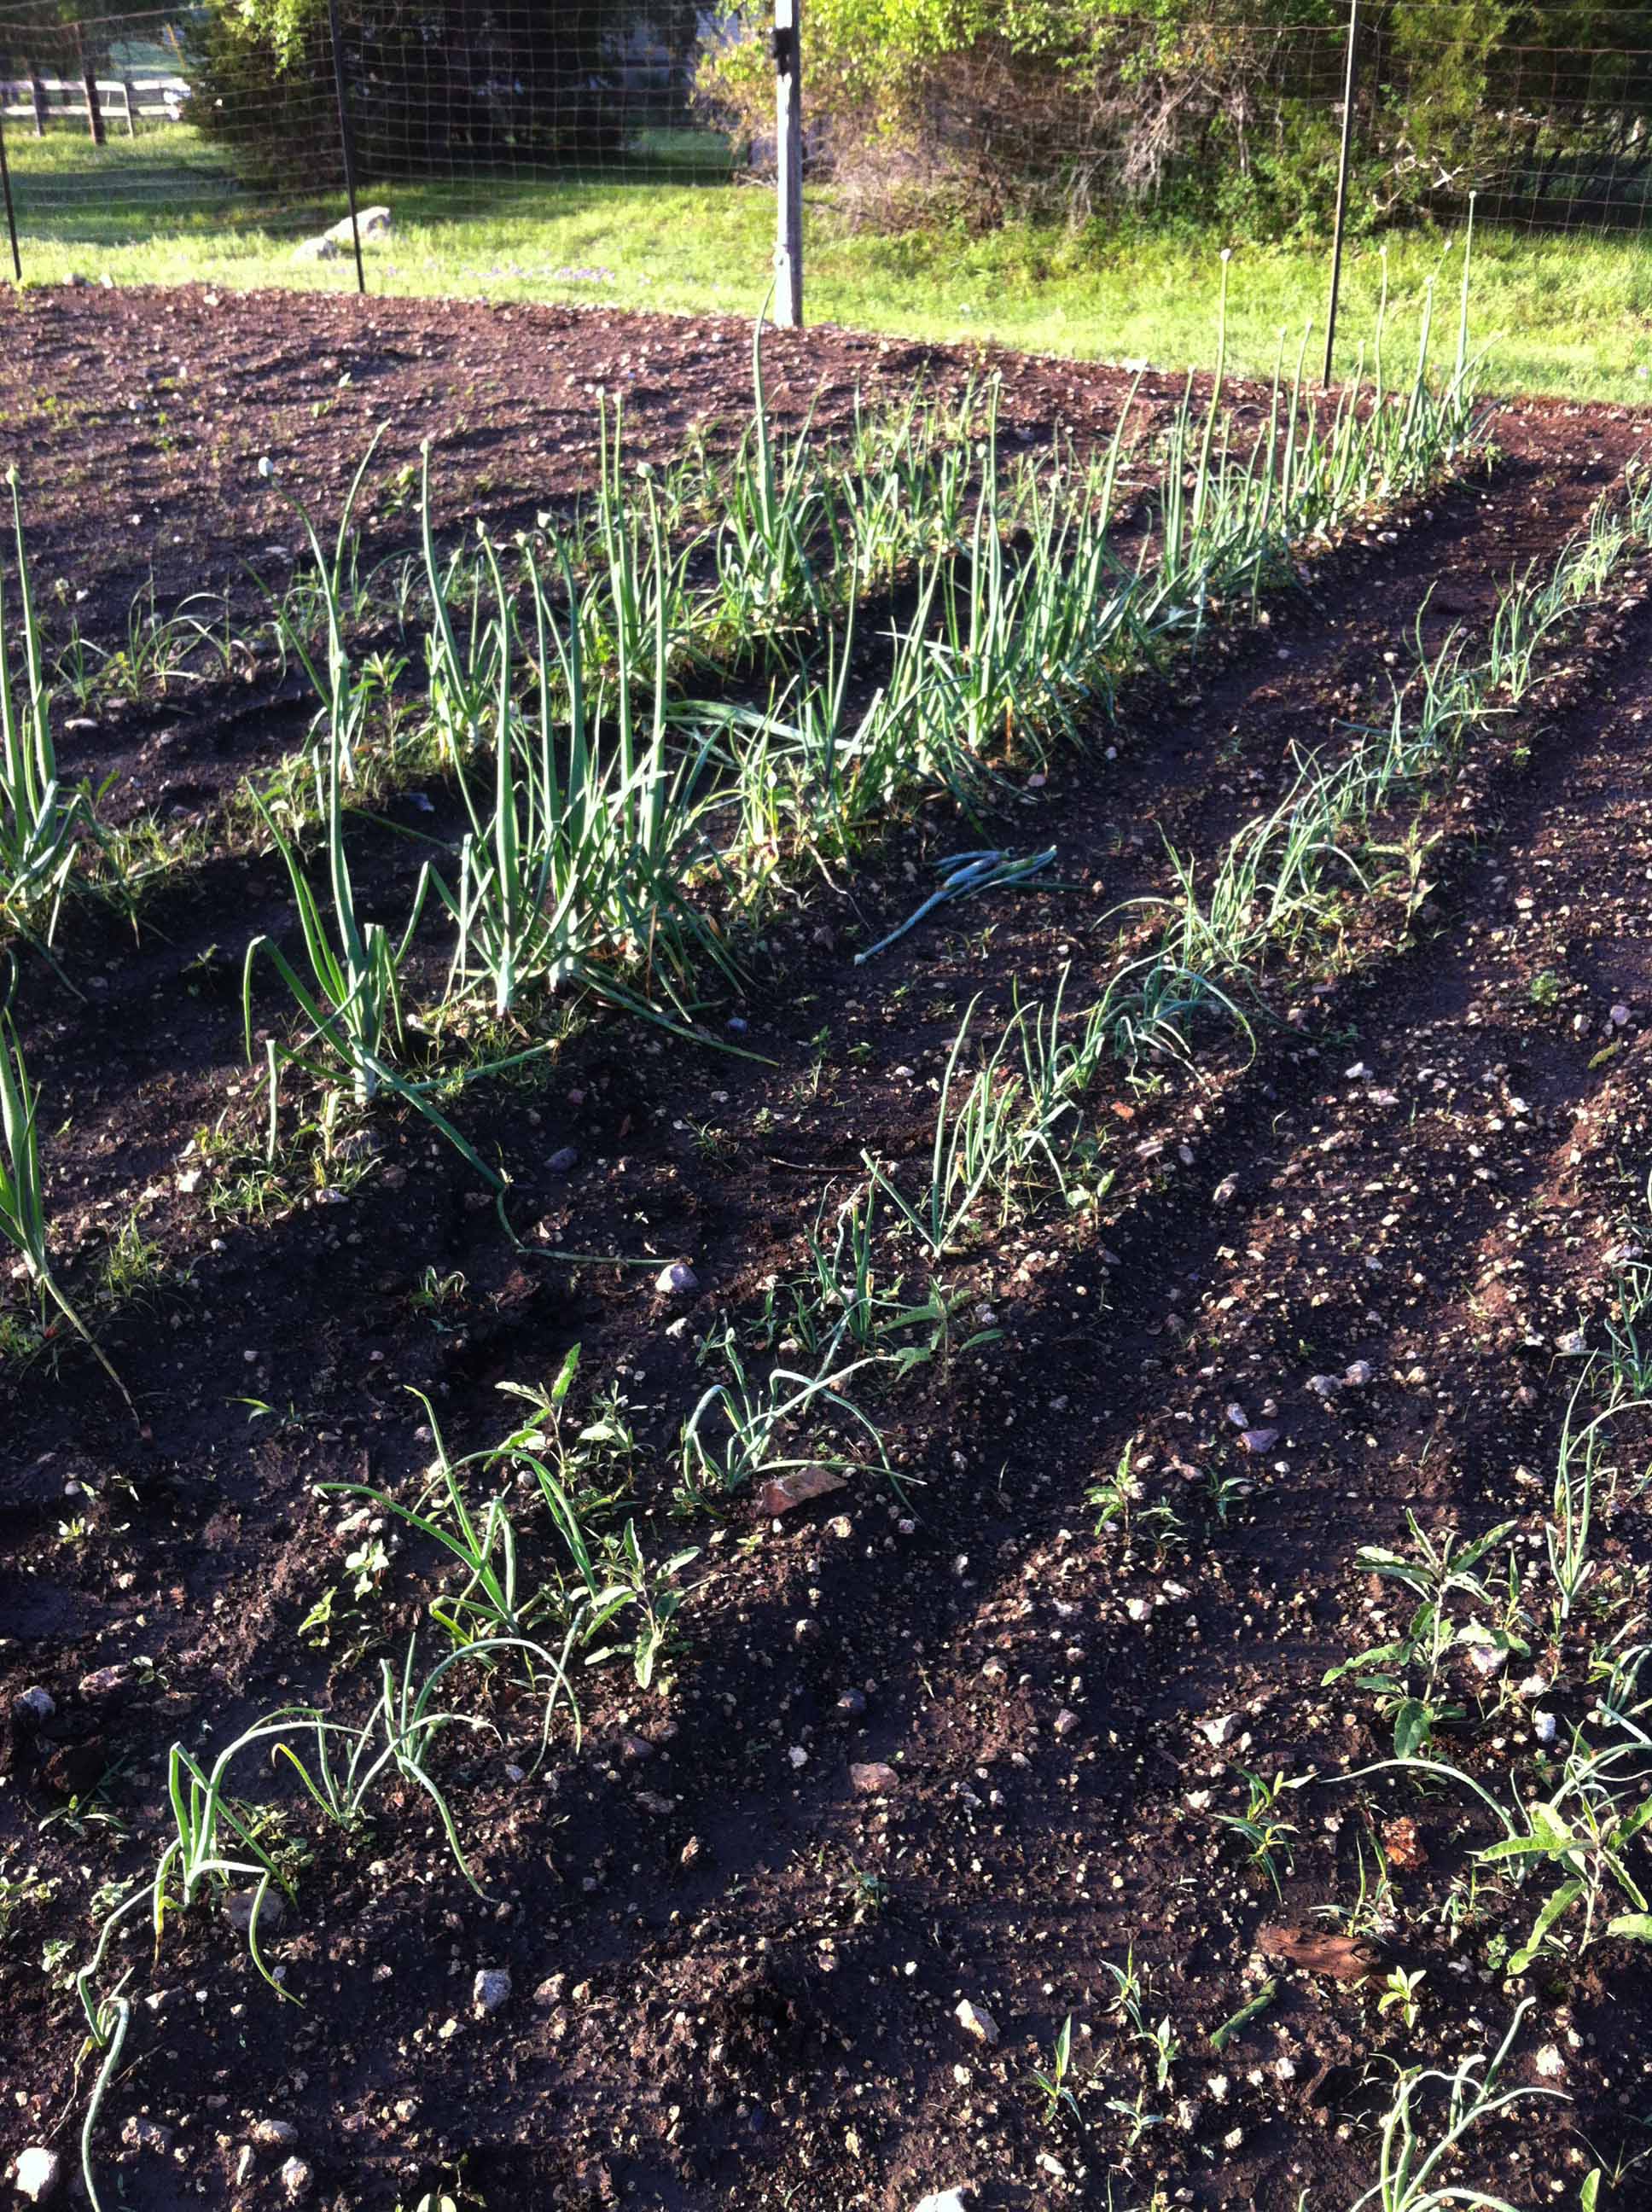
Things have really picked up in the last 2 weeks. We've had temps in the high 80's mostly and most of the garden will do well in those conditions. Very little rain since the last update but the irrigation is keeping up for now, and will as long as the temps stay moderate. You can compare these pics with those from April 13 to get an idea how things have really taken off. The corn is about waist high now. The tomatoes have good sized green tomatoes on the vines and the sunflowers are now larger than the tomatoes and shading them some. We are still harvesting lettuce though that will diminish as it gets hotter. Green beans are flowering as are the zucchini and cucumbers. We have small peppers as well. The bees have settled in and we are no longer feeding them. Here are a few updated pics. Pic 1 Onions, garlic, zucchini and cucumbers, lettuce and green beans in background. Pic 2 Tomatoes and sunflowers. Pic 3 close up of tomato plant. Pic 4 Corn. Pic 5 Zucchini and cucumbers.
April 13, 2013
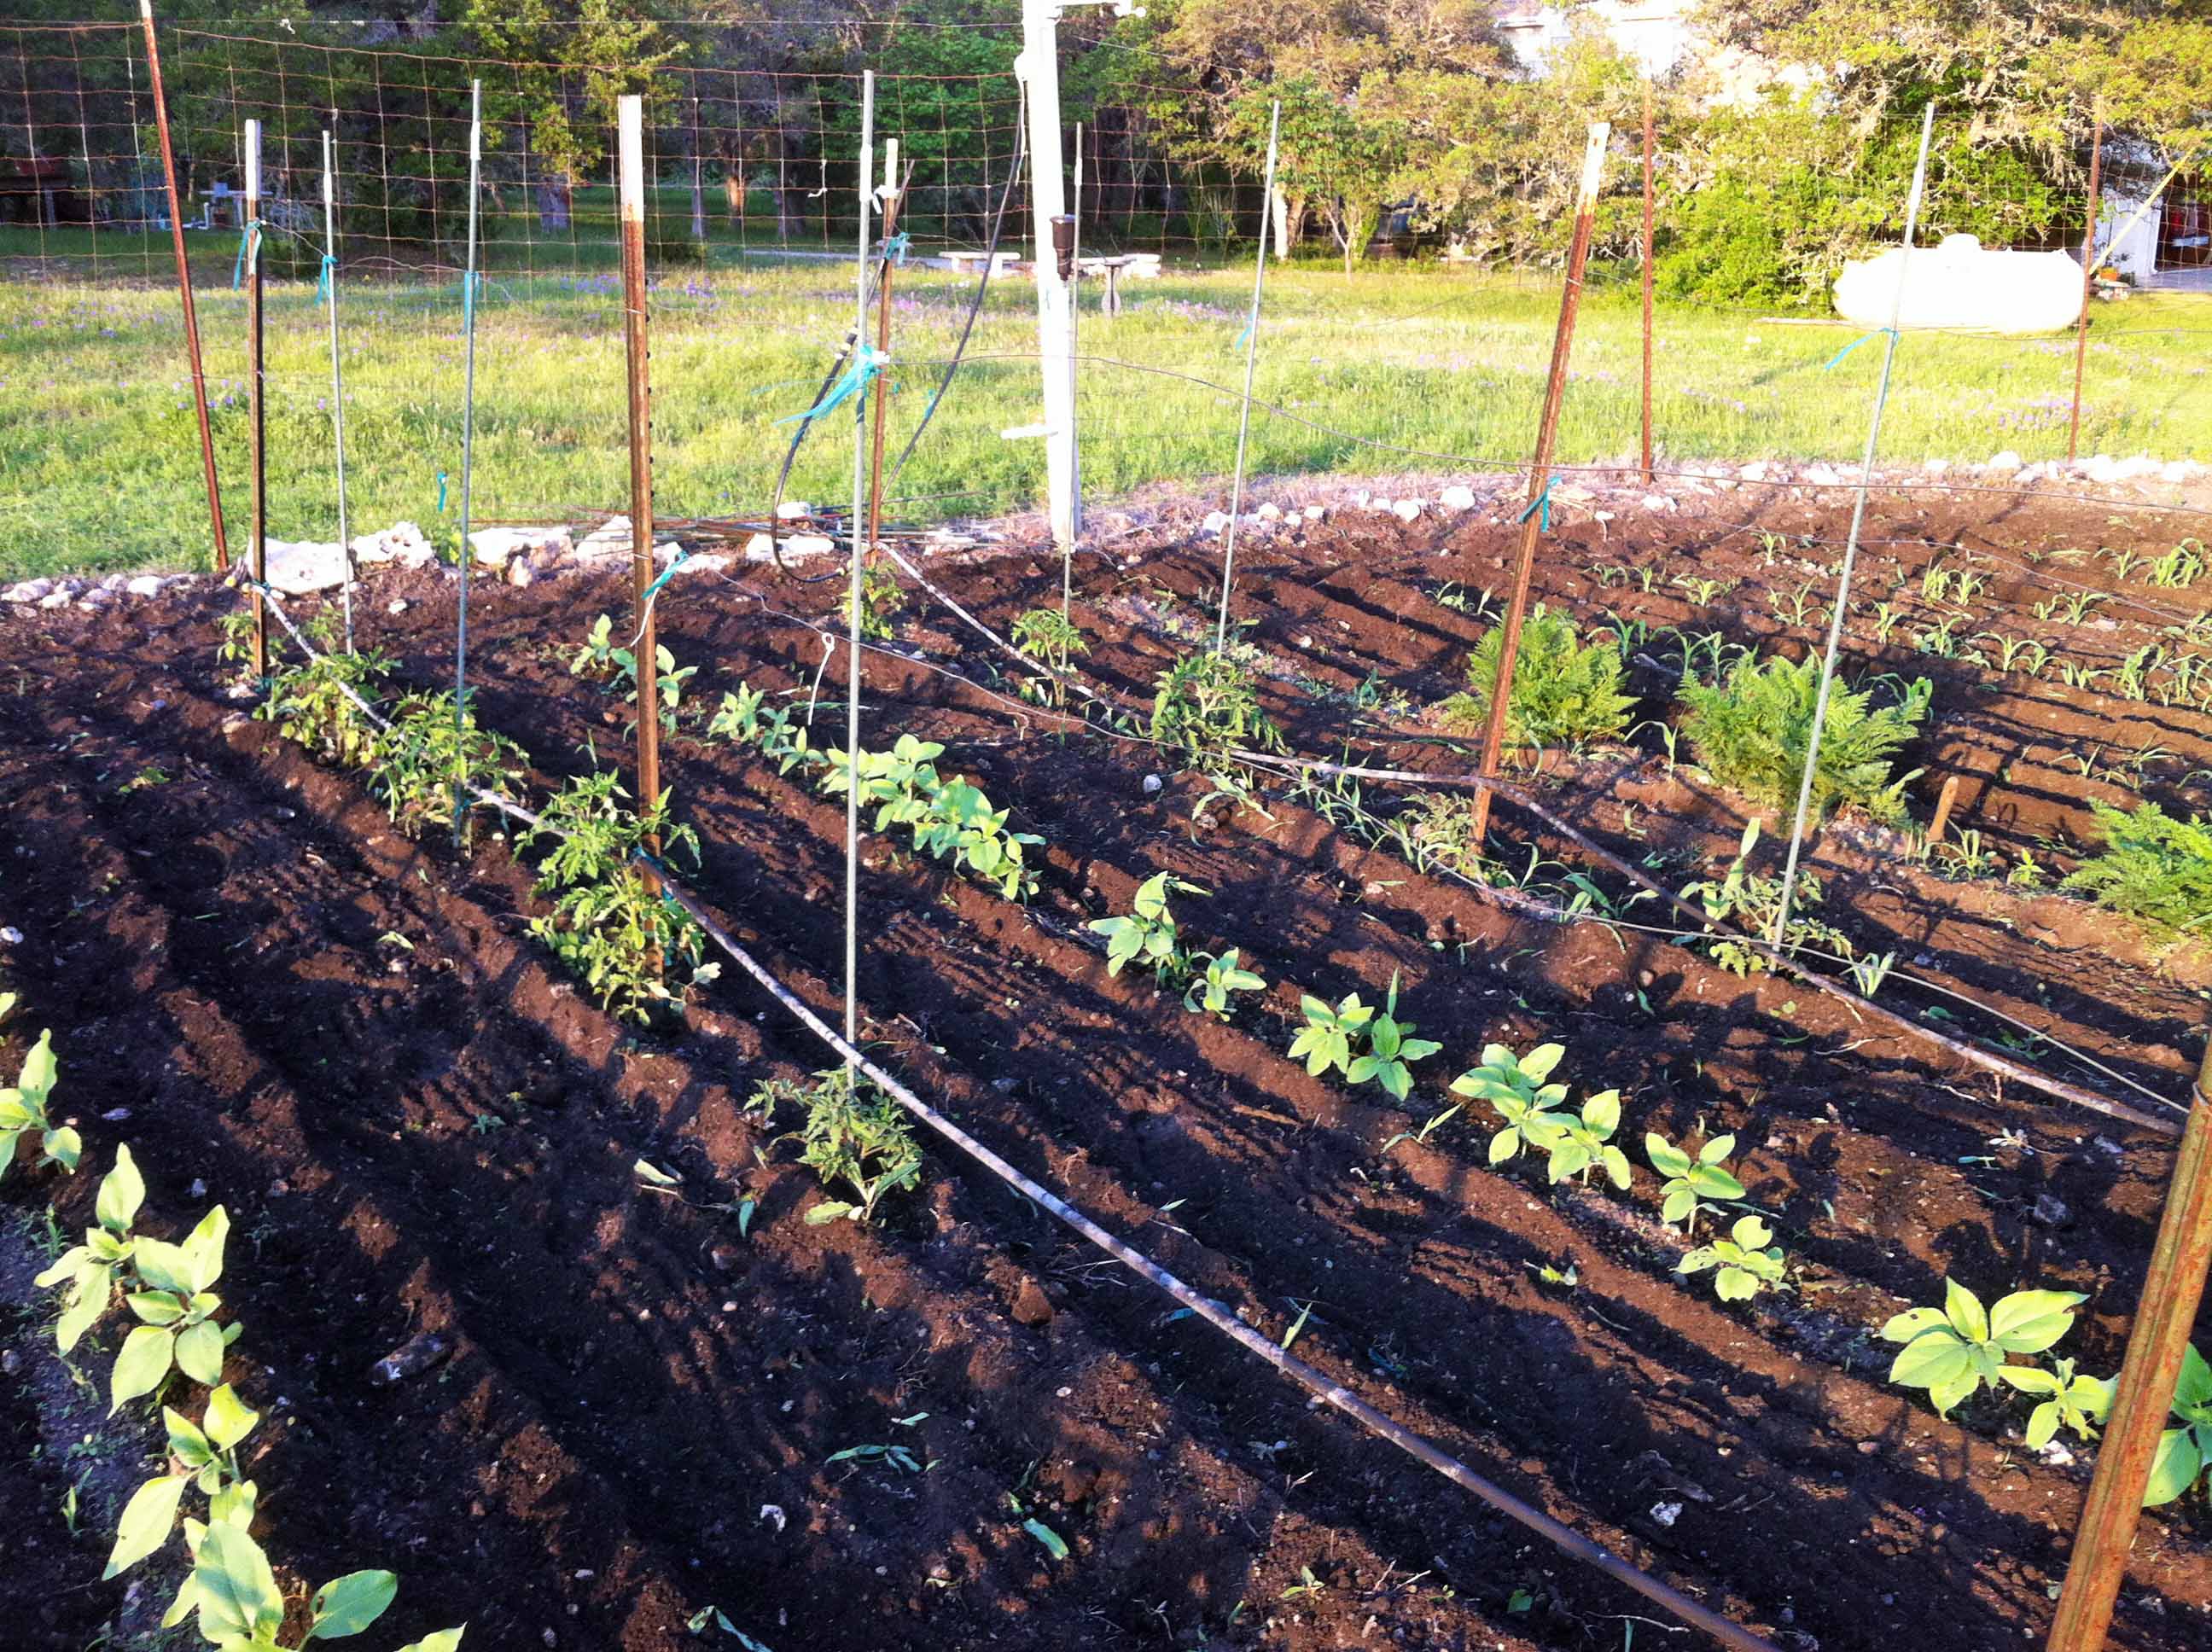
We're getting a little rain today and the garden is doing well. Small tomatoes are showing up and in this pic you can see the tomatoes, sunflowers, carrots and corn in the background.
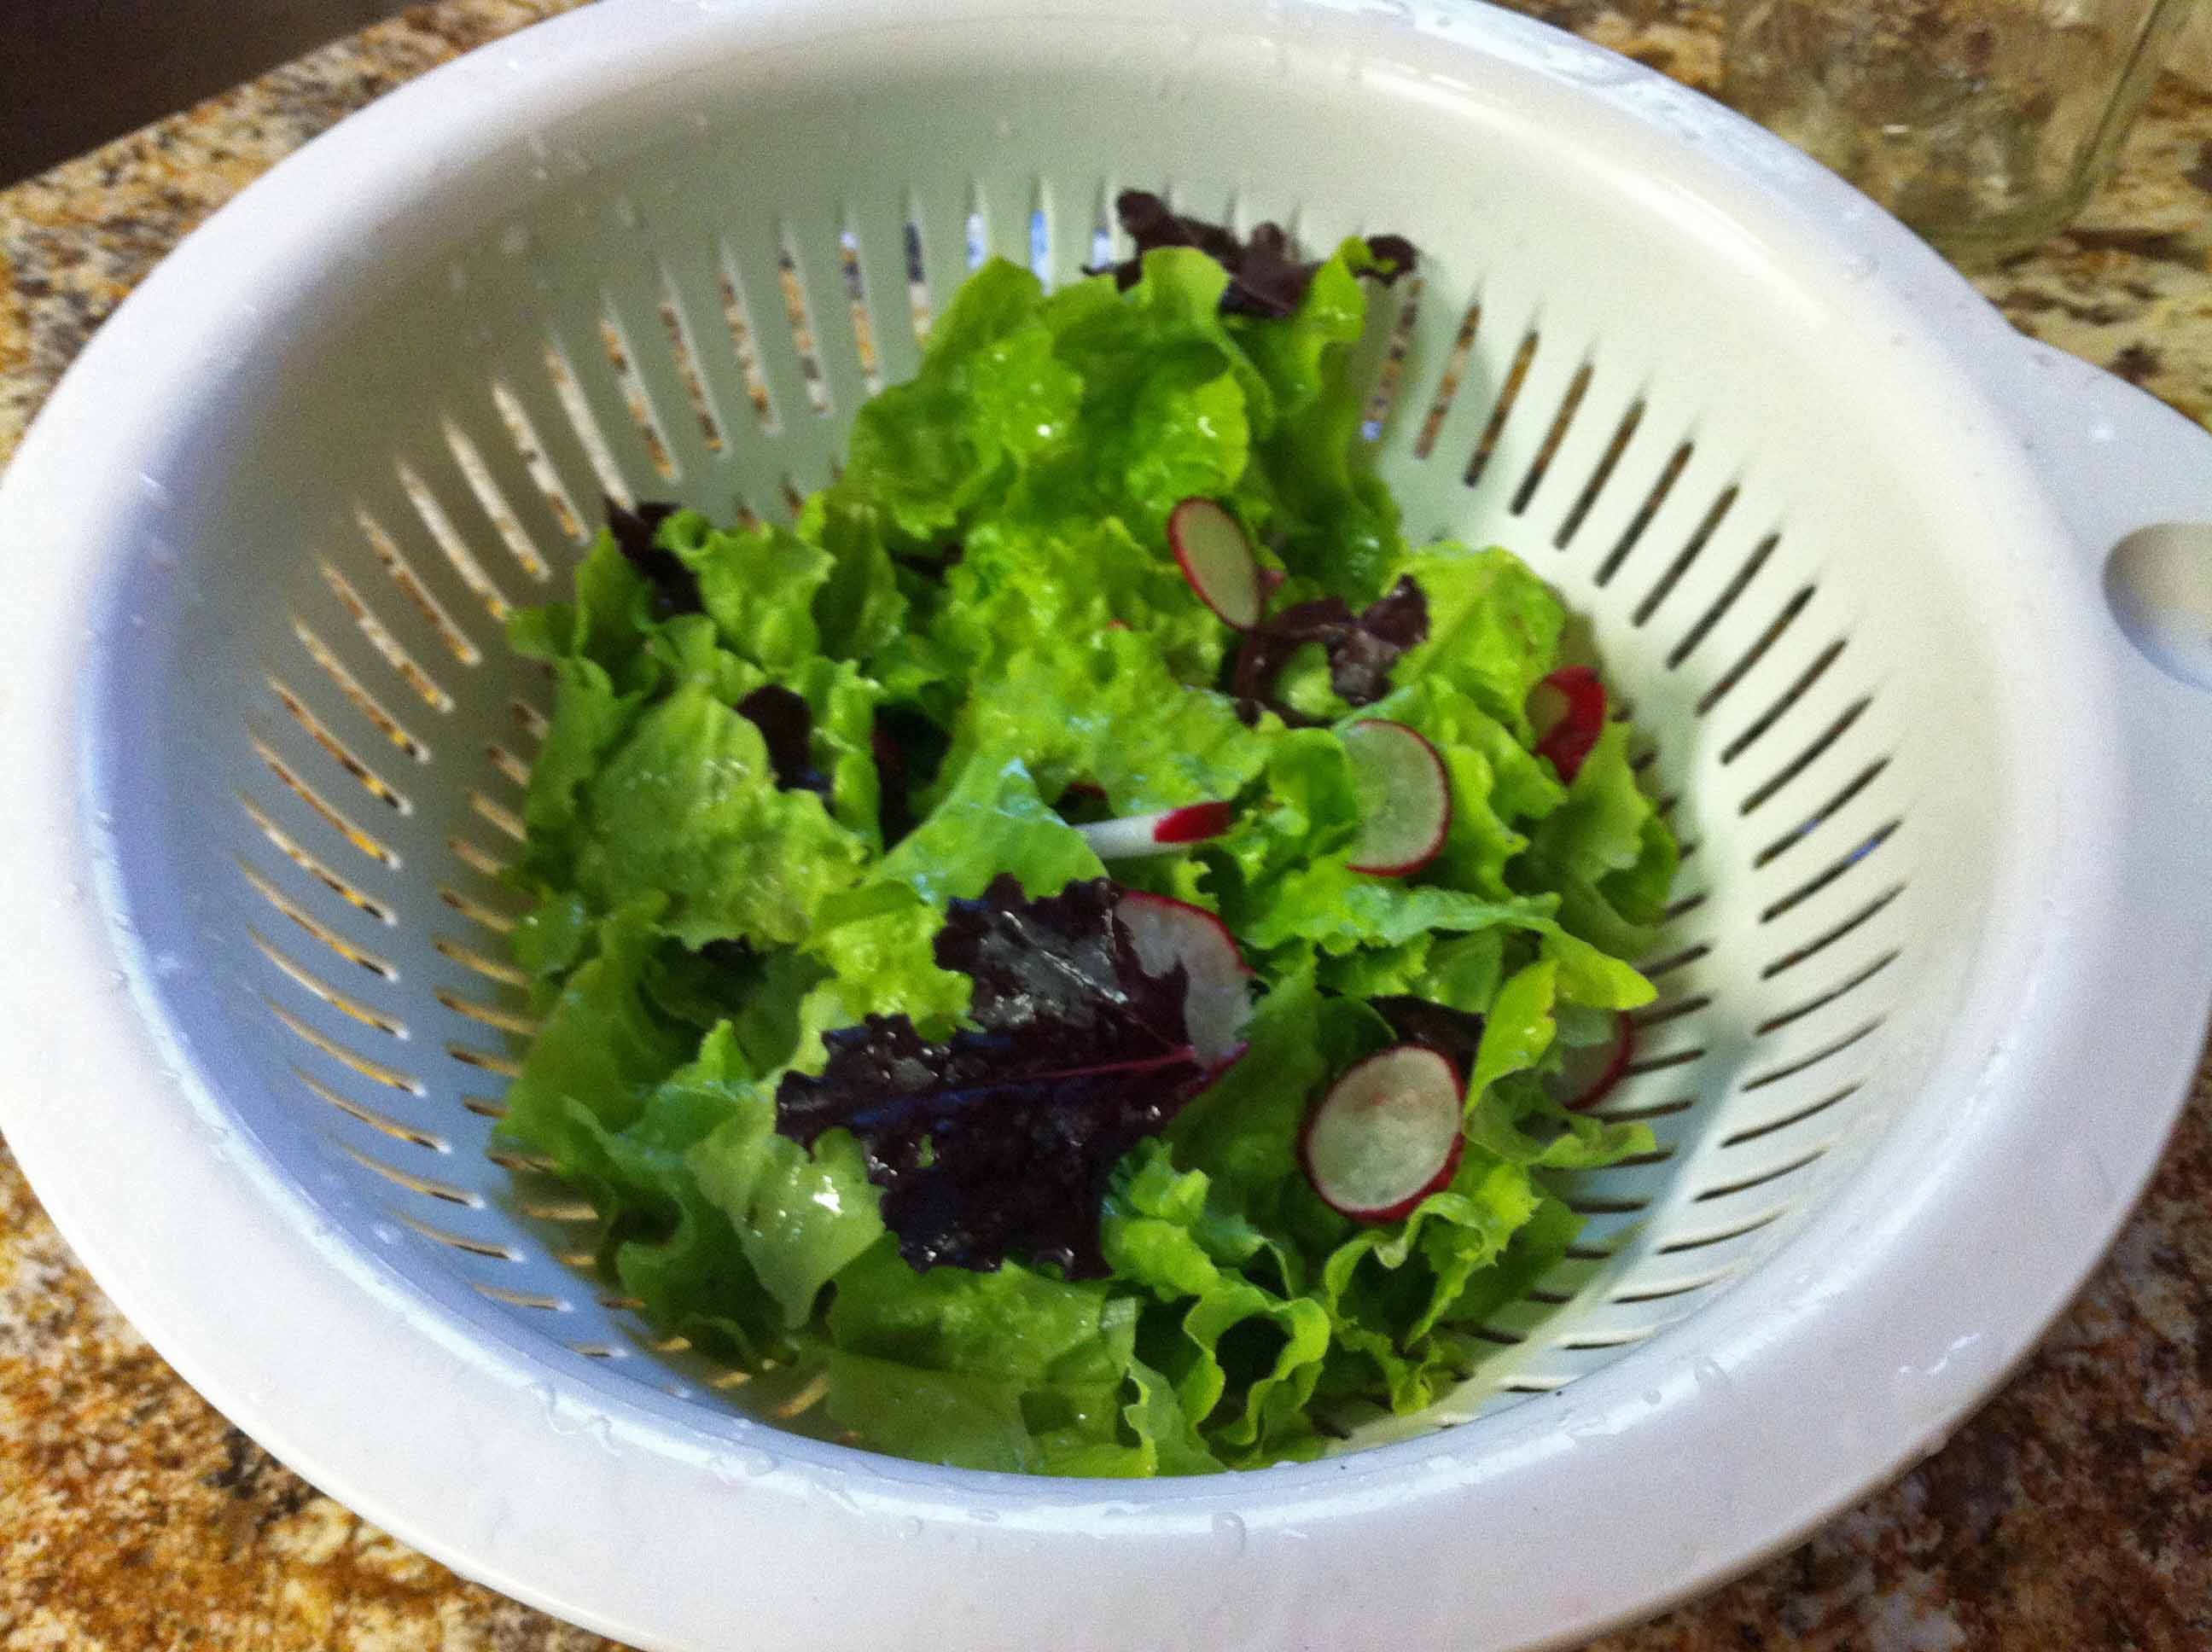
We're getting great salads now with the radishes producing and several different varieties of lettuce.
The bees have been in for a week now and are getting much more active and much more aggressive (actually landed on me a couple of times today). They are going through a quart of sugar water daily and are all over plants around the property. Click on this link for a quick video of their activity (takes a minute or so to load so be patient). You can actually see bubbles coming up in the feeder they are taking it so fast. I checked on the queen this morning and she has been freed from the queen cage. I removed the empty. I didn't feed the bees this long the last time we had them but as long as they are taking it this fast I'll probably continue for a couple of weeks.
April 7, 2012
I picked up the bees this morning from the Texas A&M folks on the east side of Austin. At least 40 people were there picking up bees. They come in a small cage with the queen inside a smaller container inside the cage separated from the rest of the bees.
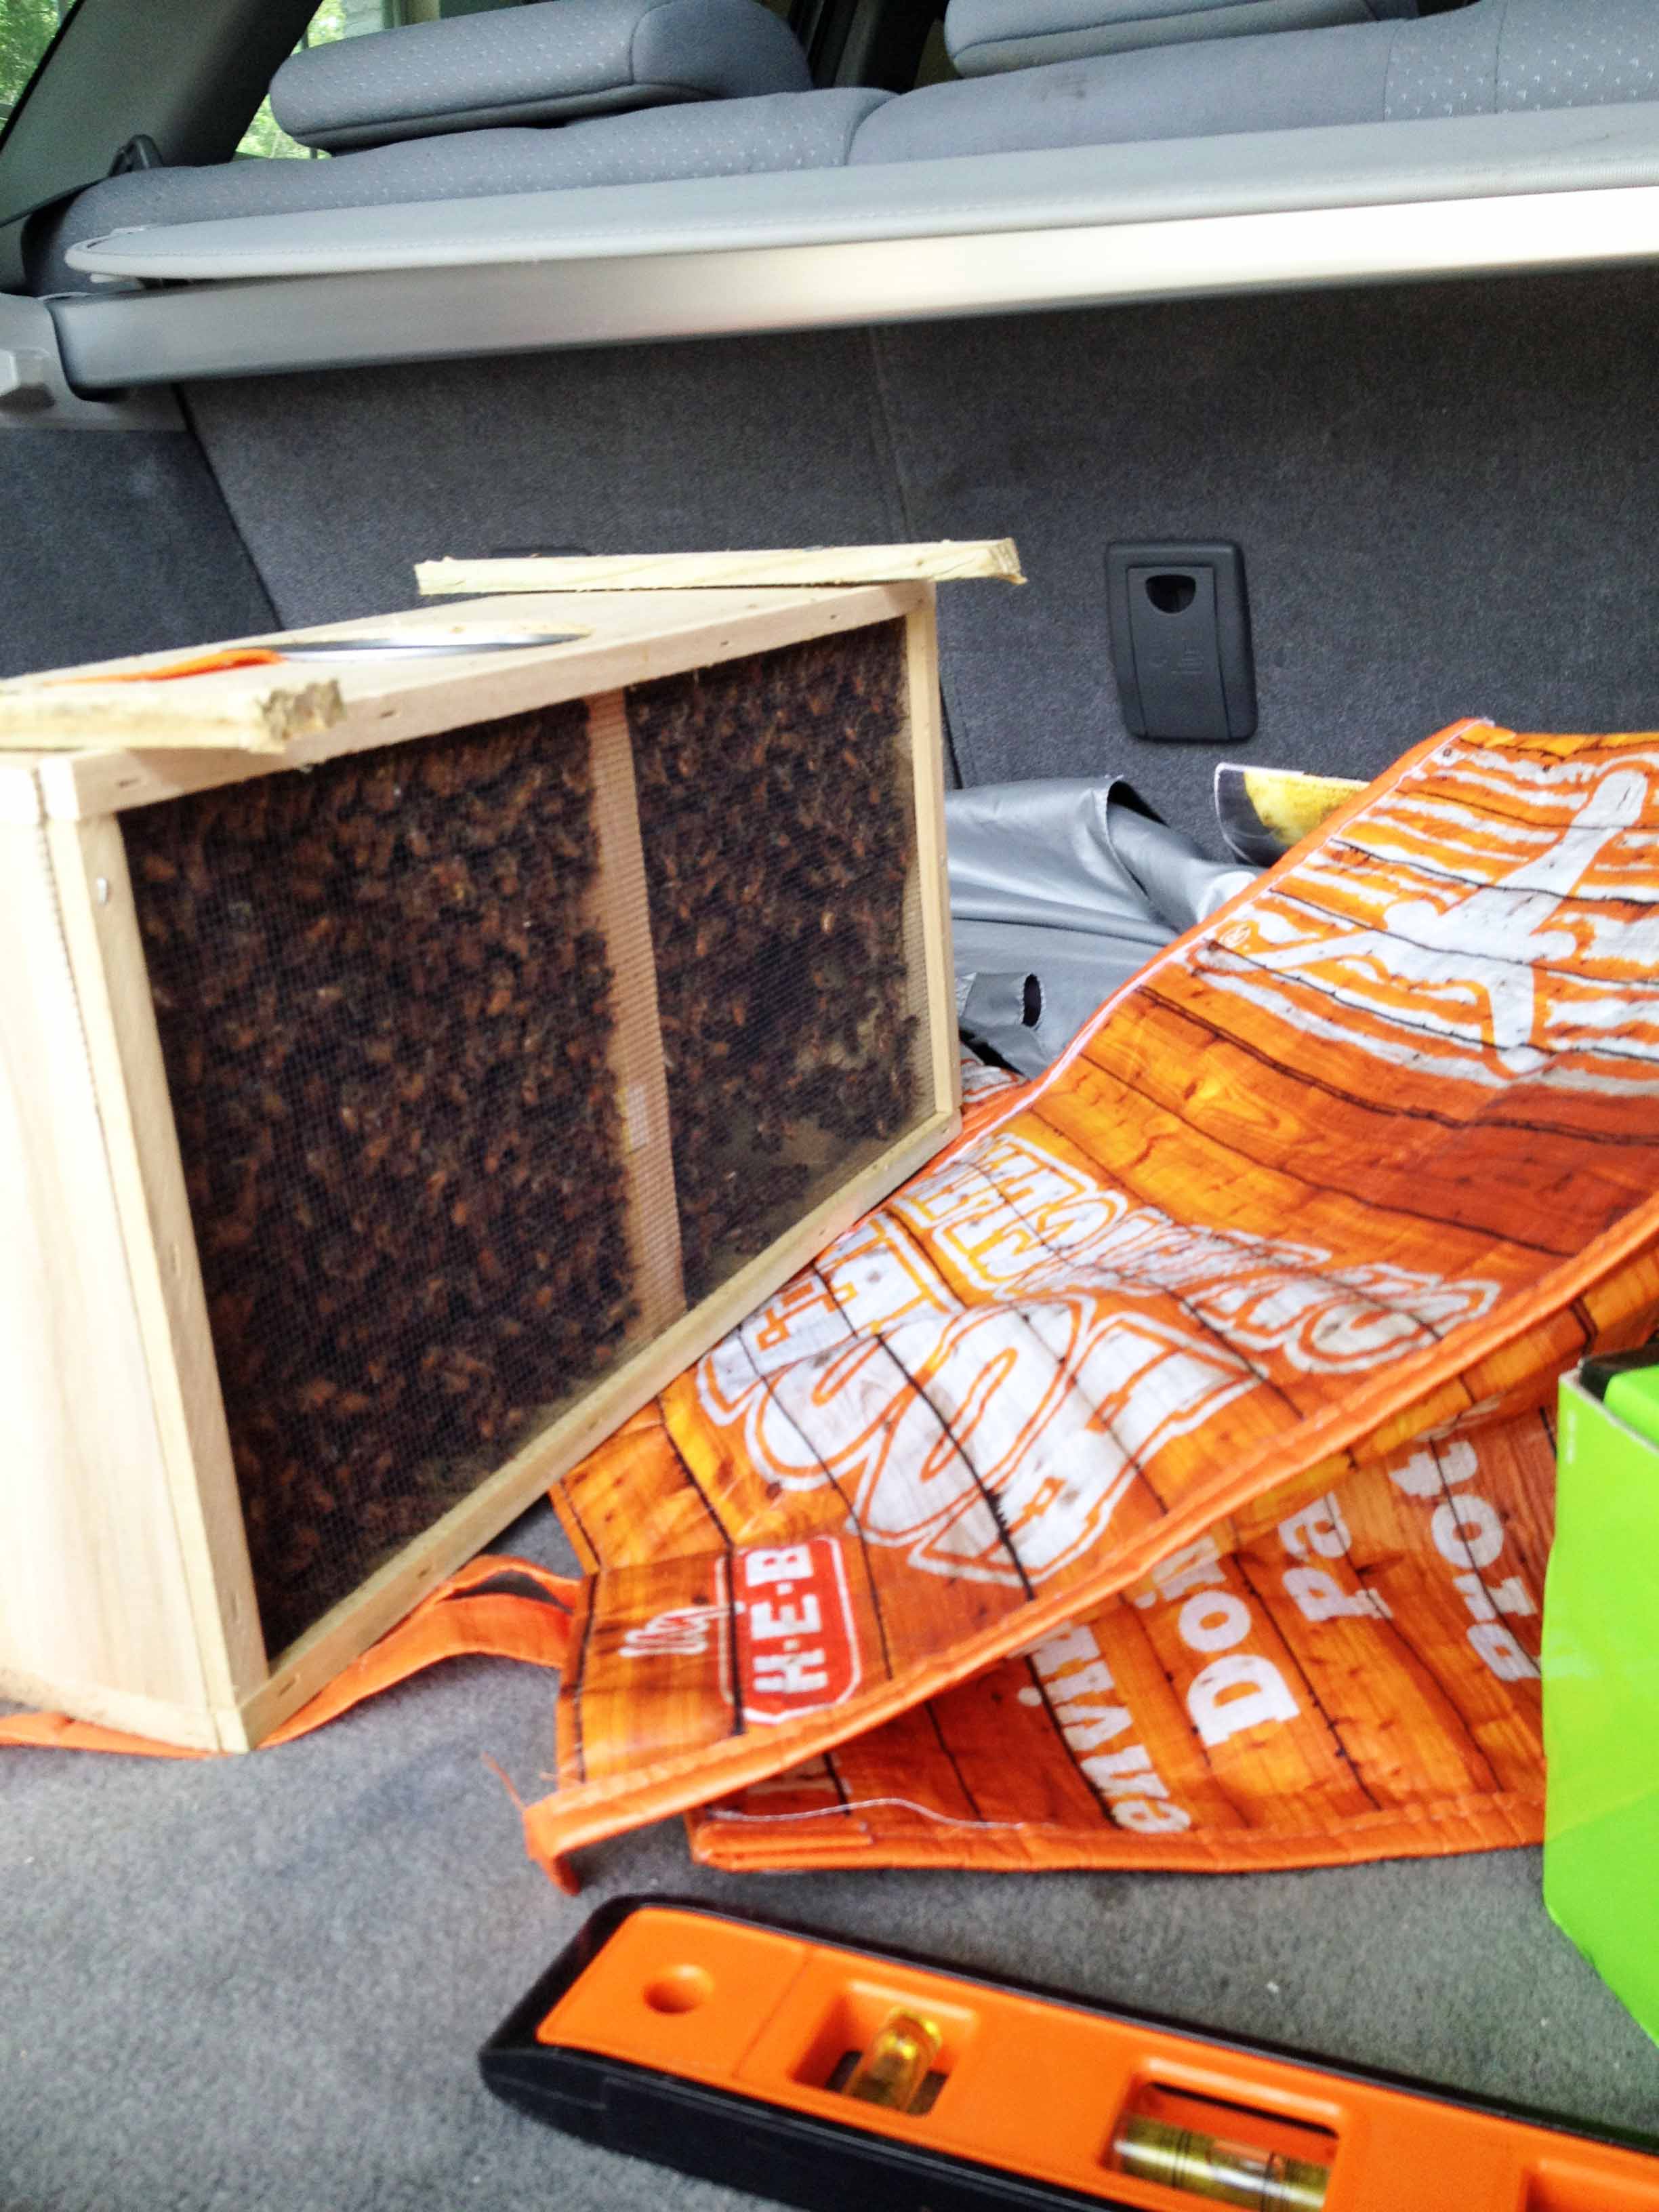
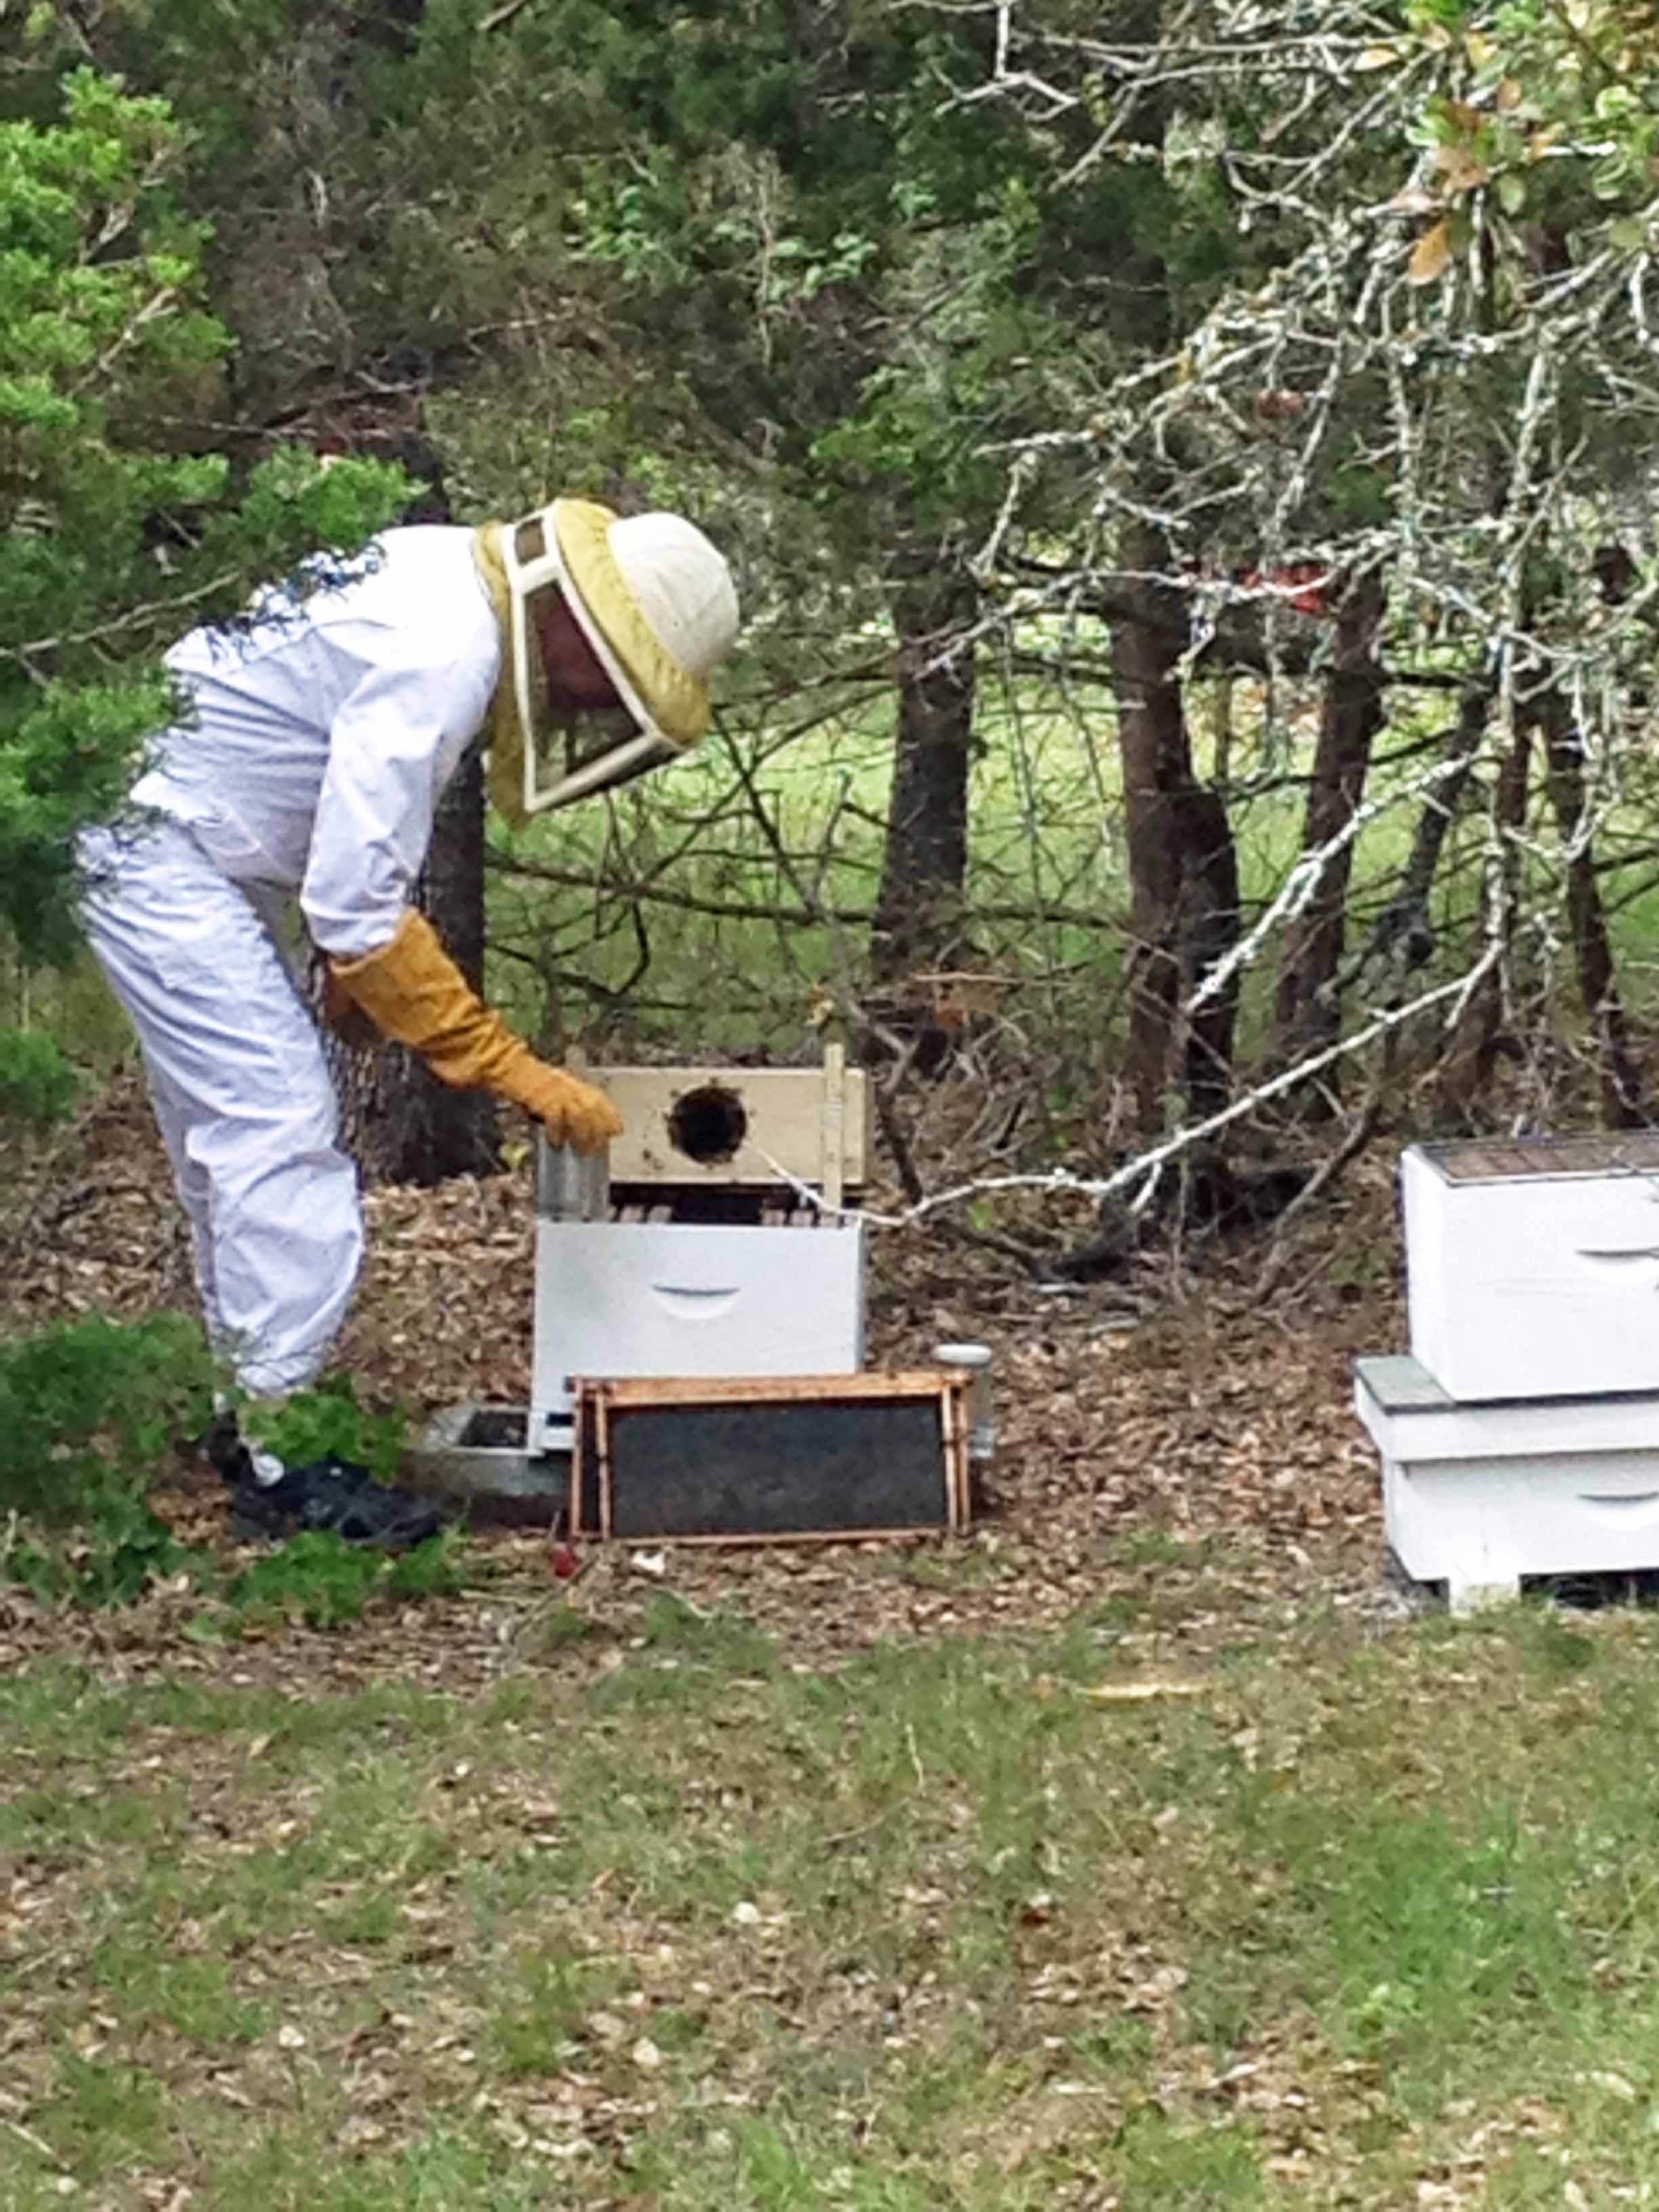
The bees get placed in the lowest section of the hive (we have 3). The queen lays eggs for new bees from the bottom up. This picture shows the open hive and me removing the feeding can with the queen cage under it. Once this is open the bees can escape so after I remove the can and queen I cover this with a small dish until I'm ready to release the bees.
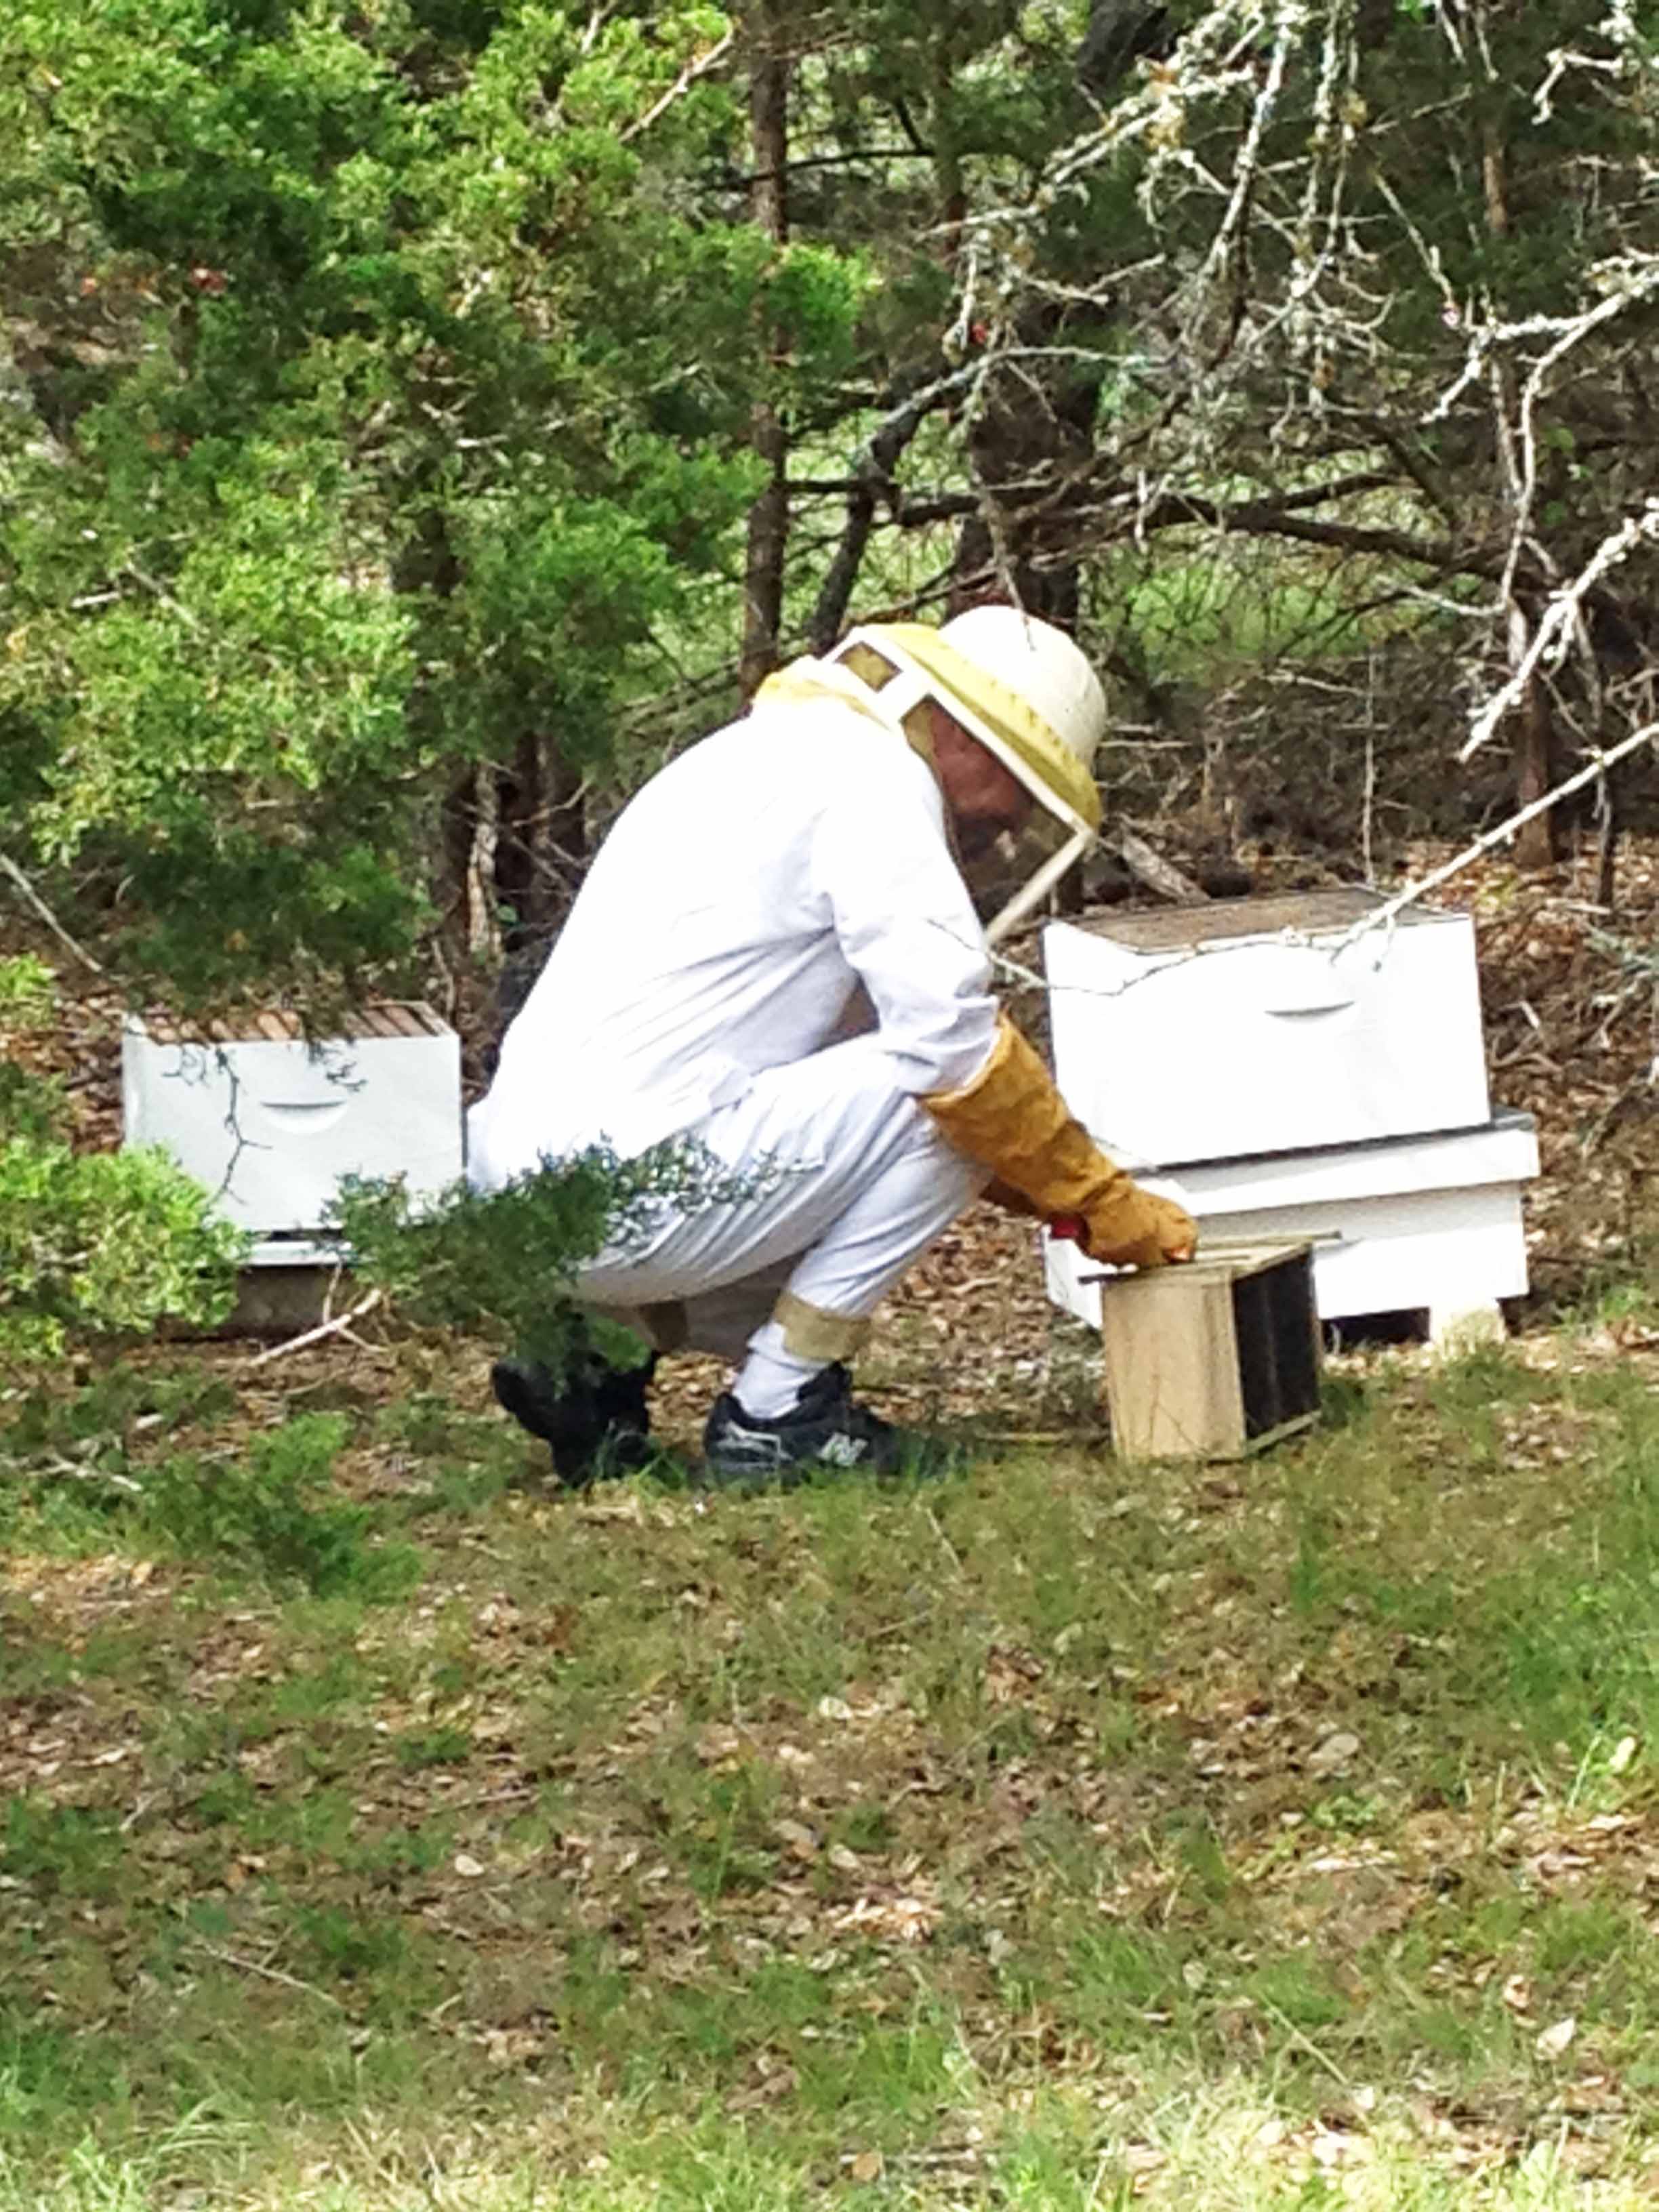
Here is a pic with the cage open, the feeding can removed and me about to remove the queen cage.
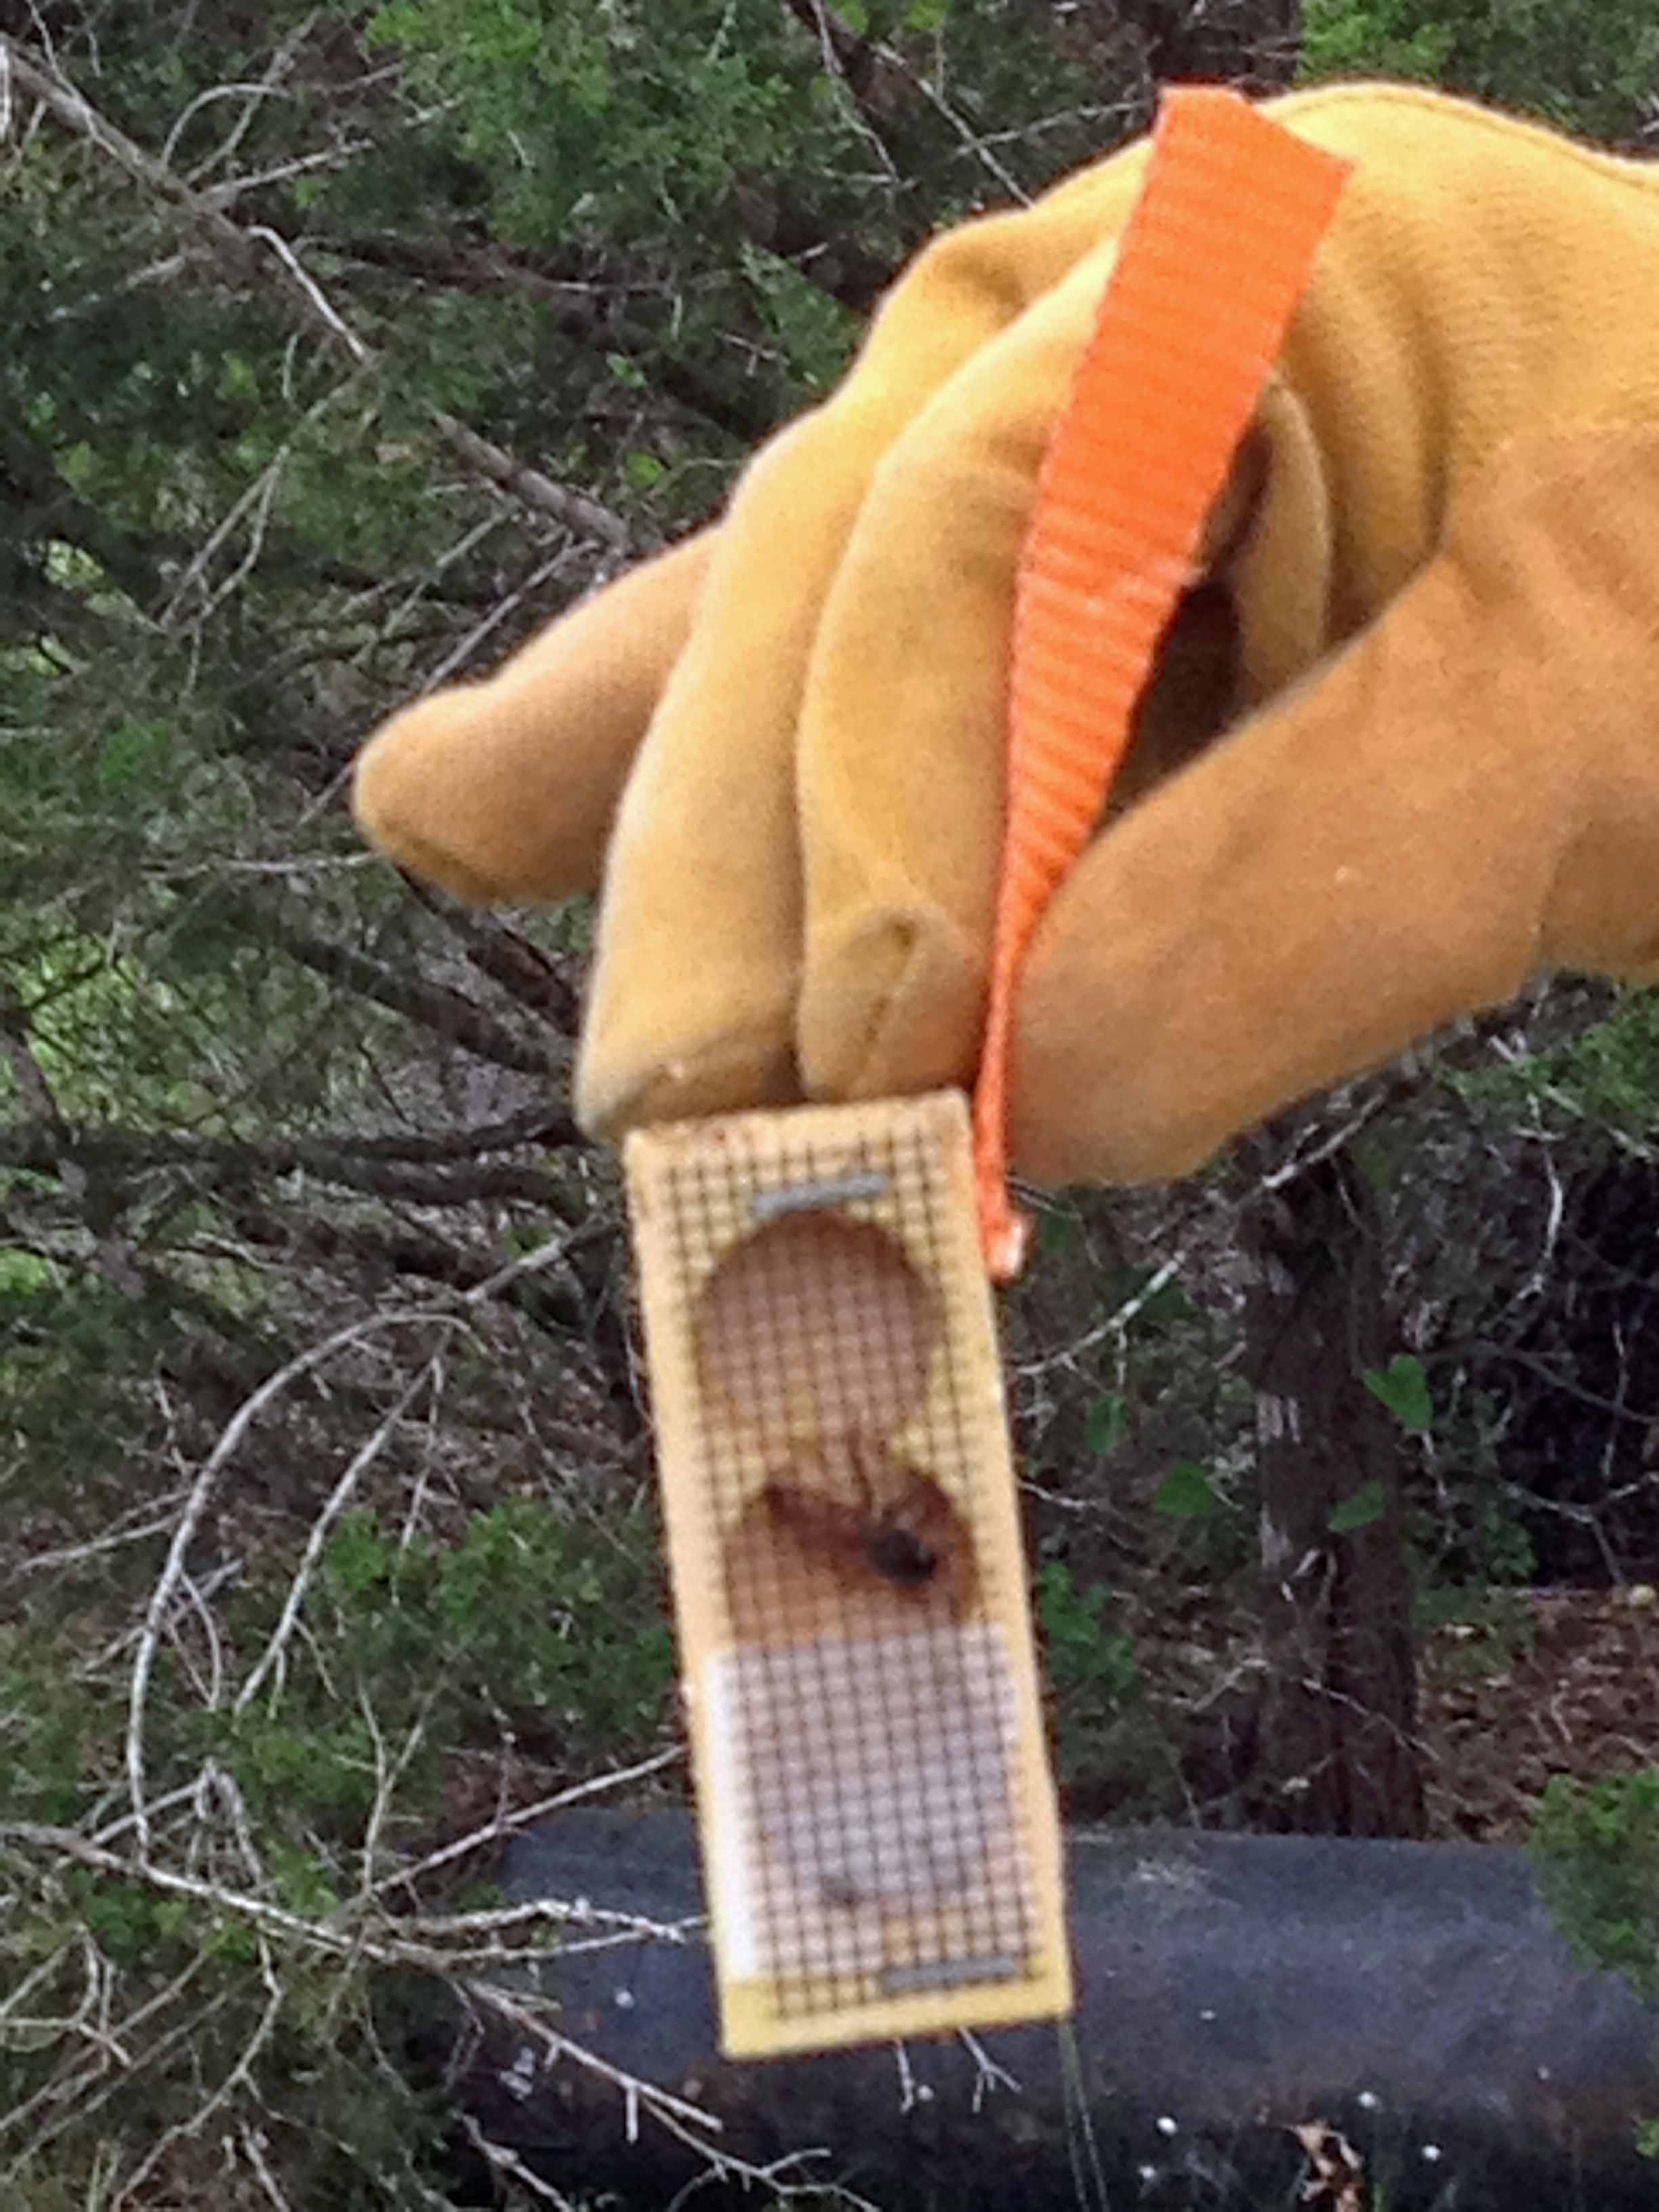
This is a picture of the queen in her small cage. There is a cork covering the opening and that opening is filled with wax. You remove the cork, place the queen cage between 2 slats in the lower hive and over the next few days the bees eat through the wax releasing the queen into the hive. She then starts laying eggs to produce more bees. You also shake a few bees out of the large cage to they know she is there. Once they know the queen is in the hive they will not leave.
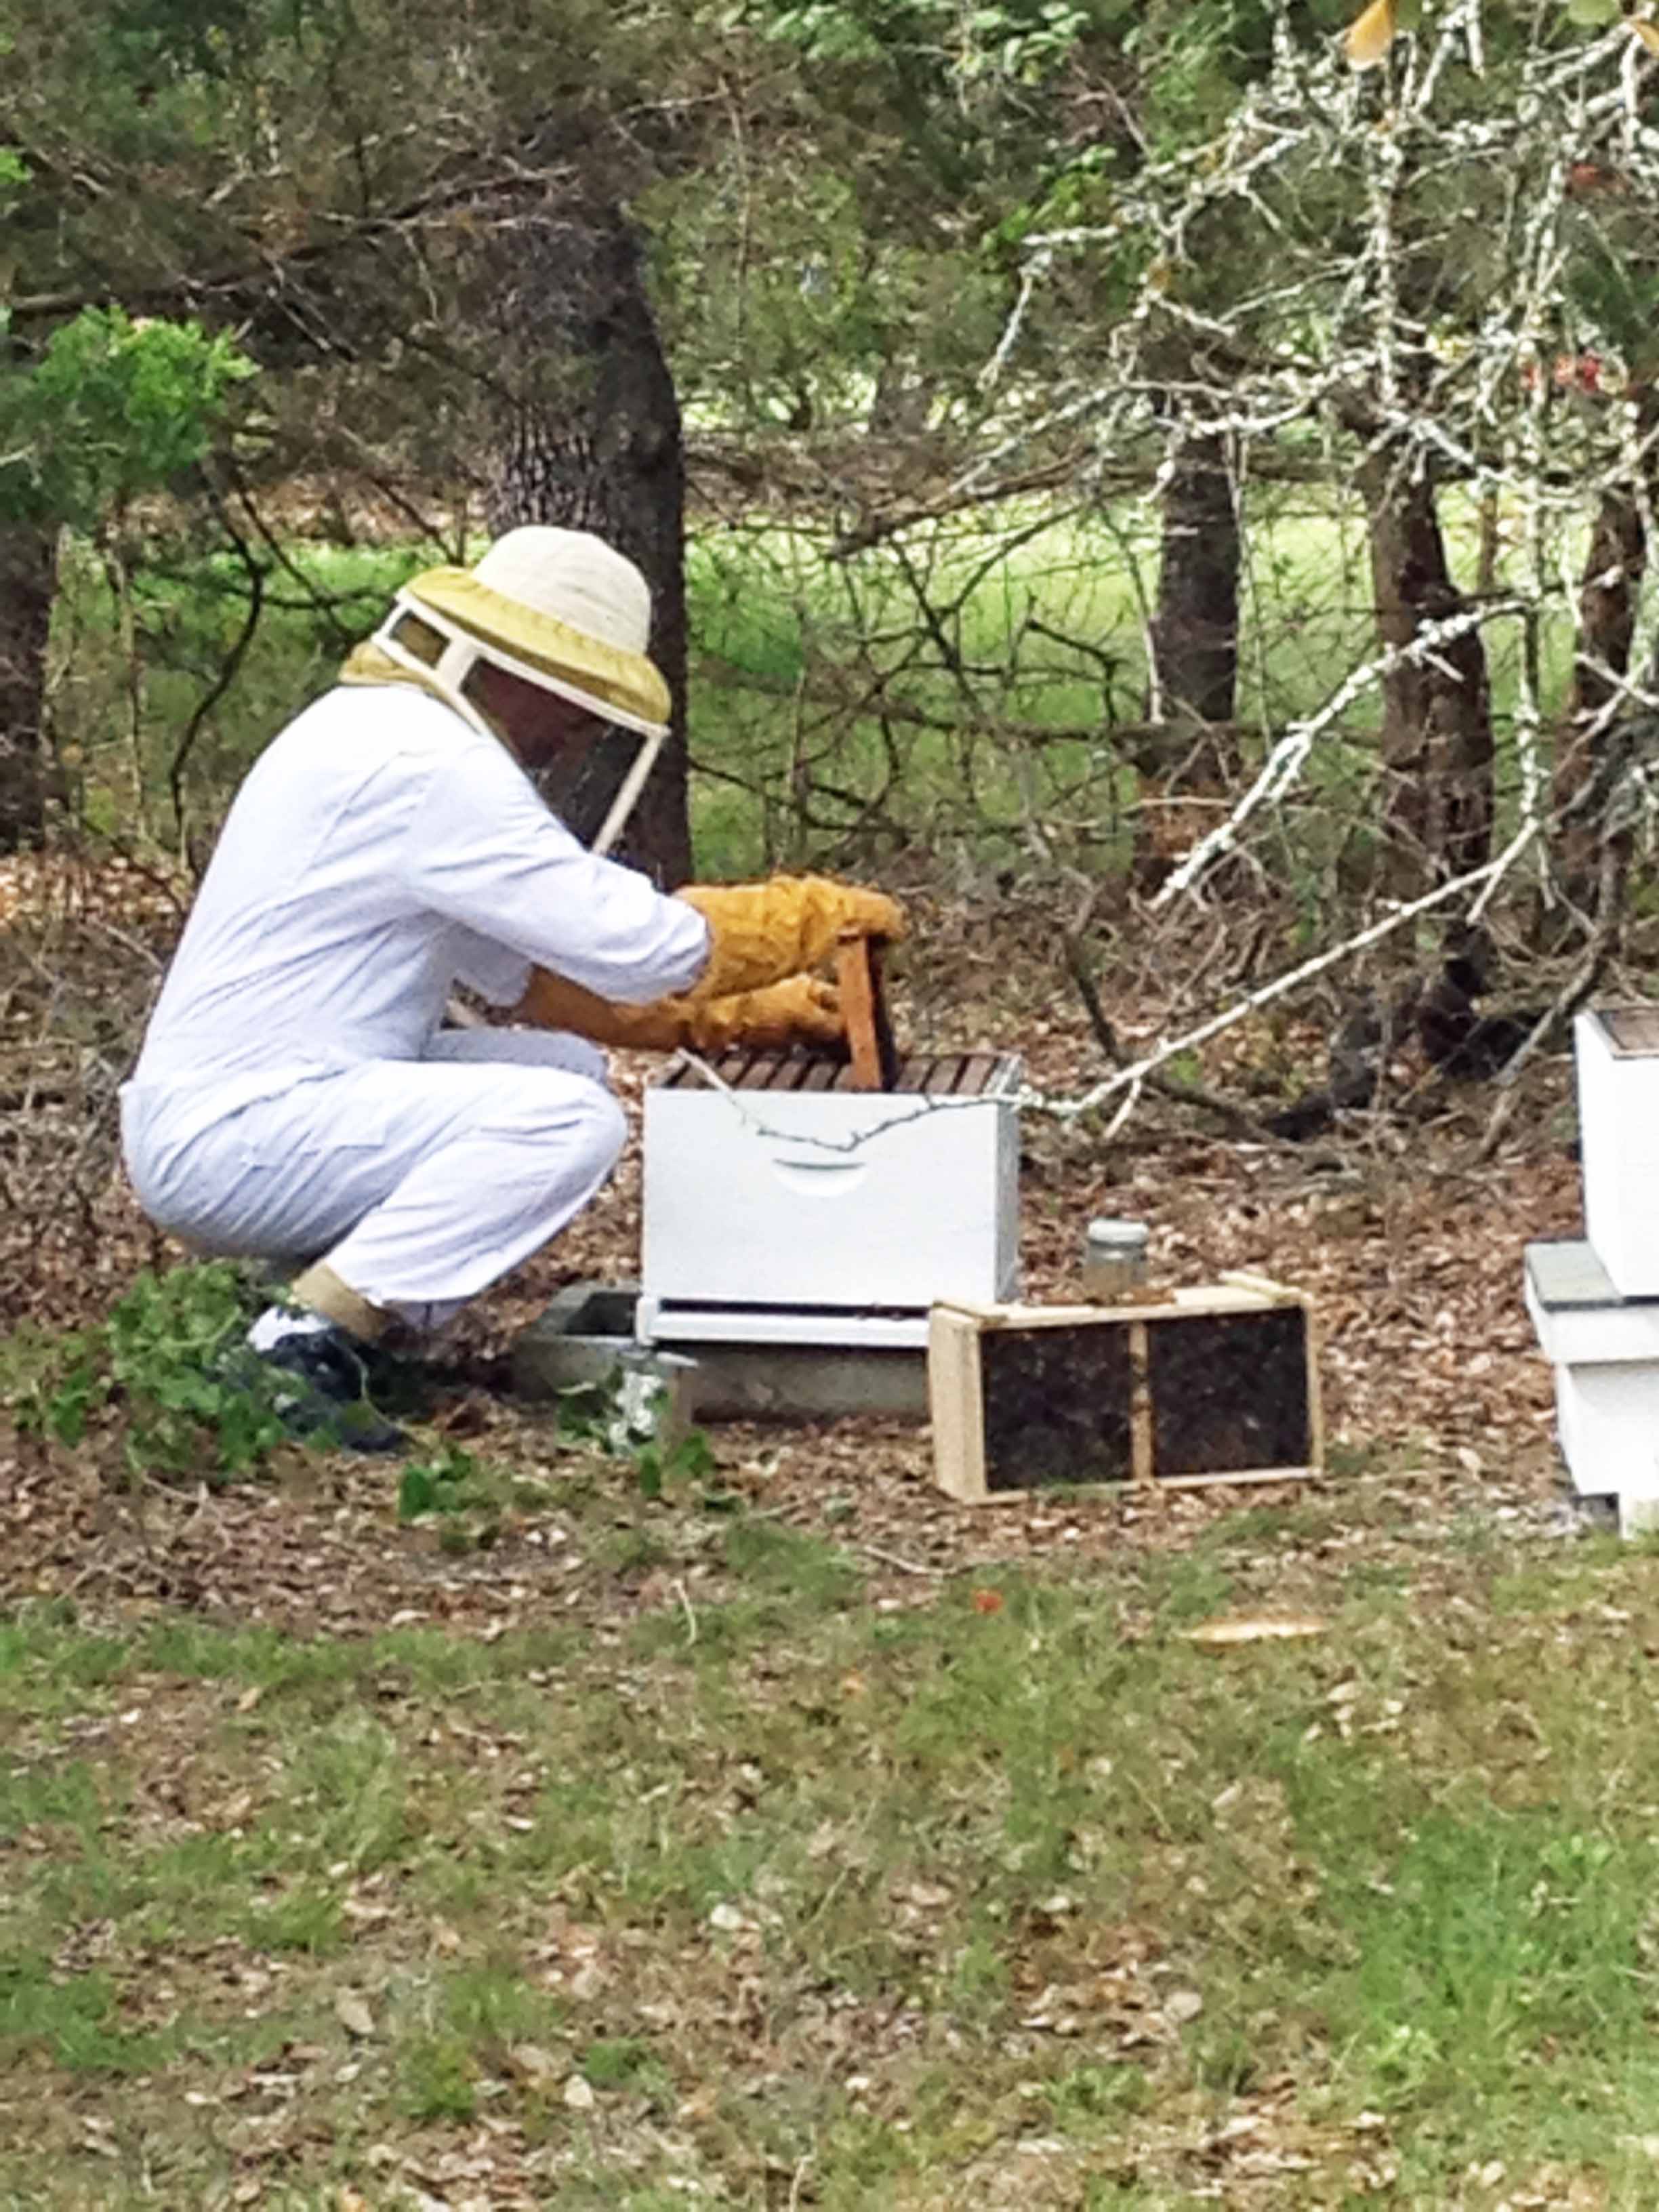
This shot is me placing the queen between the slats in the hive.
Next you re-assemble the hive and prop the open bee cage against the opening of the hive. Over the next few hours the rest of the bees will leave the cage and enter the hive. I went out about 6pm and the cage was empty and I removed it. The top most layer of our hive is for honey only. There is a screen between the top and second second section (called a queen excluder). It allows the workers to pass but not the queen. That way there will be no bee eggs in the top, only honey. We harvest honey from this section only.
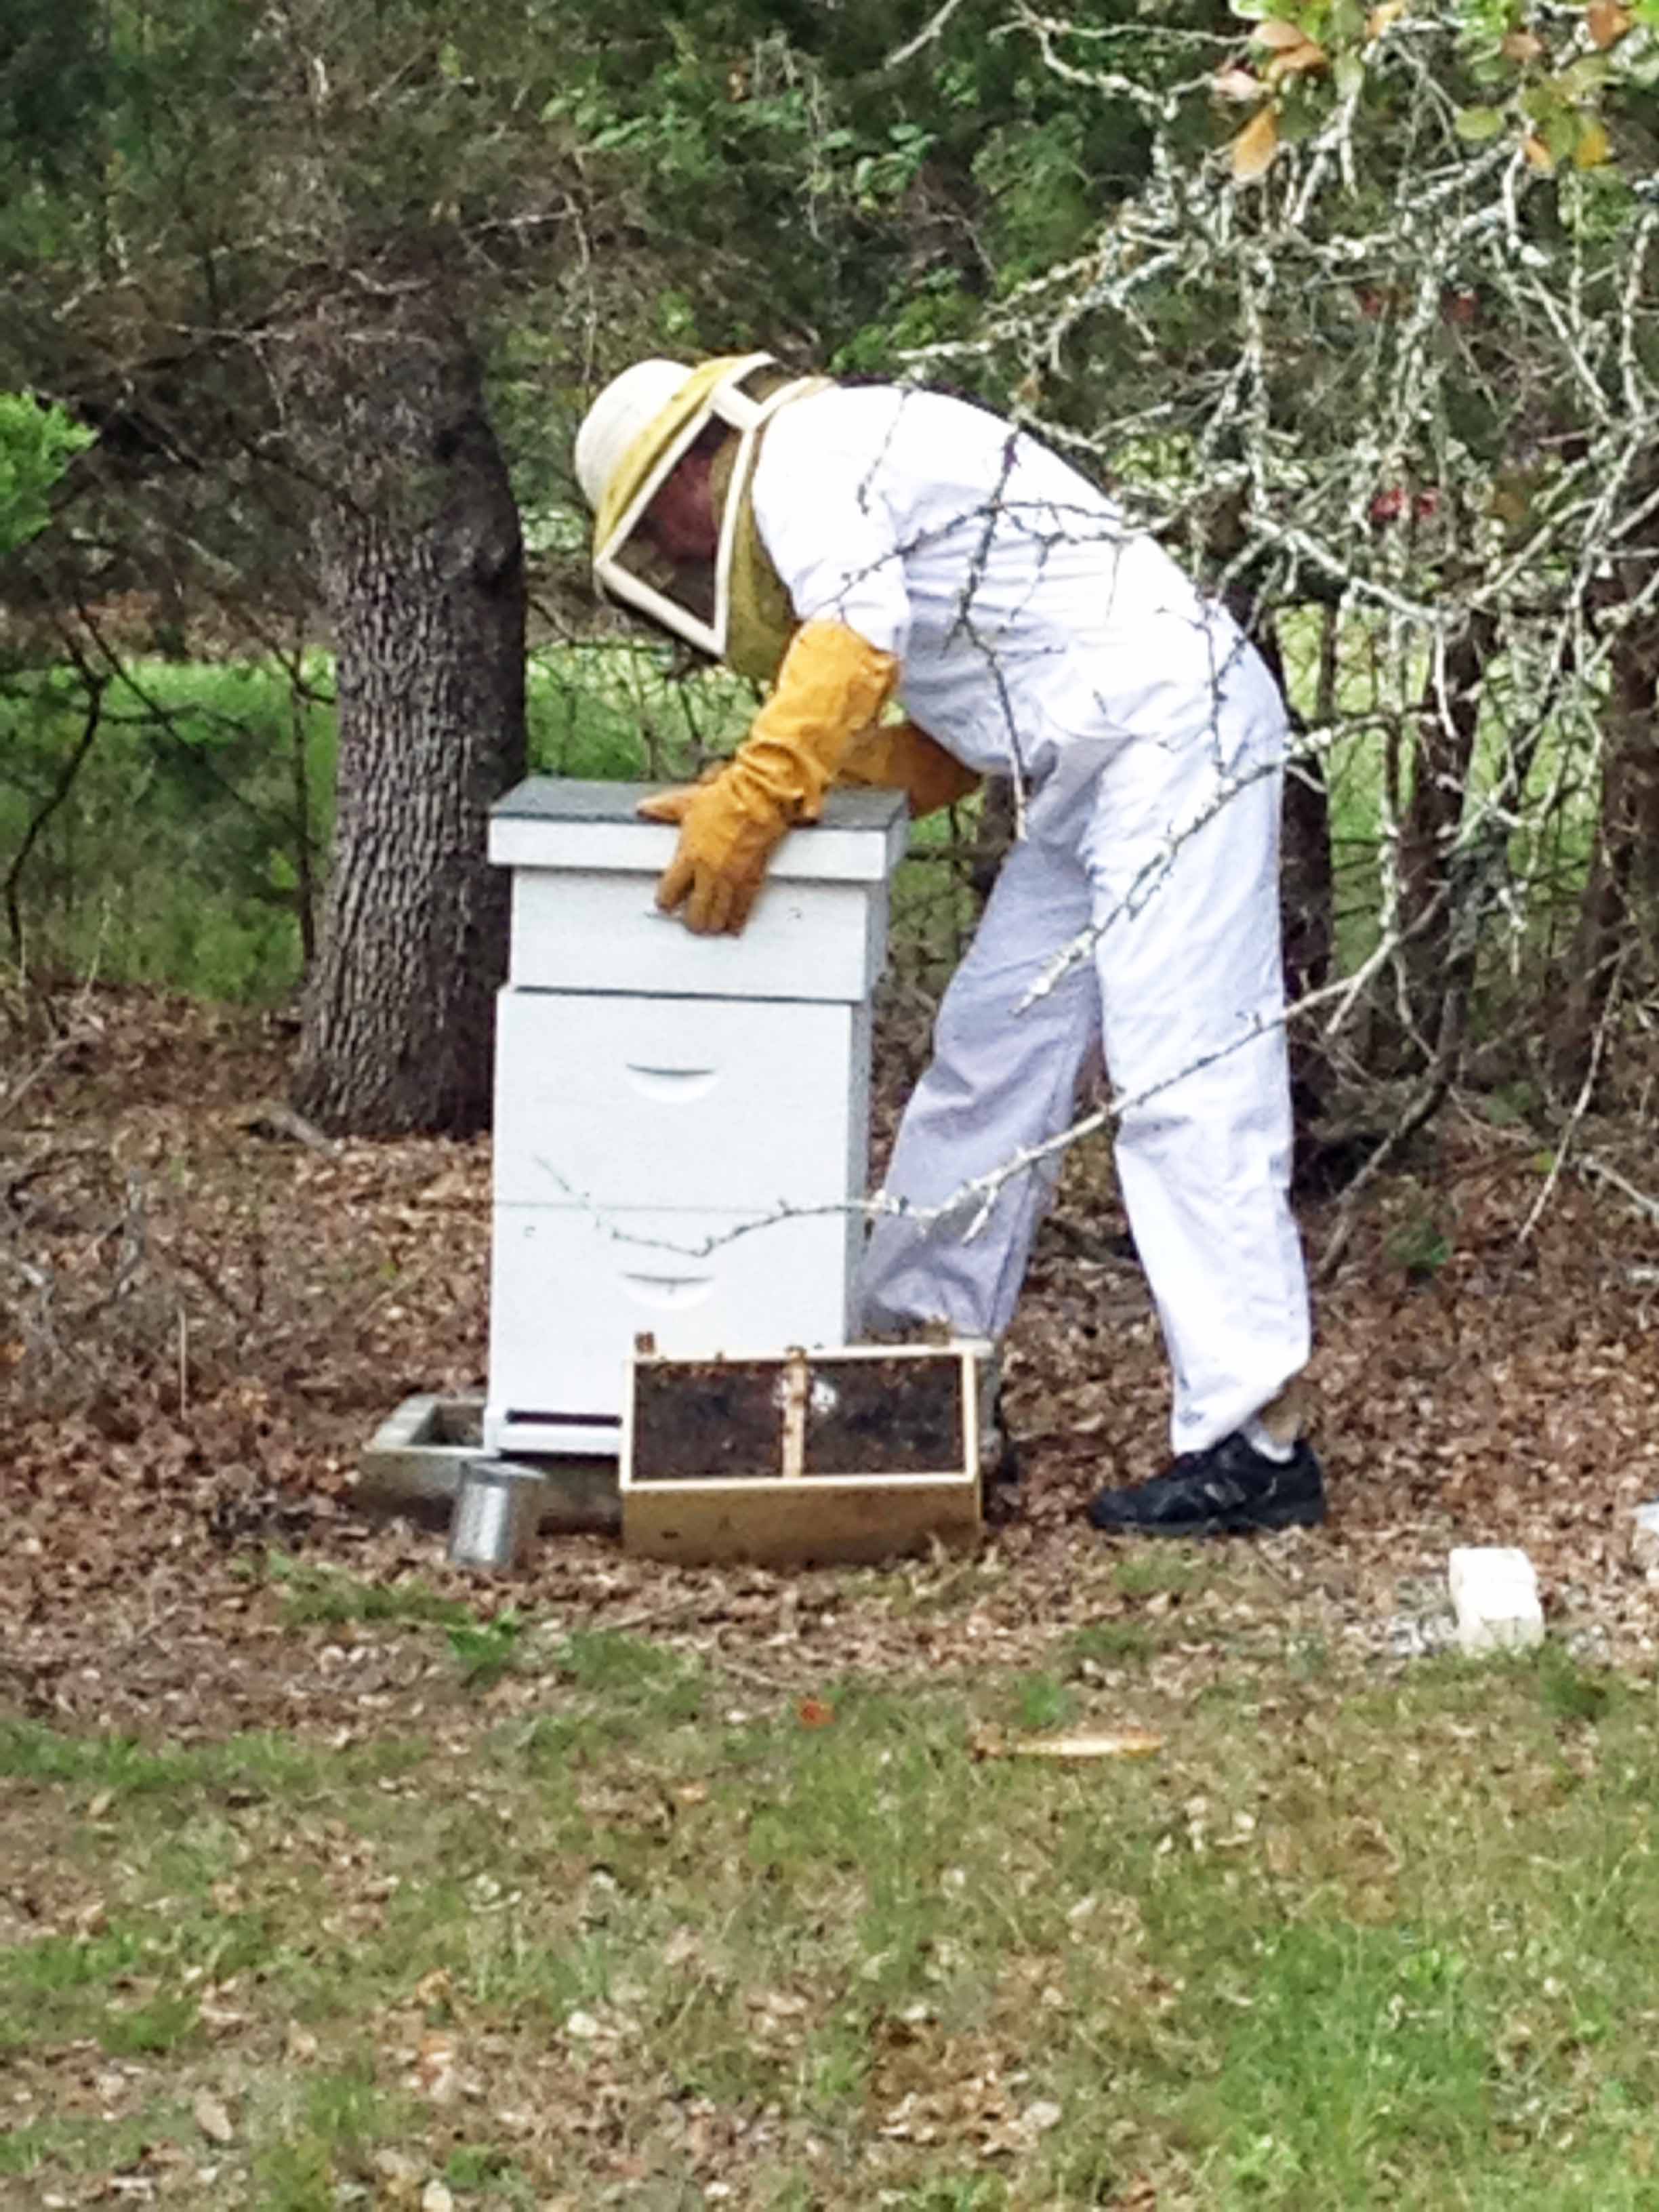
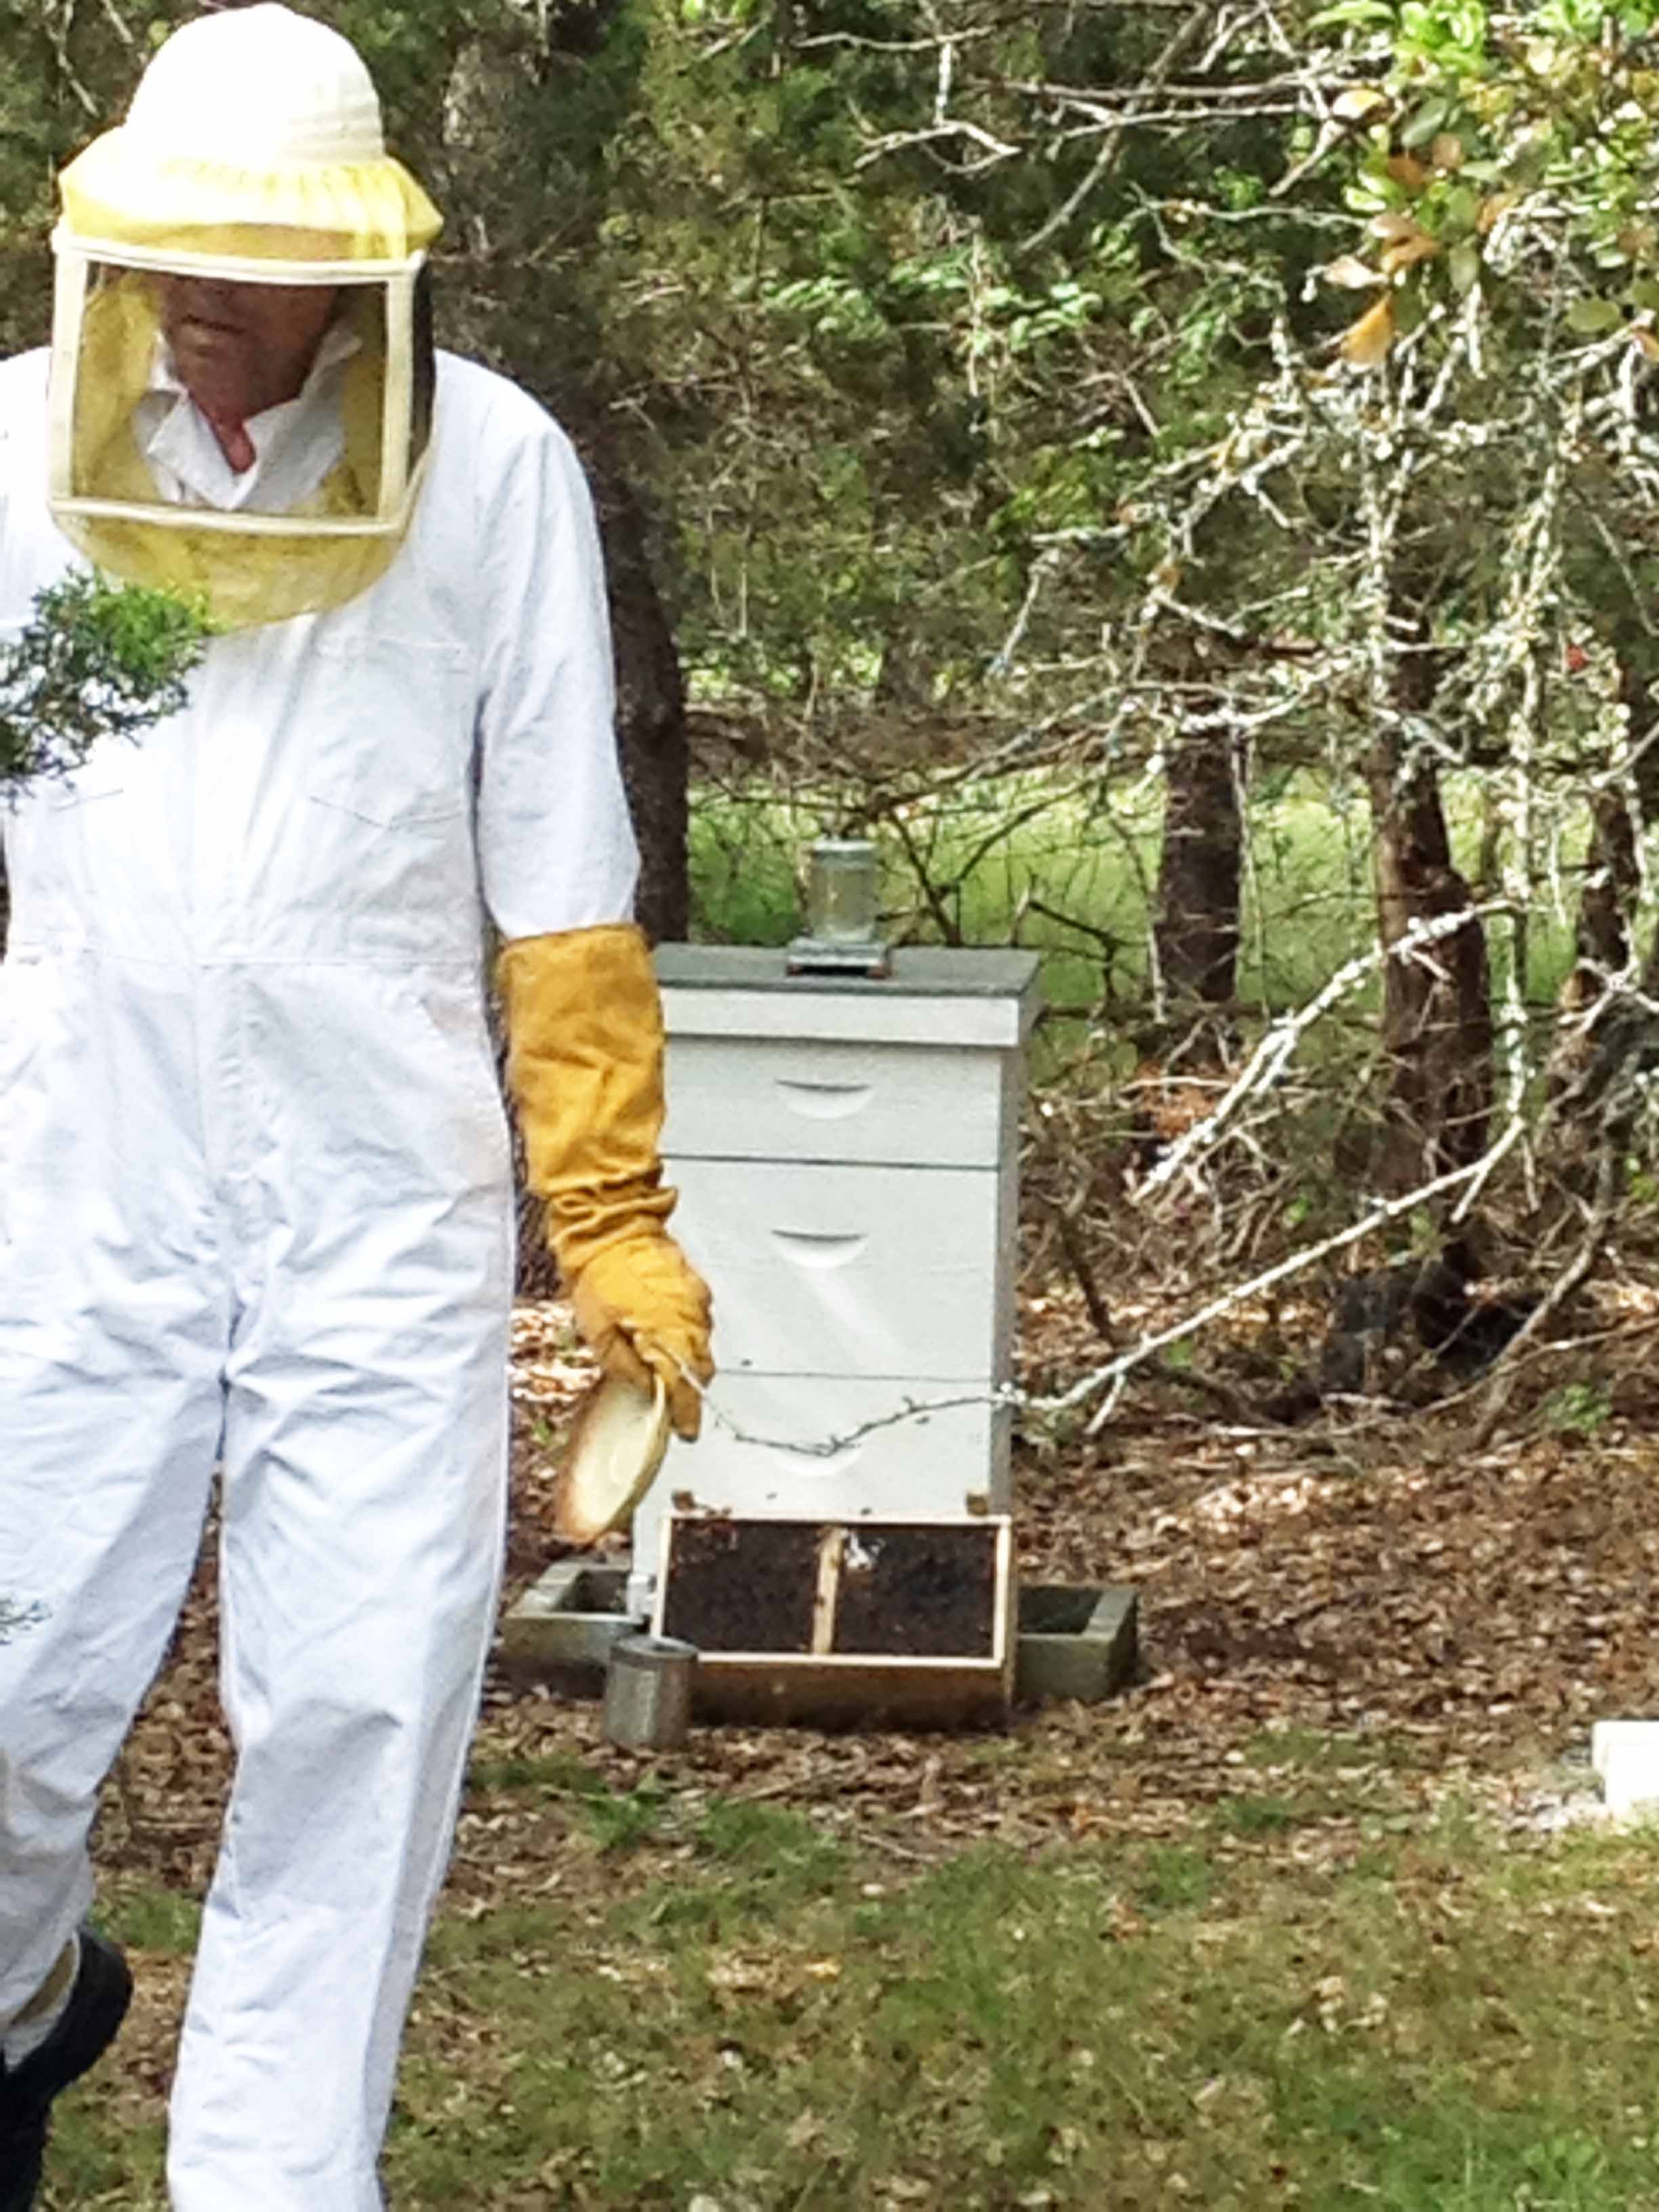
Once everything is re-assembled it looks like this. On top of the hive is a feeder that is 1/2 sugar and 1/2 water. I helps them get started but there are so many things blooming now we probably don't need it. During very dry or cold weather you can feed the bees this way and keep the hive going. It will be a couple of months before they are well established and producing extra honey. They use honey to make it through the winter and times when they can't get to blooming plants so you never take it all. It works well having the top isolated section. We can take all we want from there without risking the main hive. You will notice that there are no bees on me at all. Since they have not really moved into the hive yet they don't know they need to protect it. Later they will be a little more aggressive and you use smoke to calm them down when removing honey. I'll show that process later..... Thanks for the pictures Julia!
April 1, 2012
Everything is up and doing well!
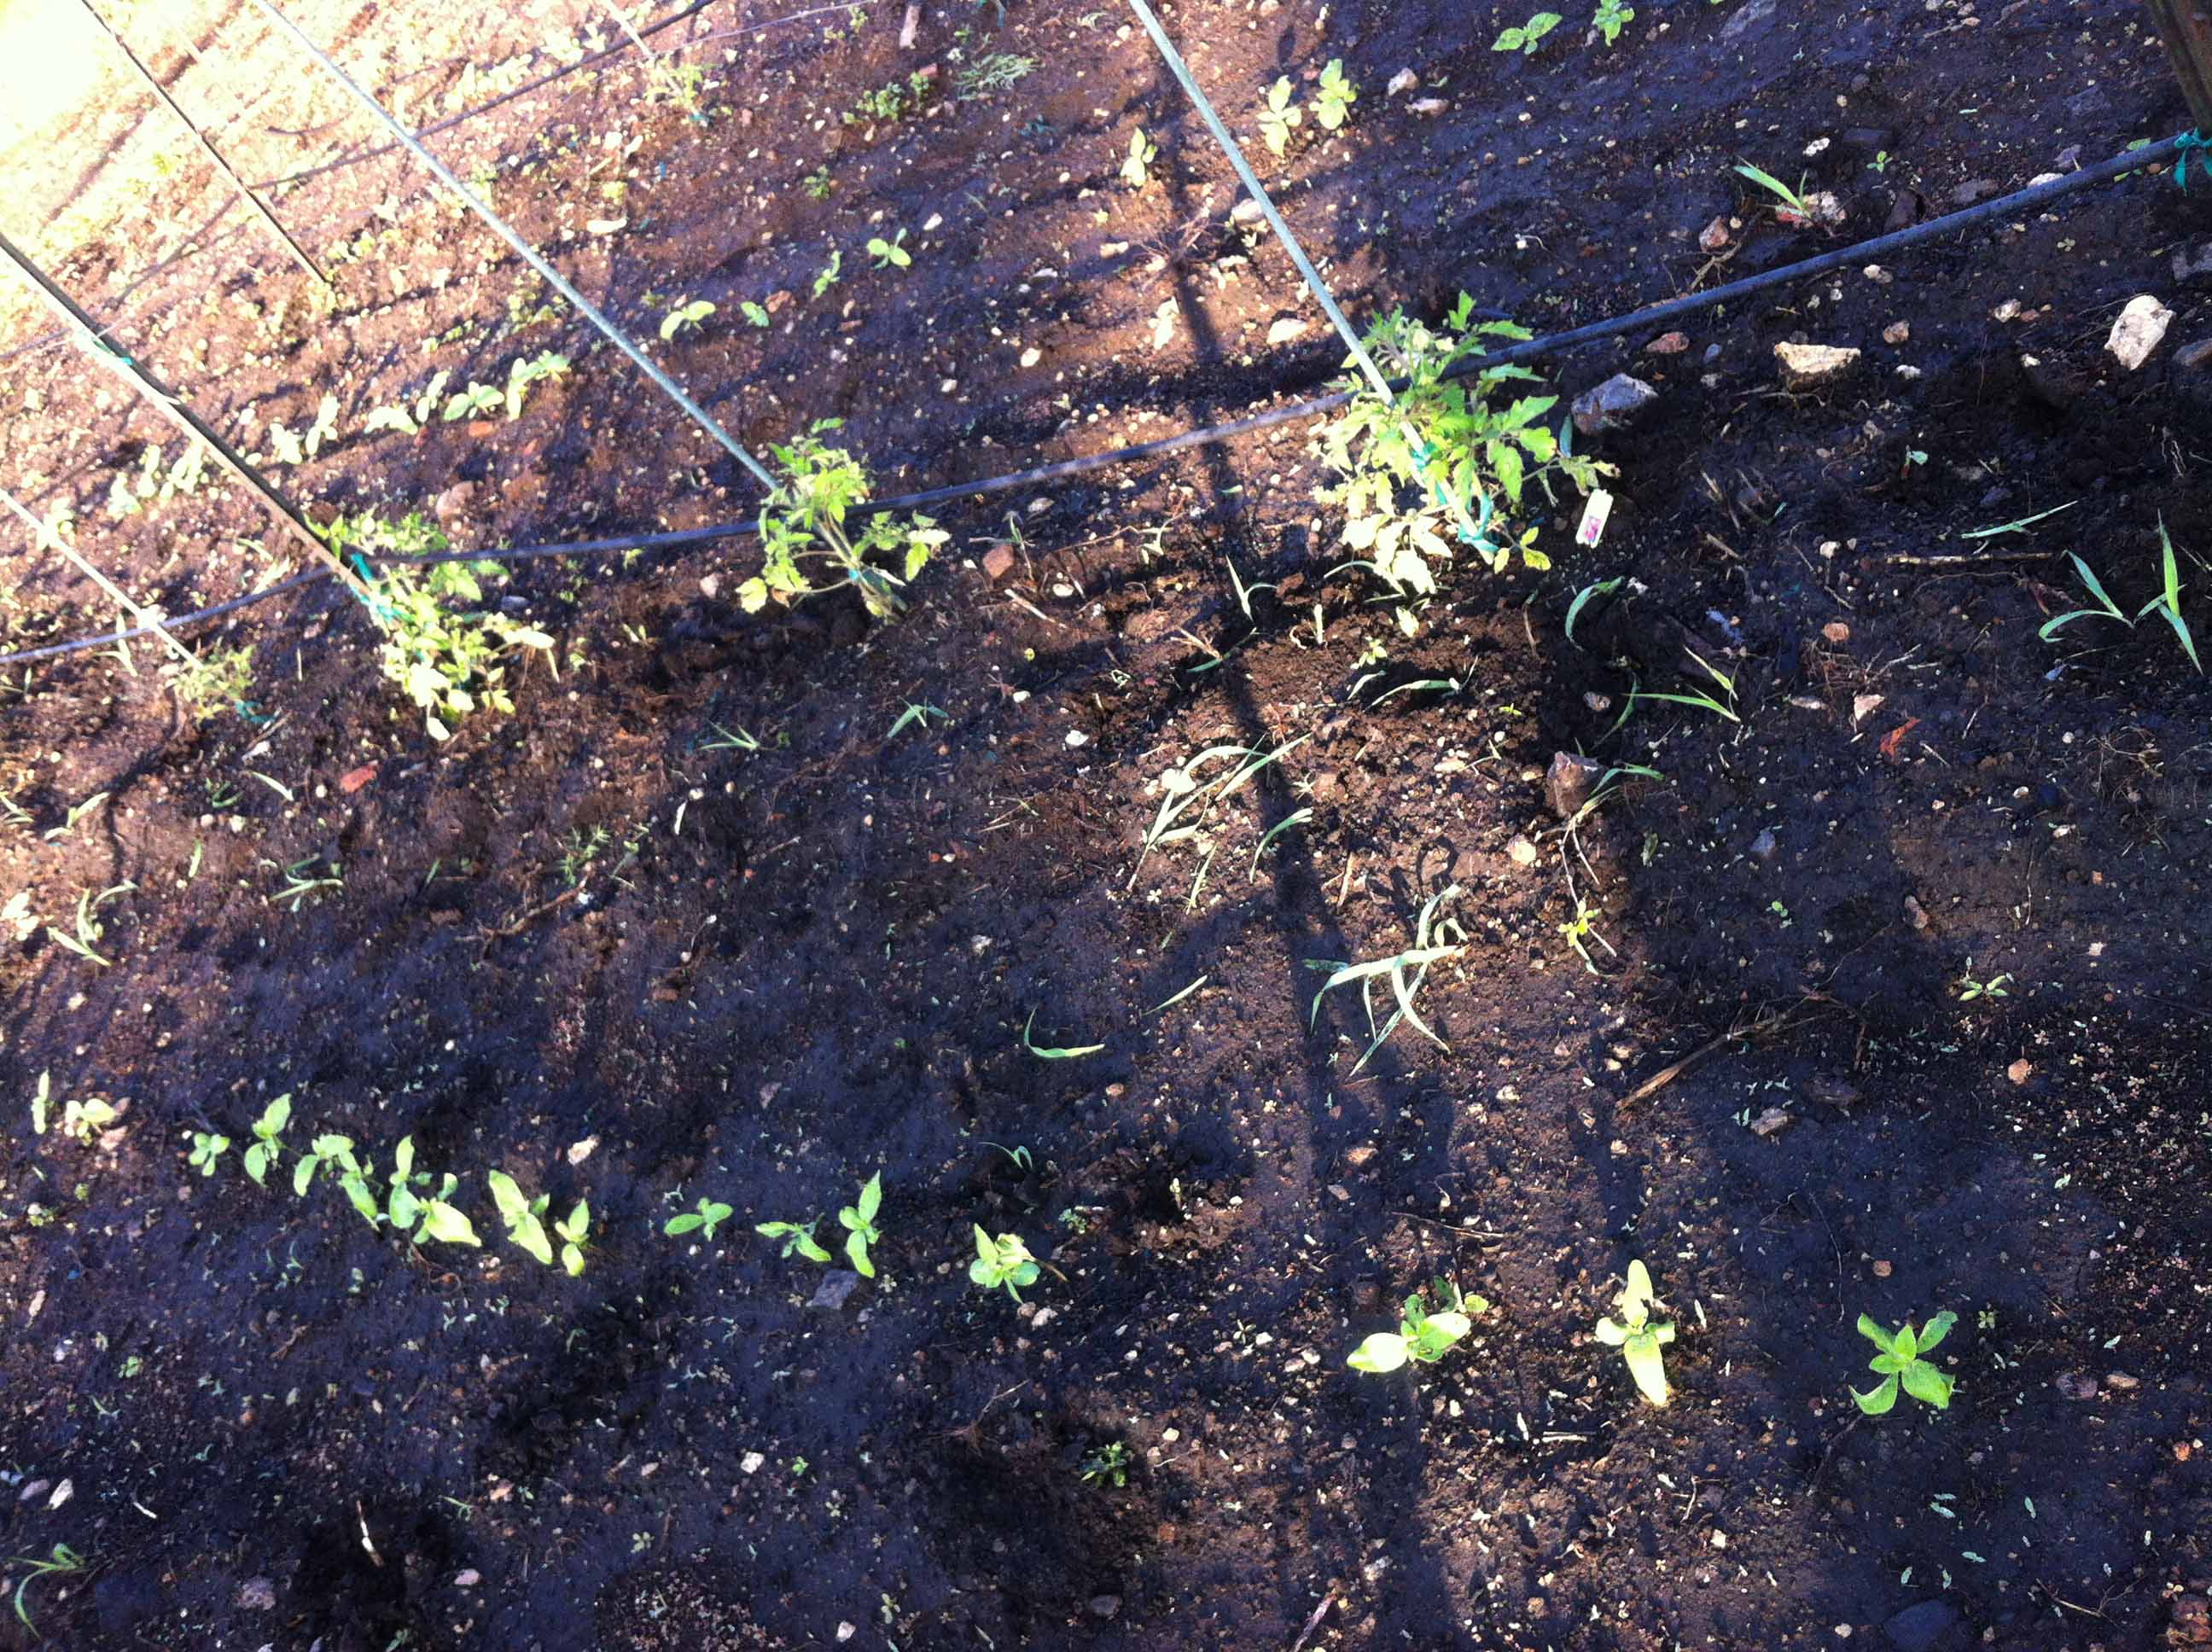
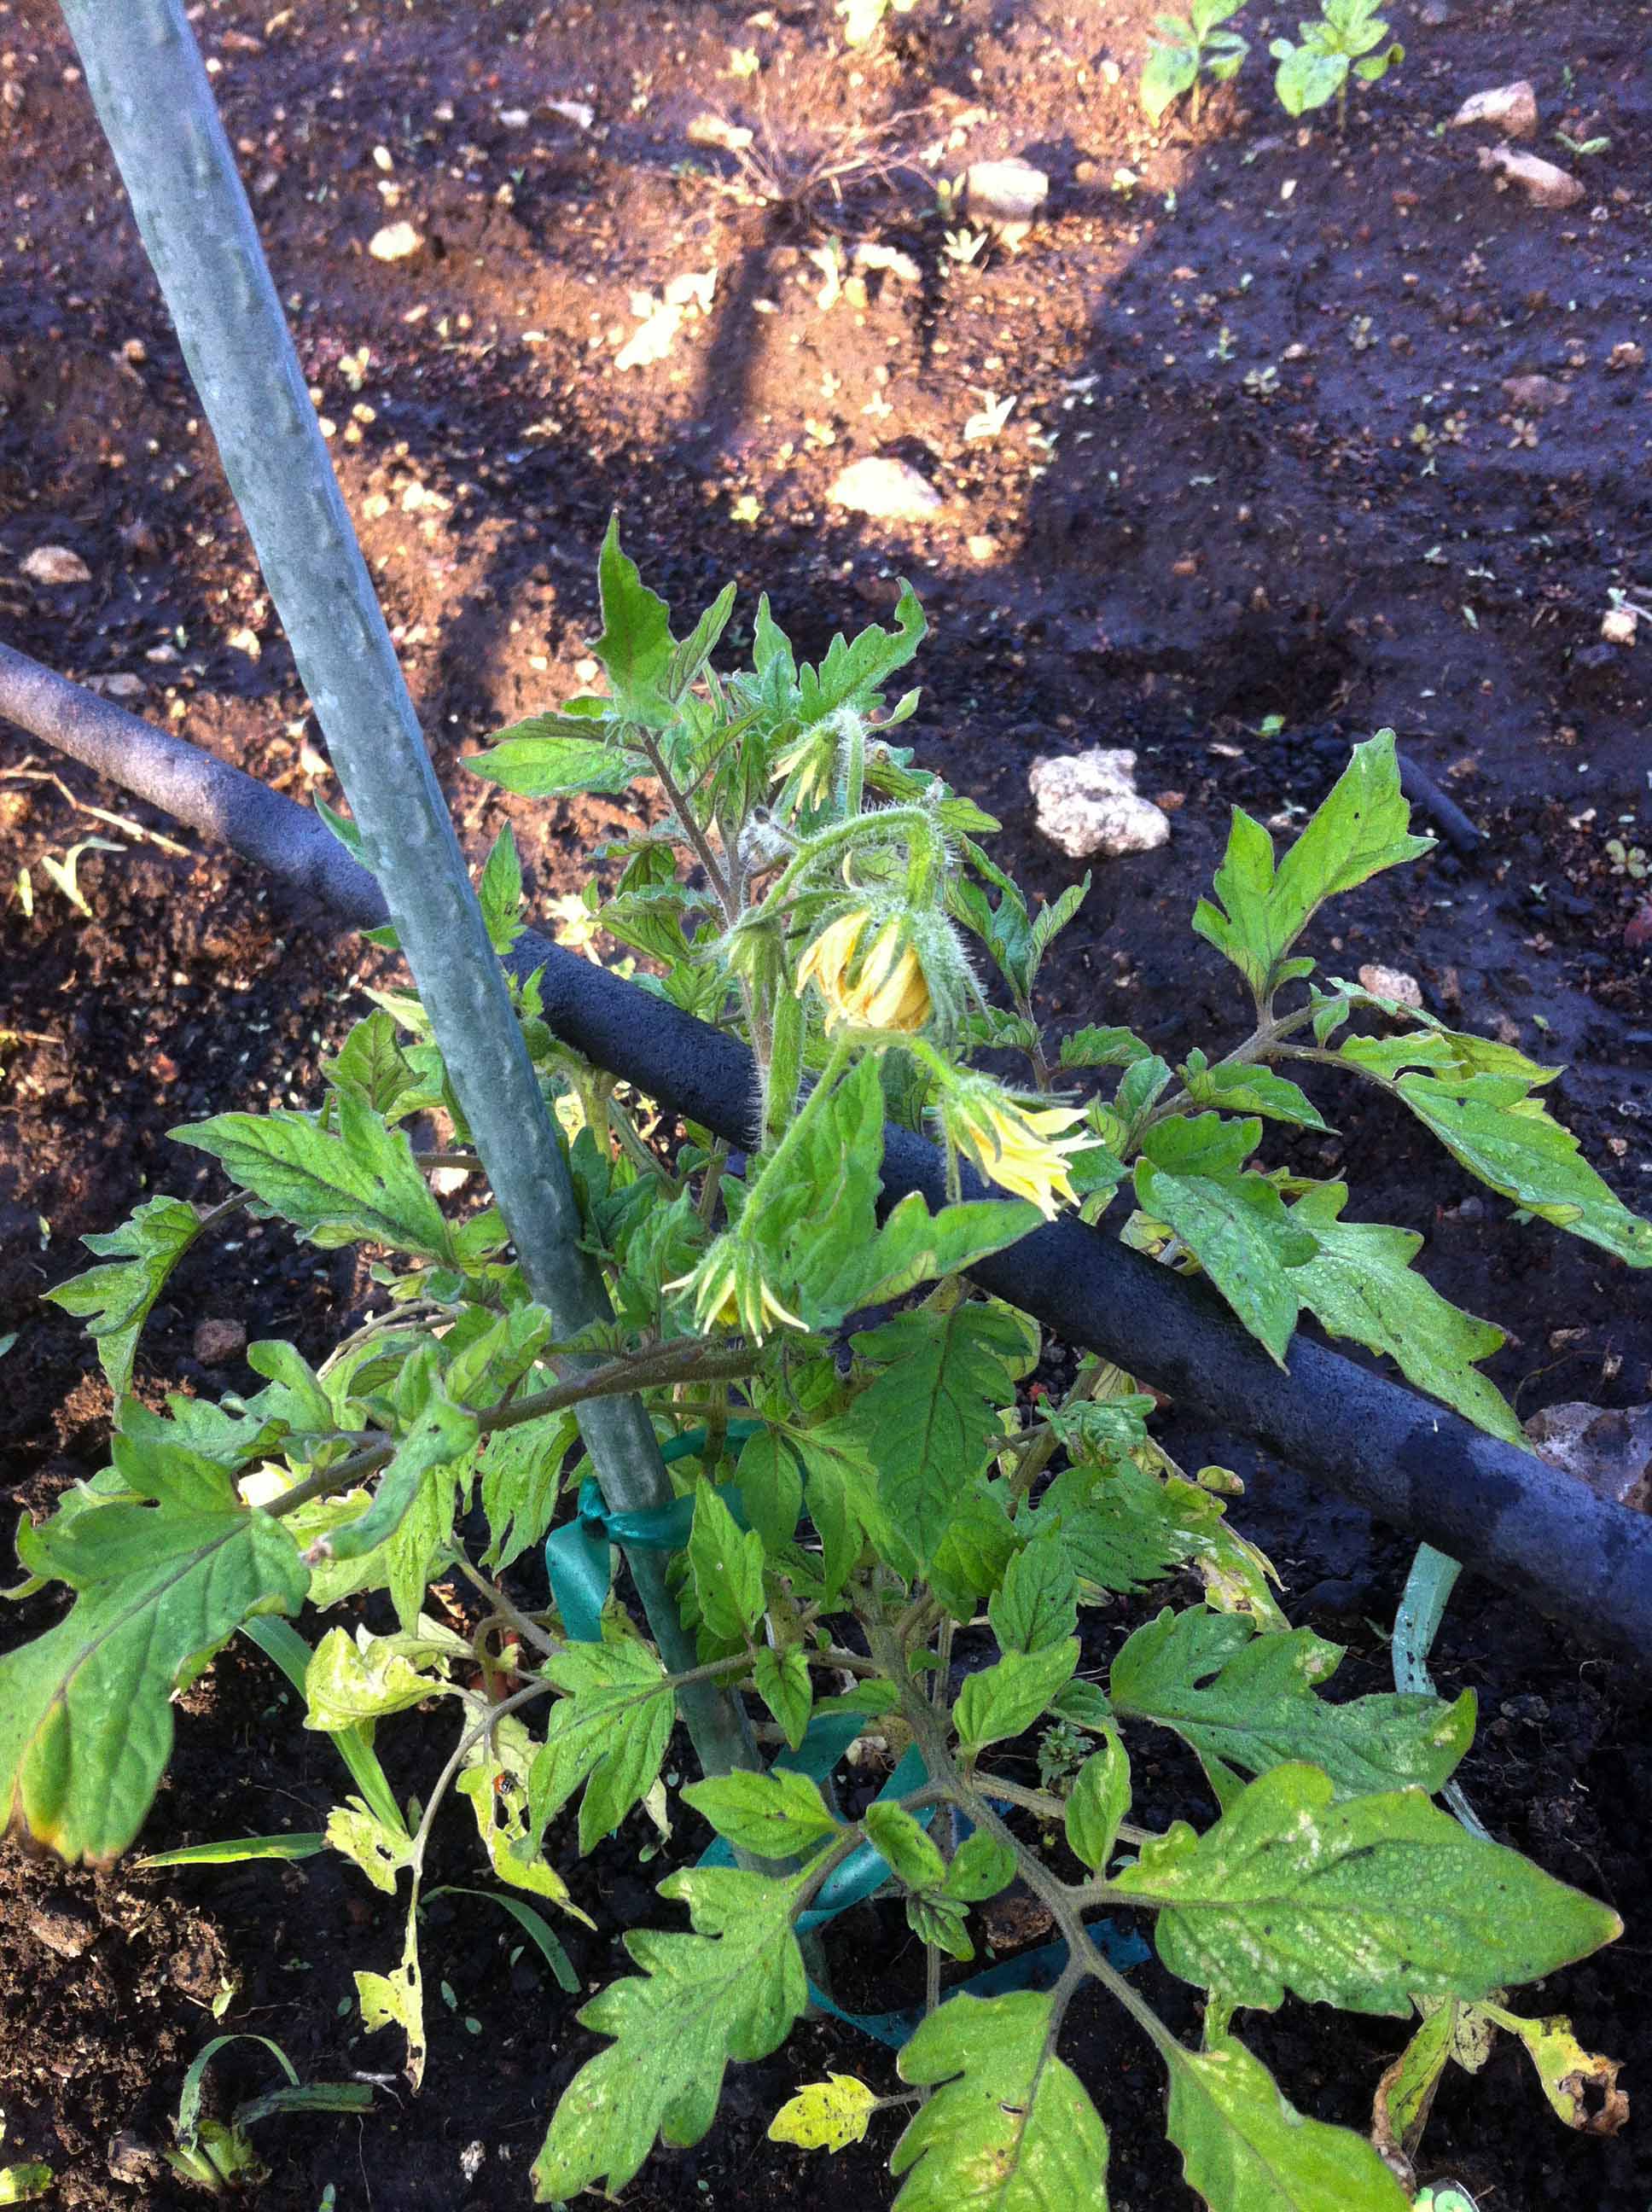
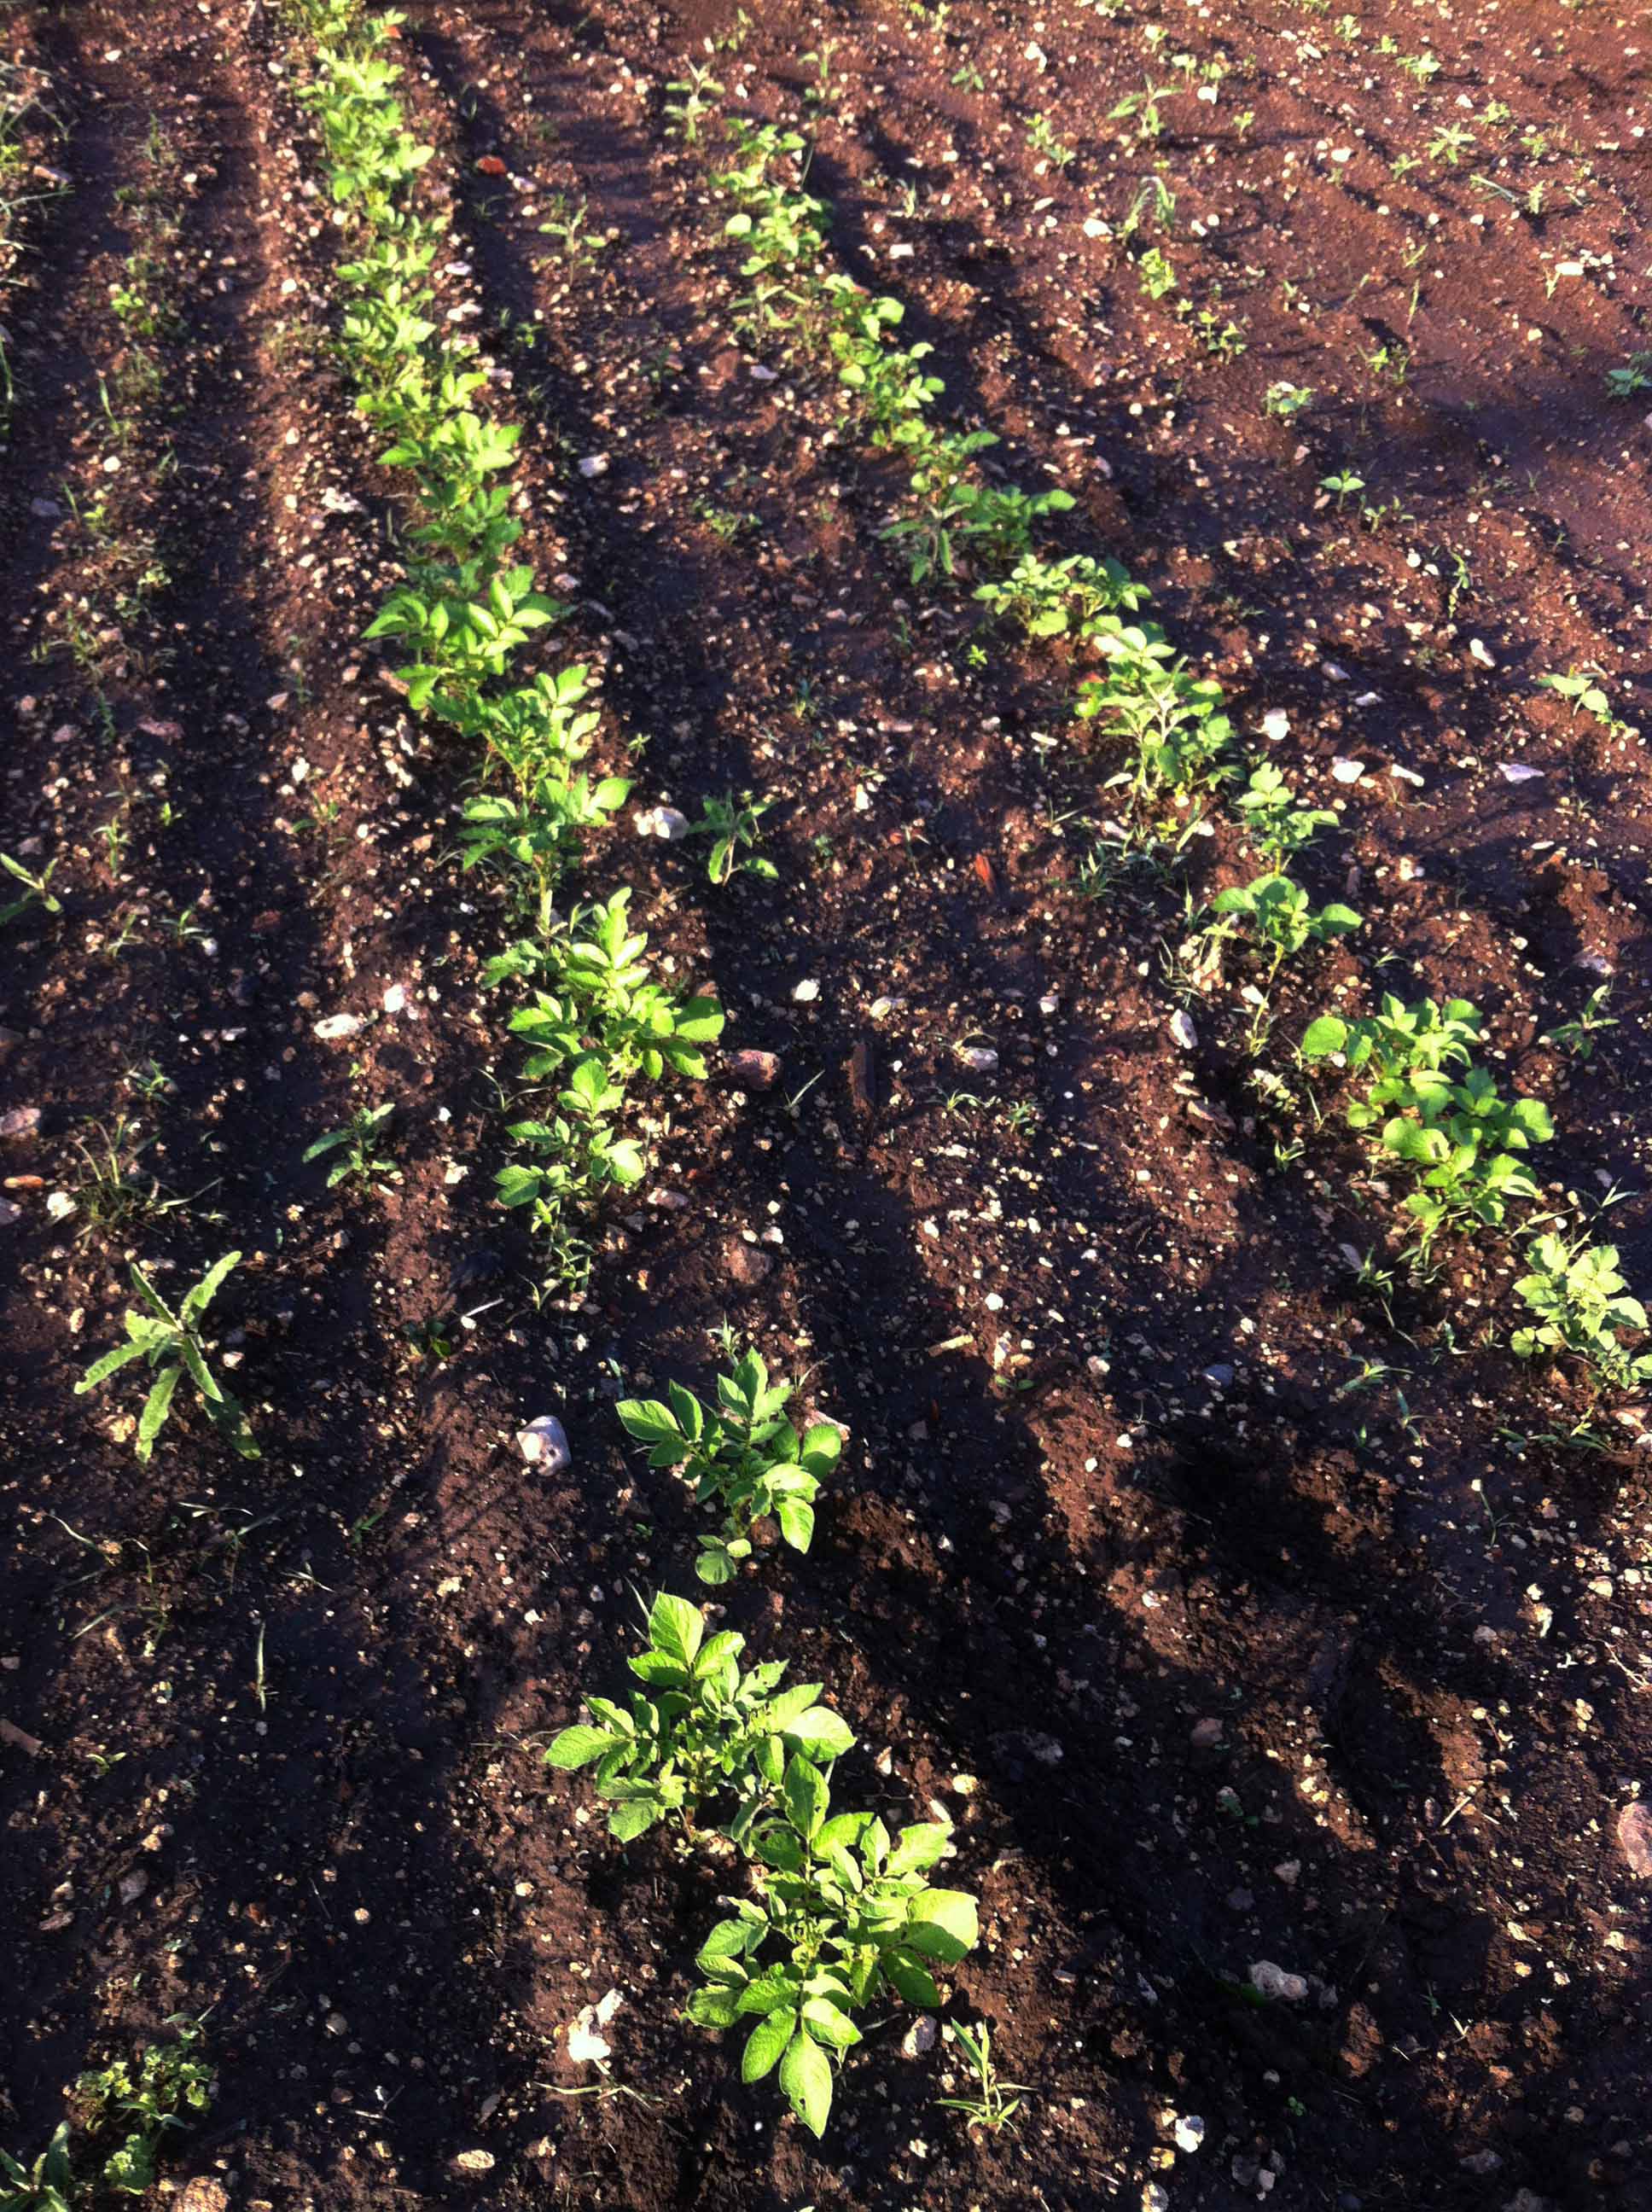
We've had some days in the high 80's but mostly high 70's. All the seedlings are up and look good with the one exception of the green beans. Those rows I will fill in with new seed this week. We've also had a good deal of rain and I haven't had to water much at all. That really makes a huge difference and was something that just didn't happen last year. I am a bit concerned at how warm it's been but usually when we get plenty of rain our summer is not that hot. We can only hope. The pics below are labeled and you can see how things are coming along. We even have flowers on our tomato plants... Next Saturday our new bees arrive. For those who don't know, we've kept bees for a few years until my Washington DC stint when it was not really possible to maintain them. Not only do we get honey but everything in the gardens produce and flower better with the bees here. We will receive a new queen and hive bees and will install them in the hive next Saturday (7th). Since I consider that part of our garden and plants, I will include that process here with pics and video.
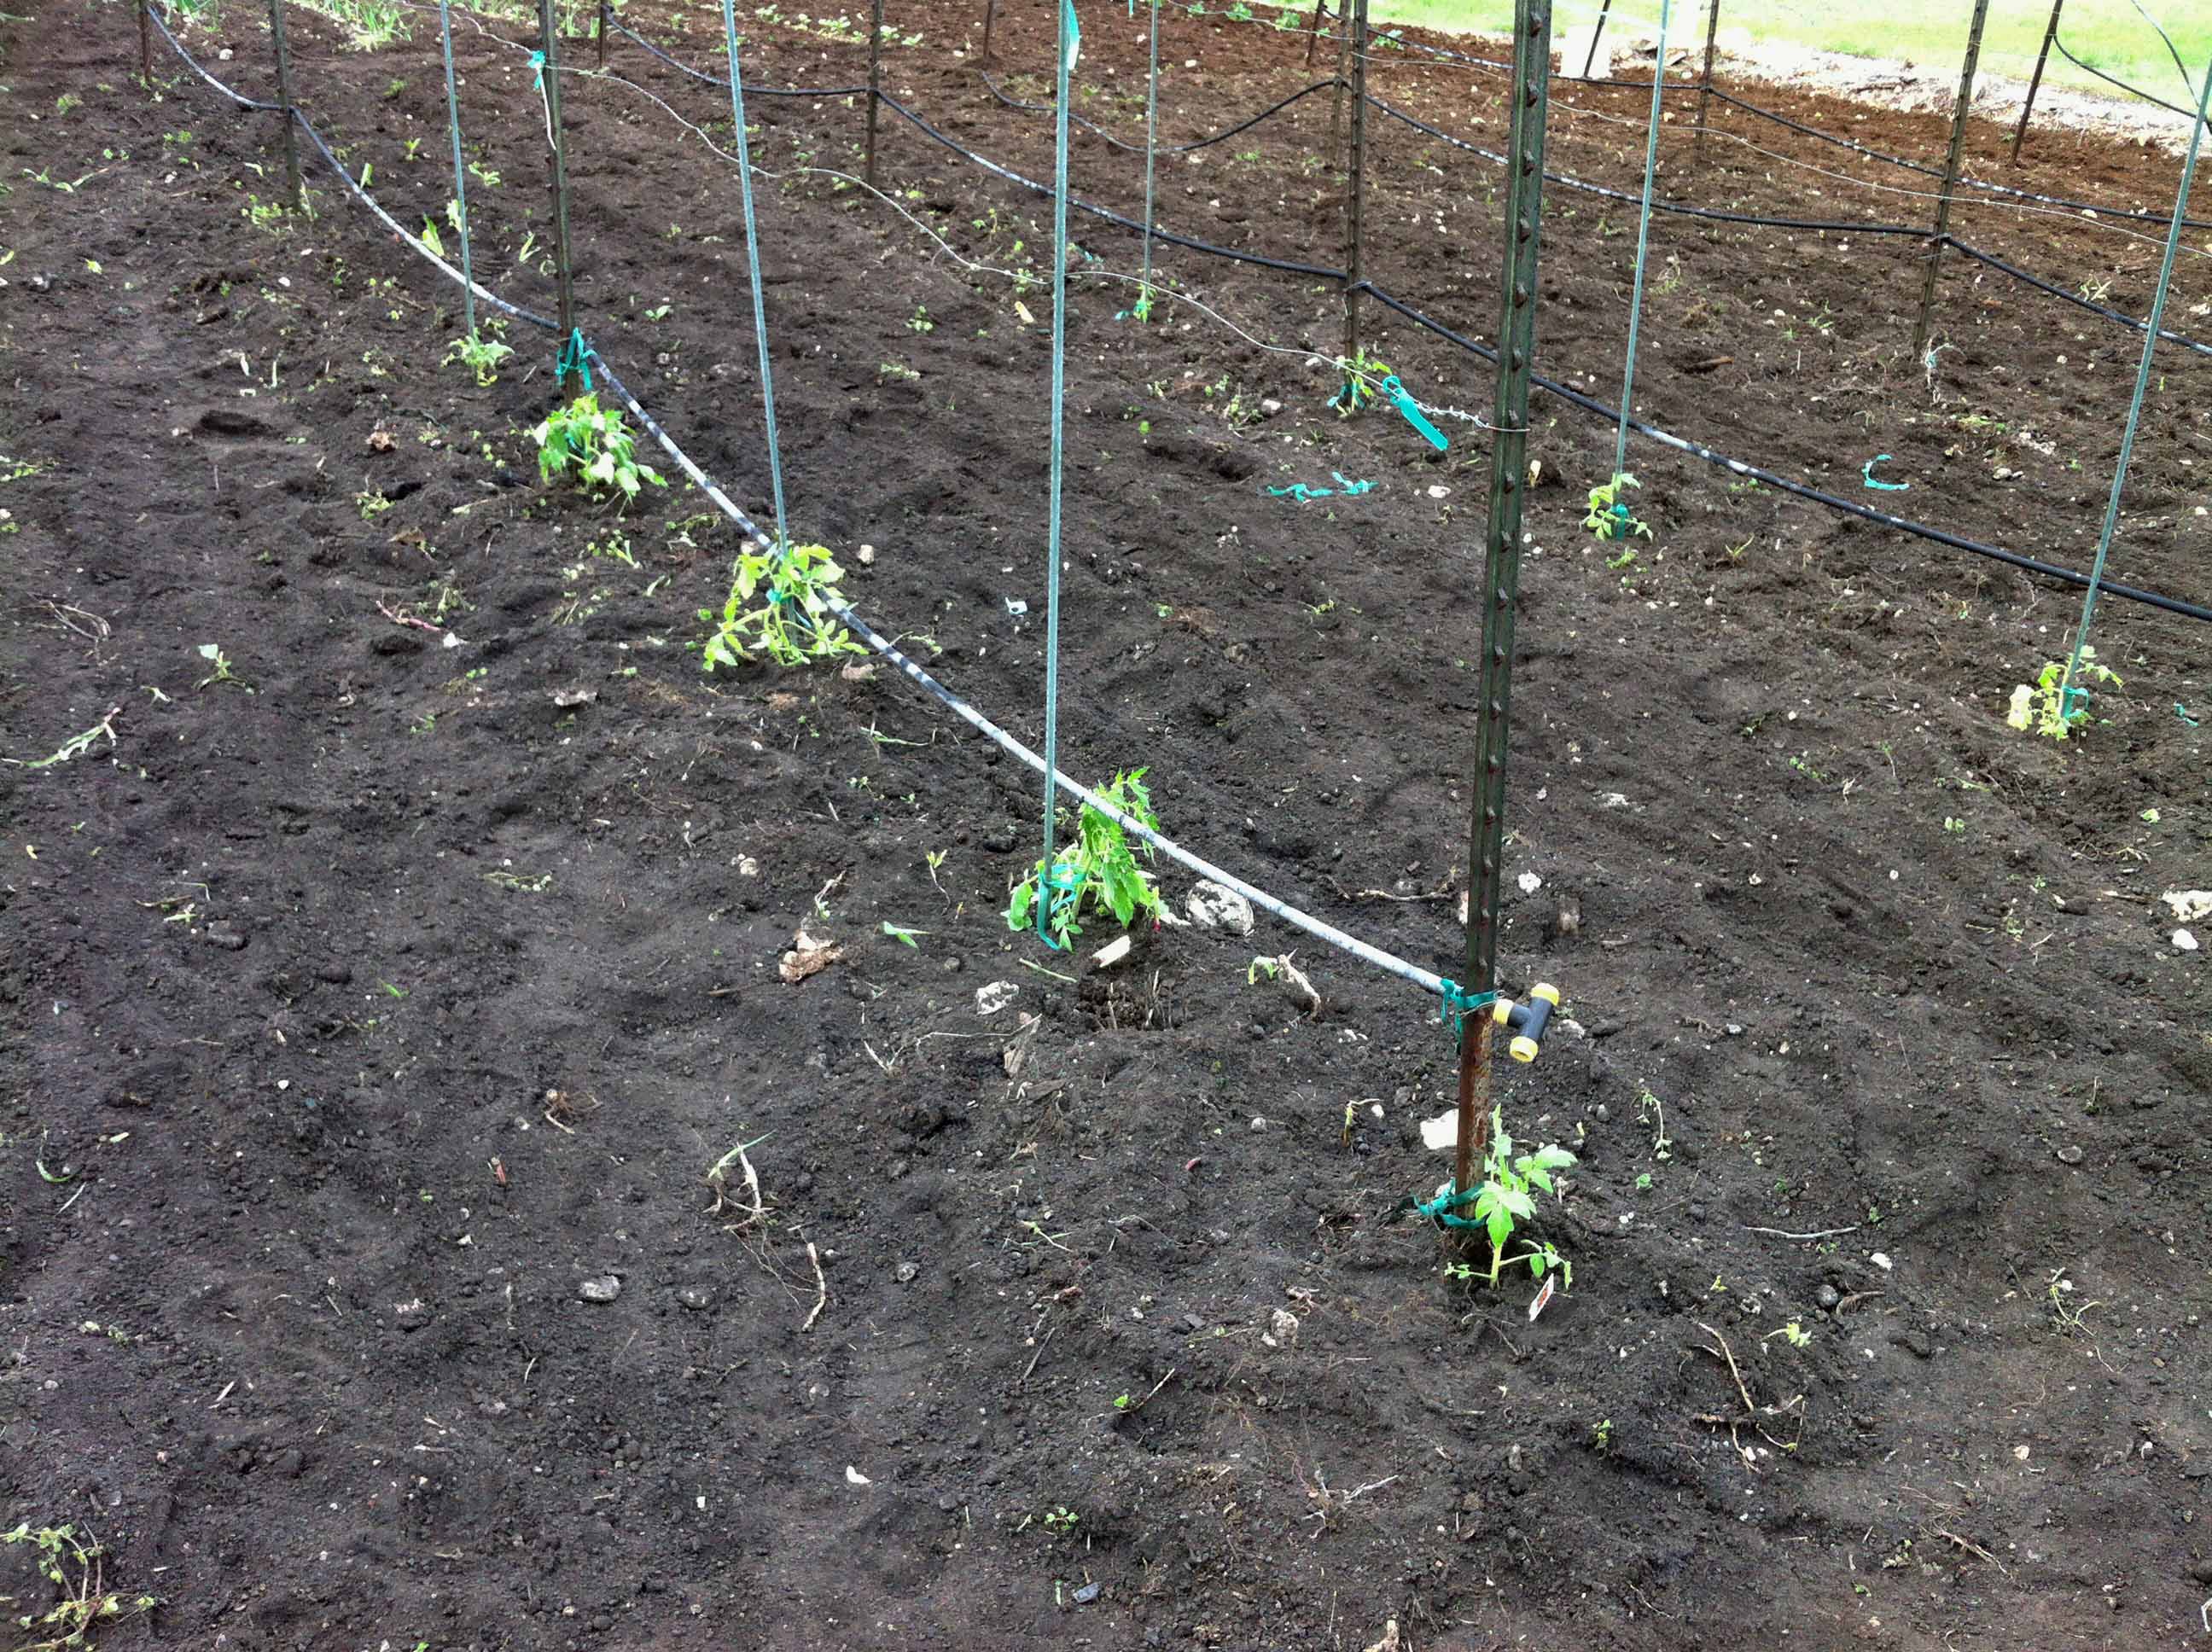
Tomatoes with Sunflower rows in between for shade - Tomato plant flowering
Potatoes on left, Onions and Garlic on right
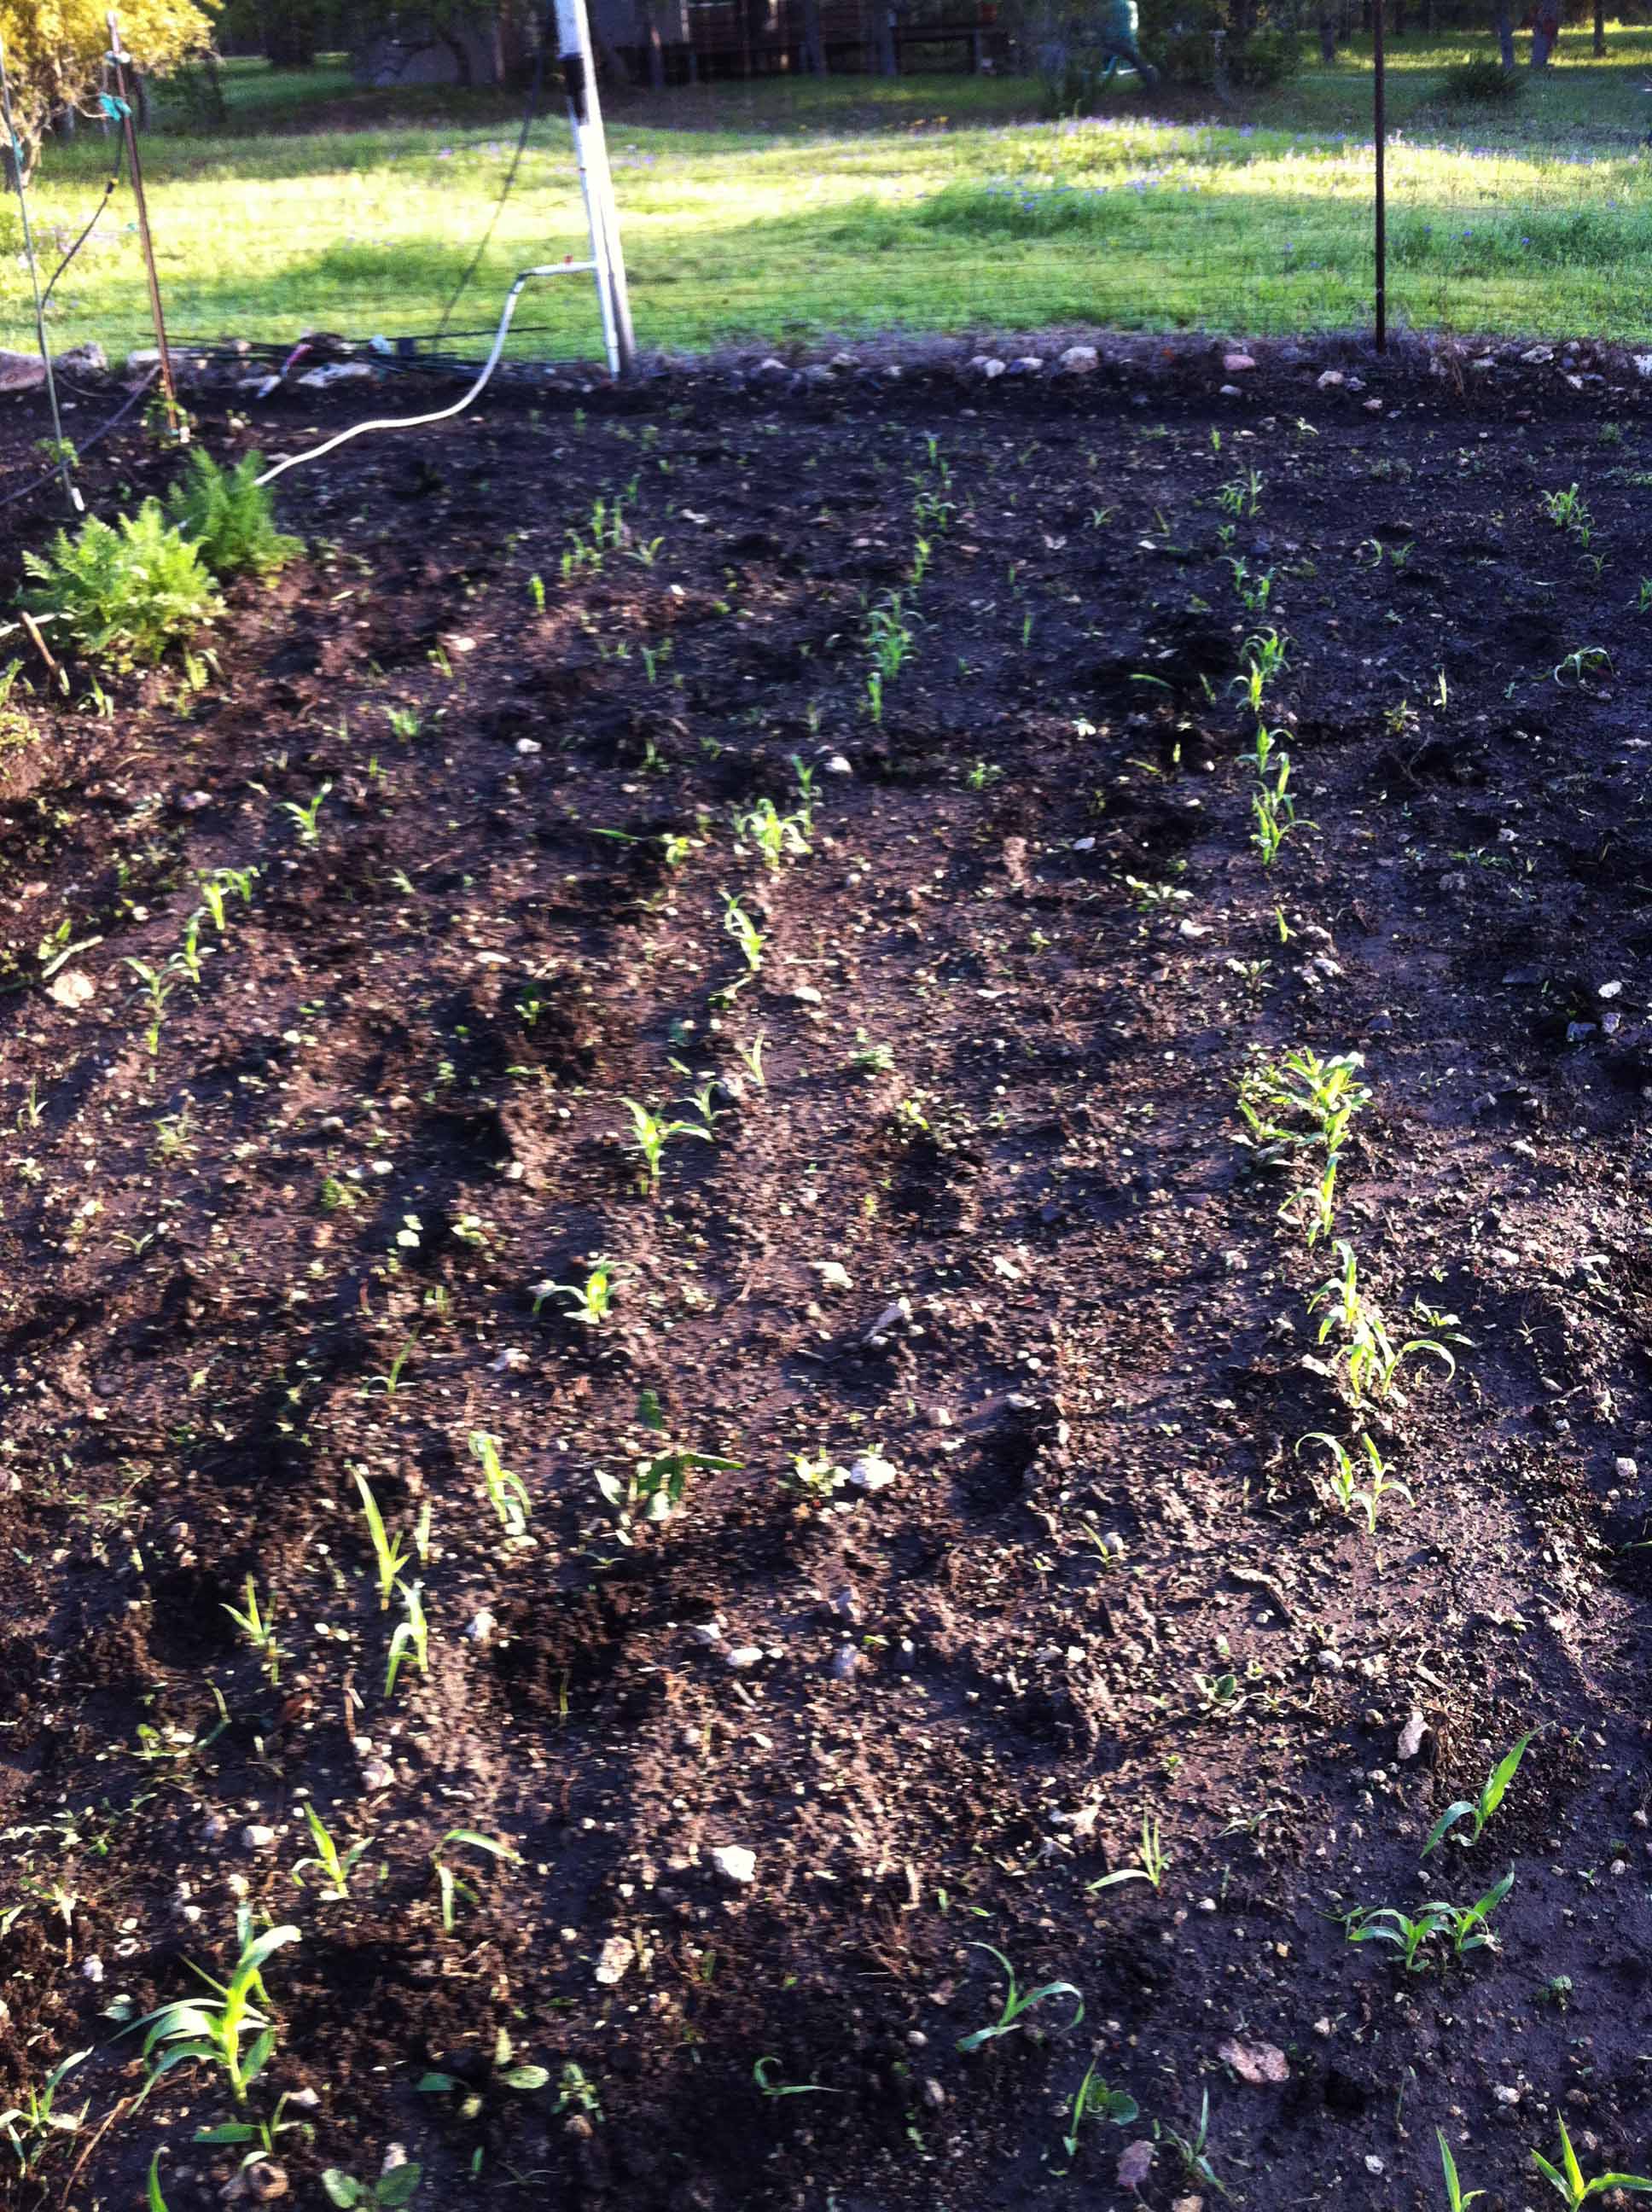
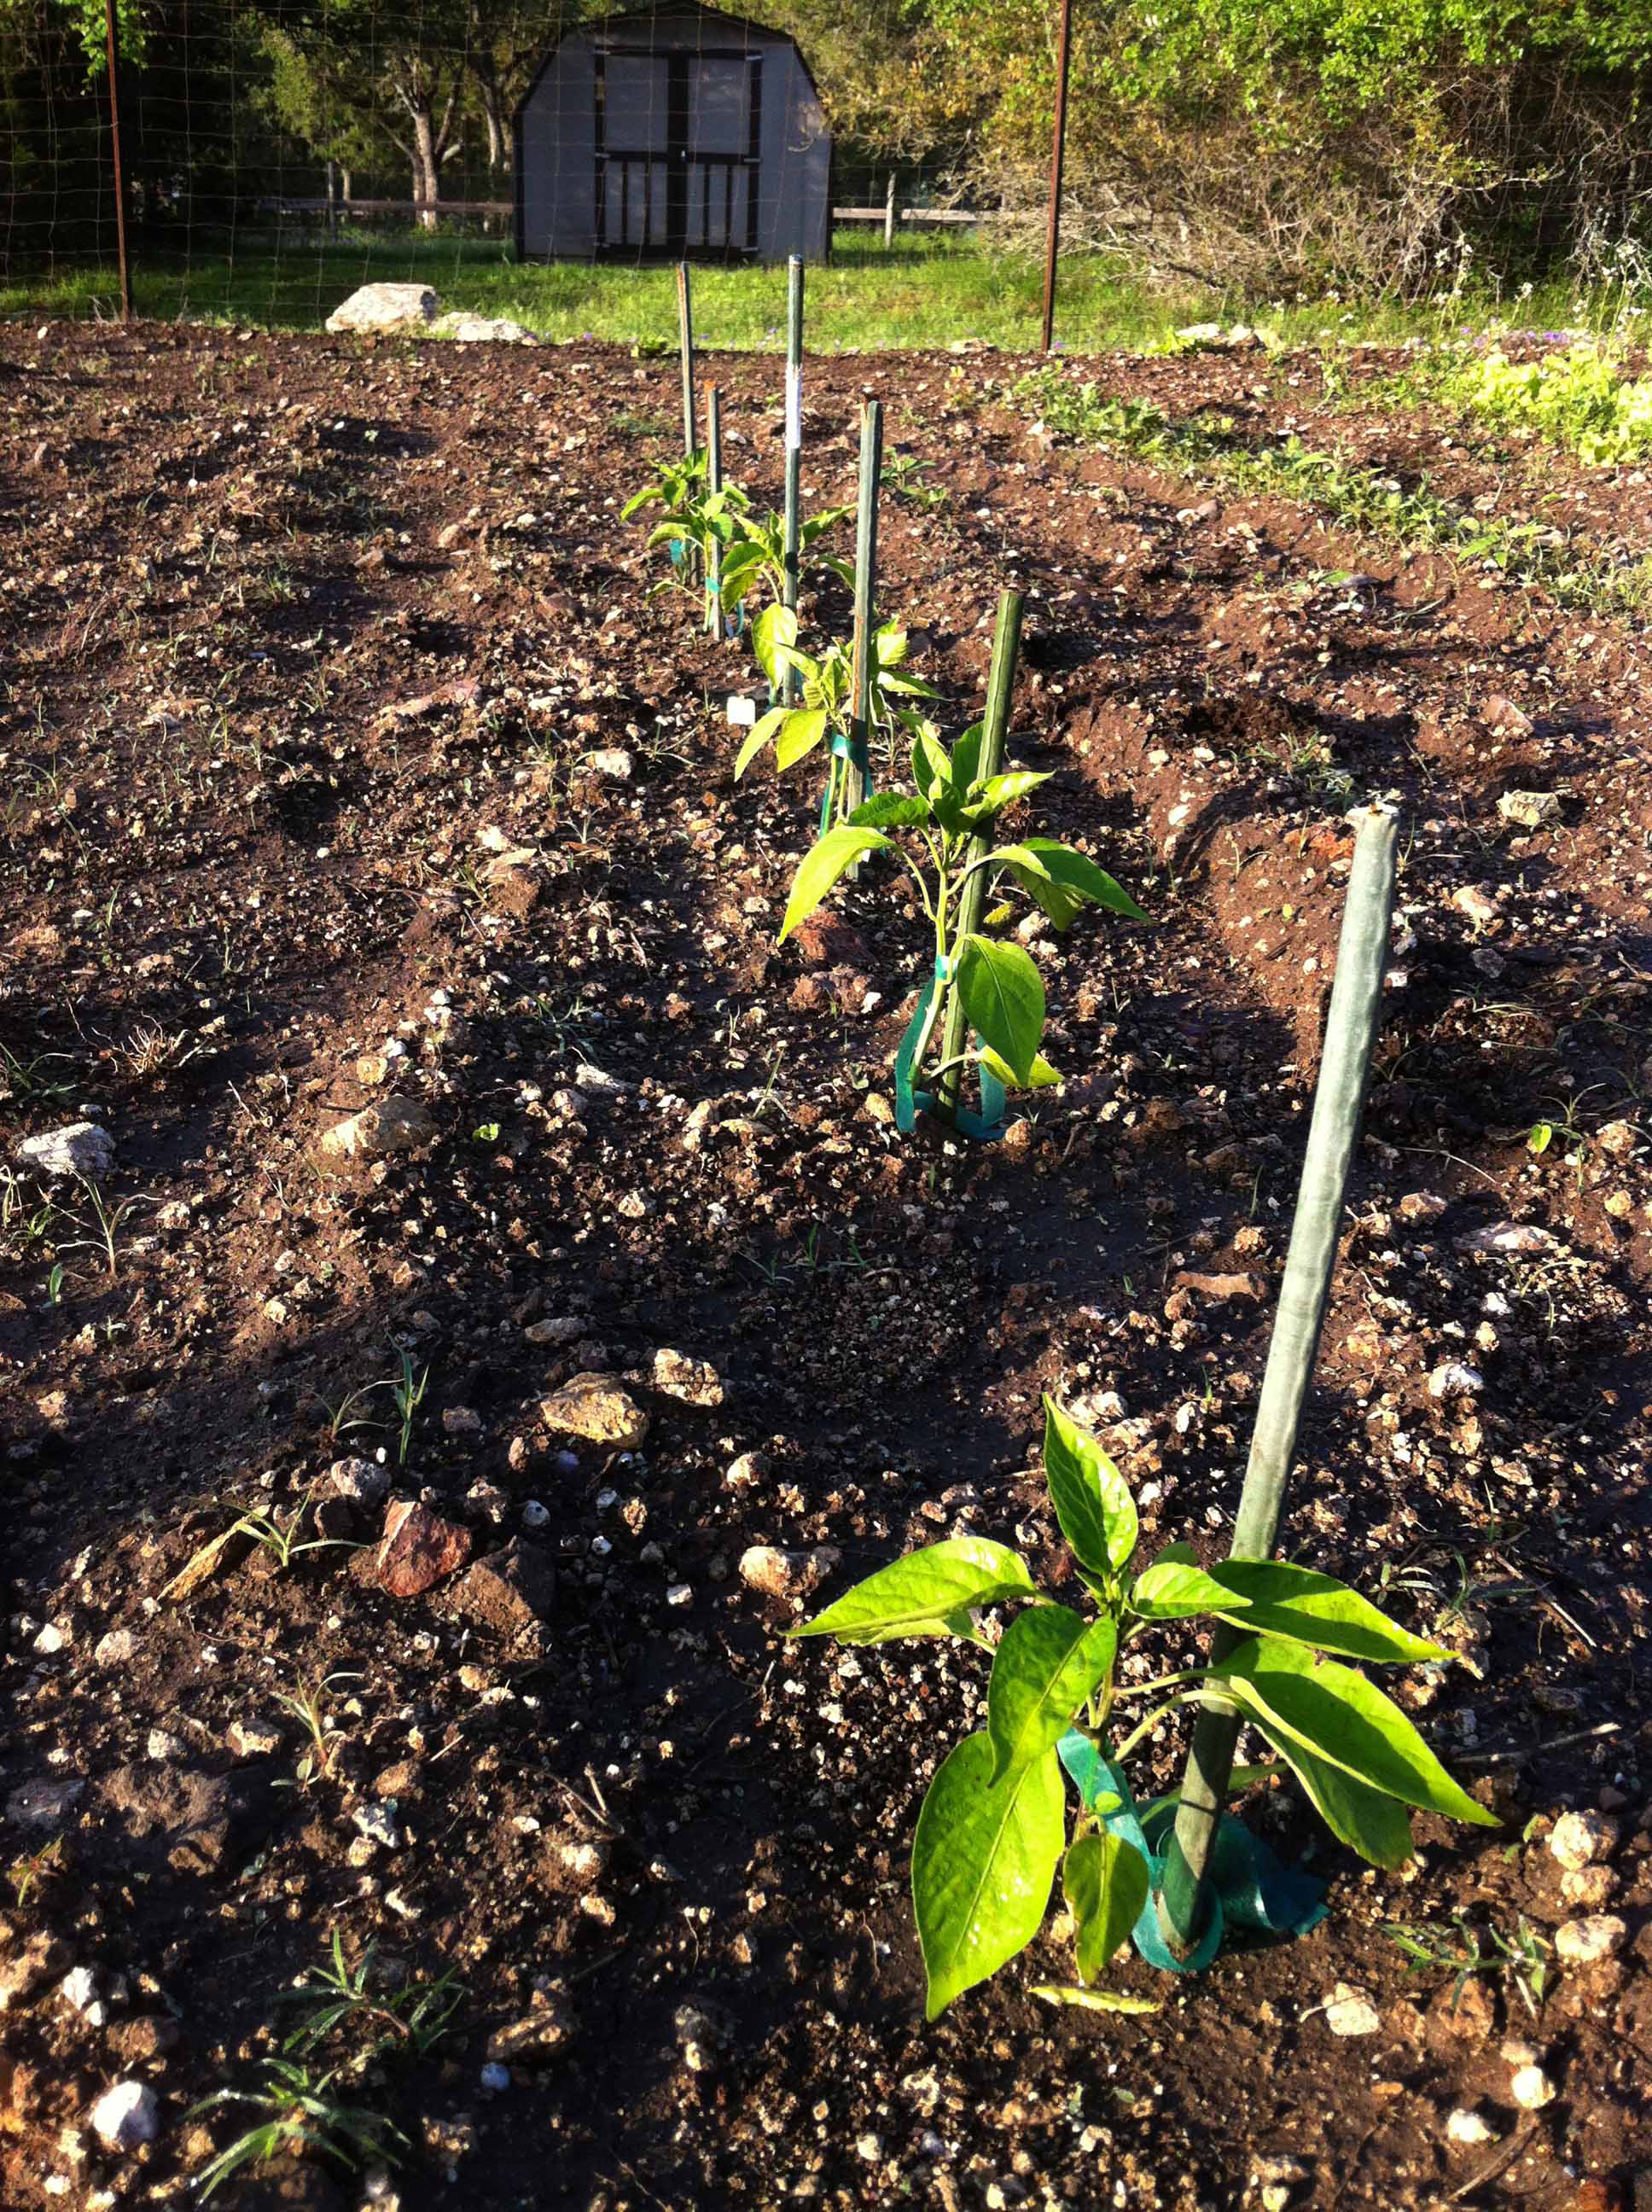
Corn on left, peppers on right
March 15, 2012
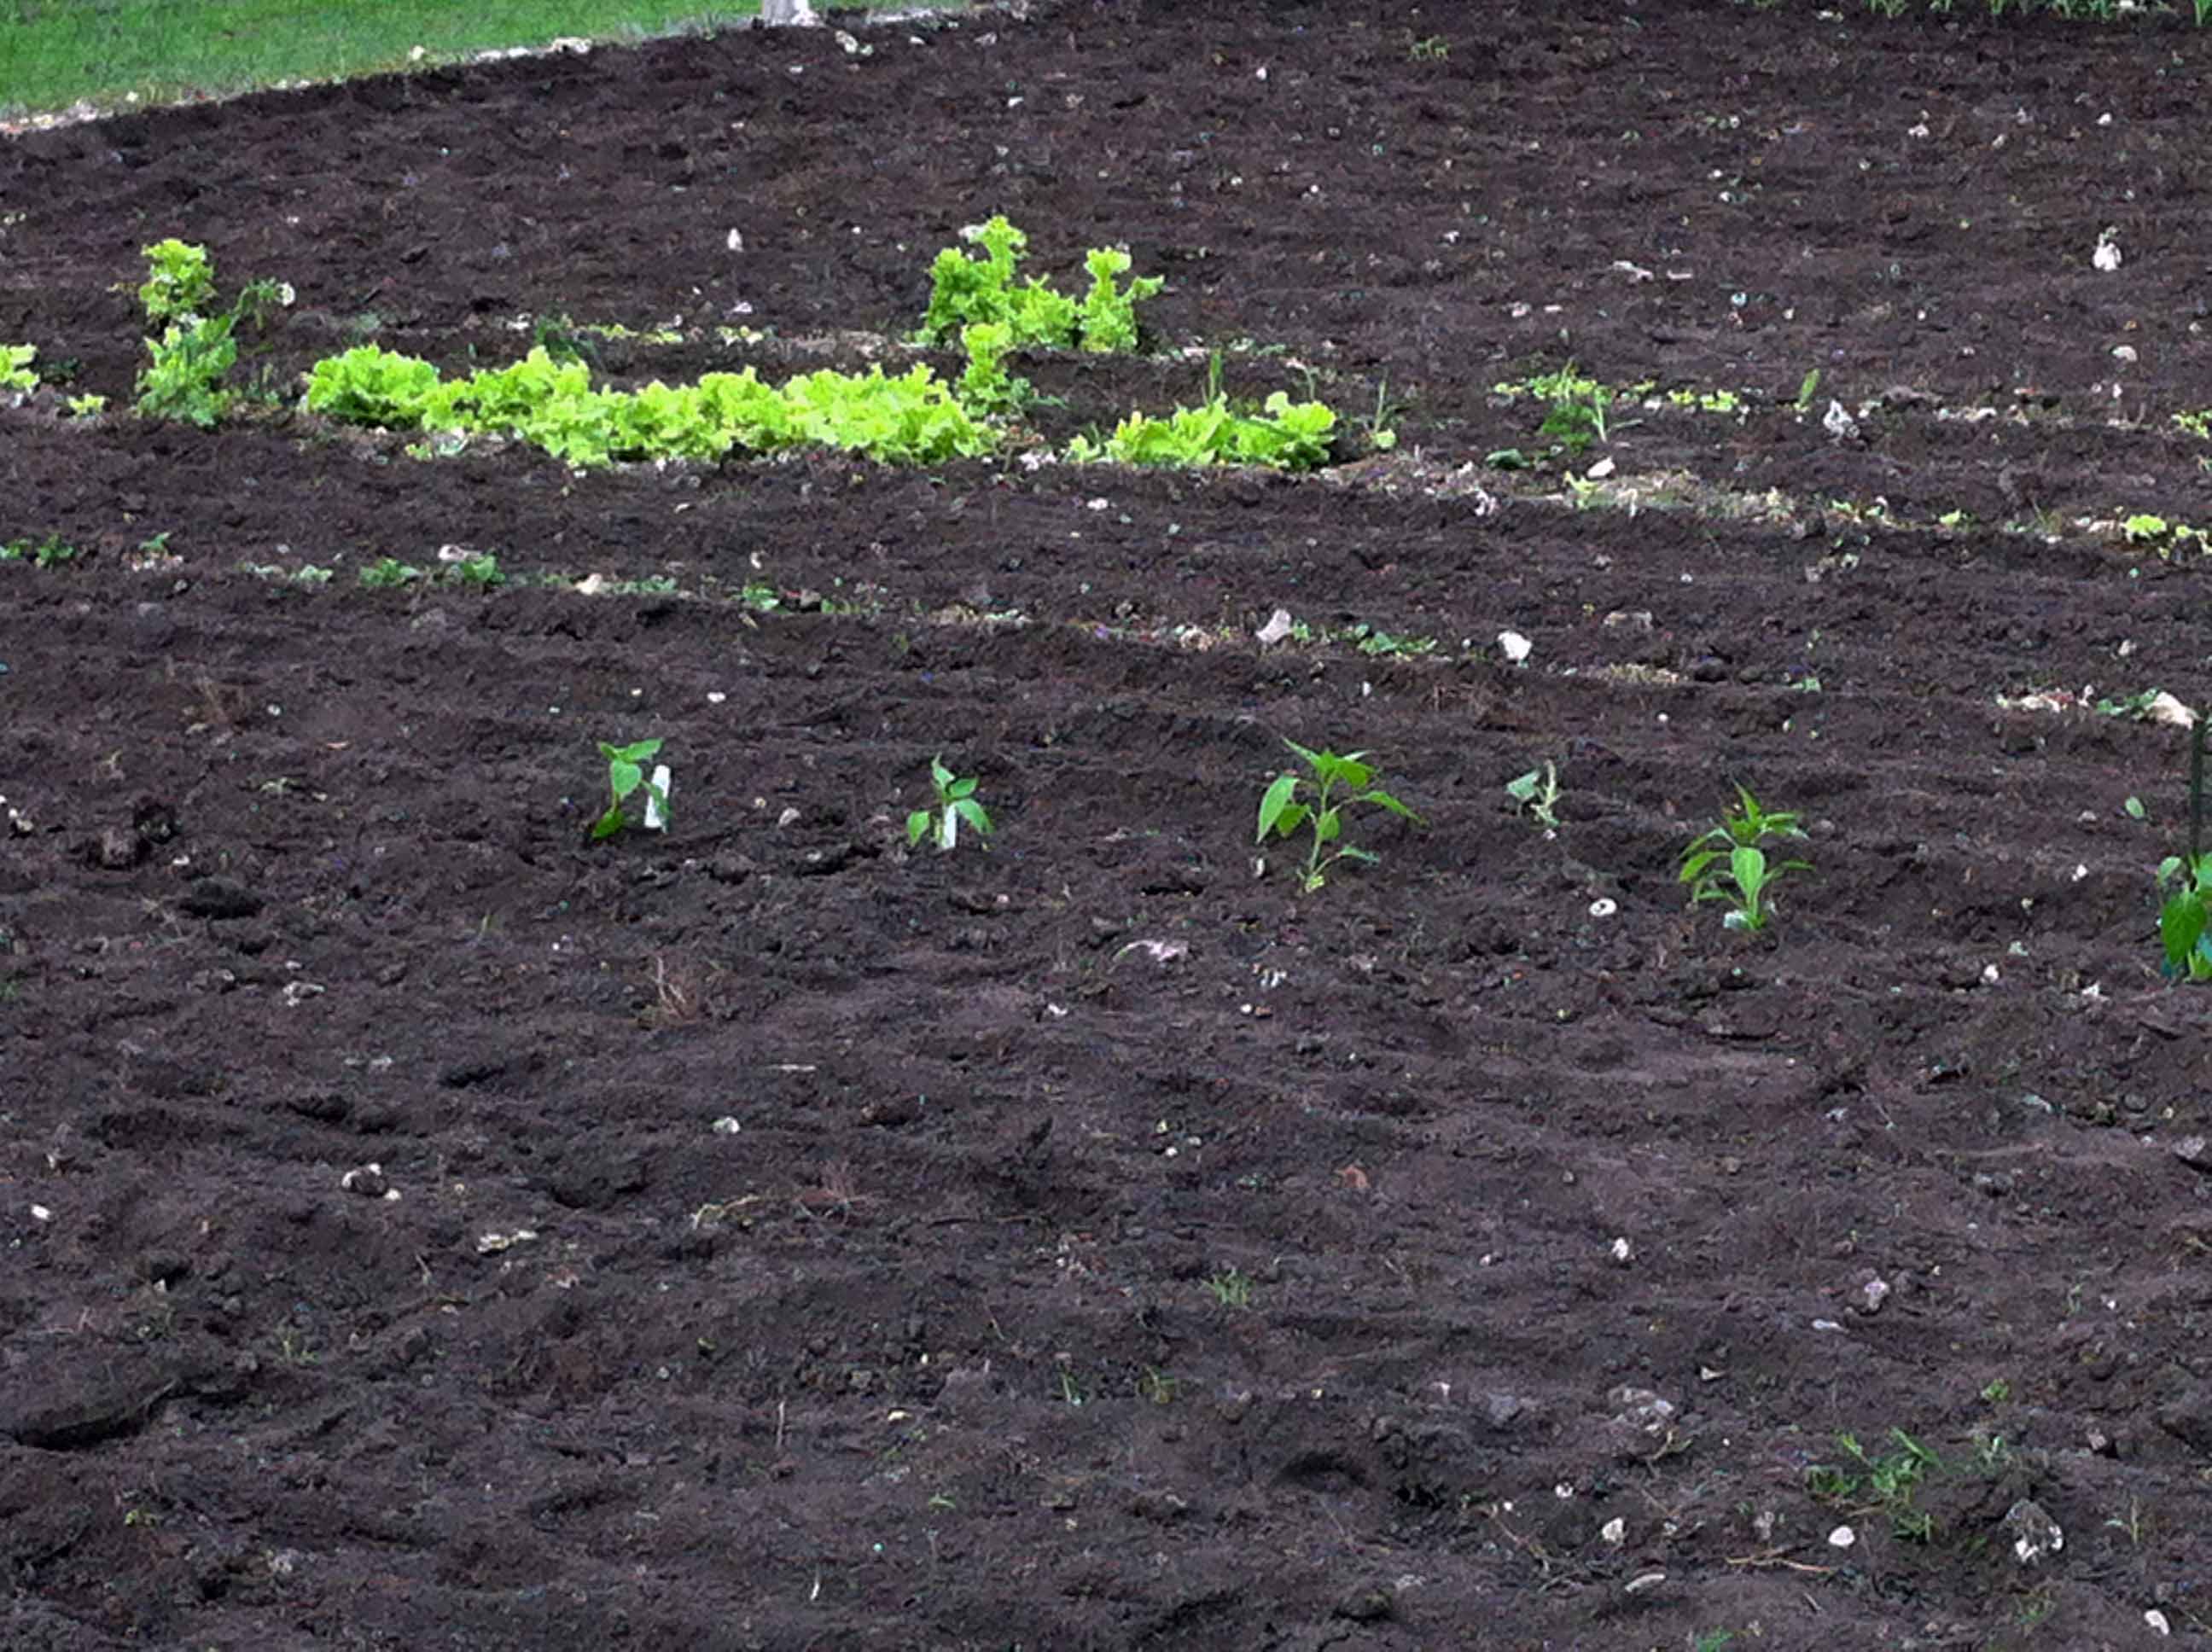
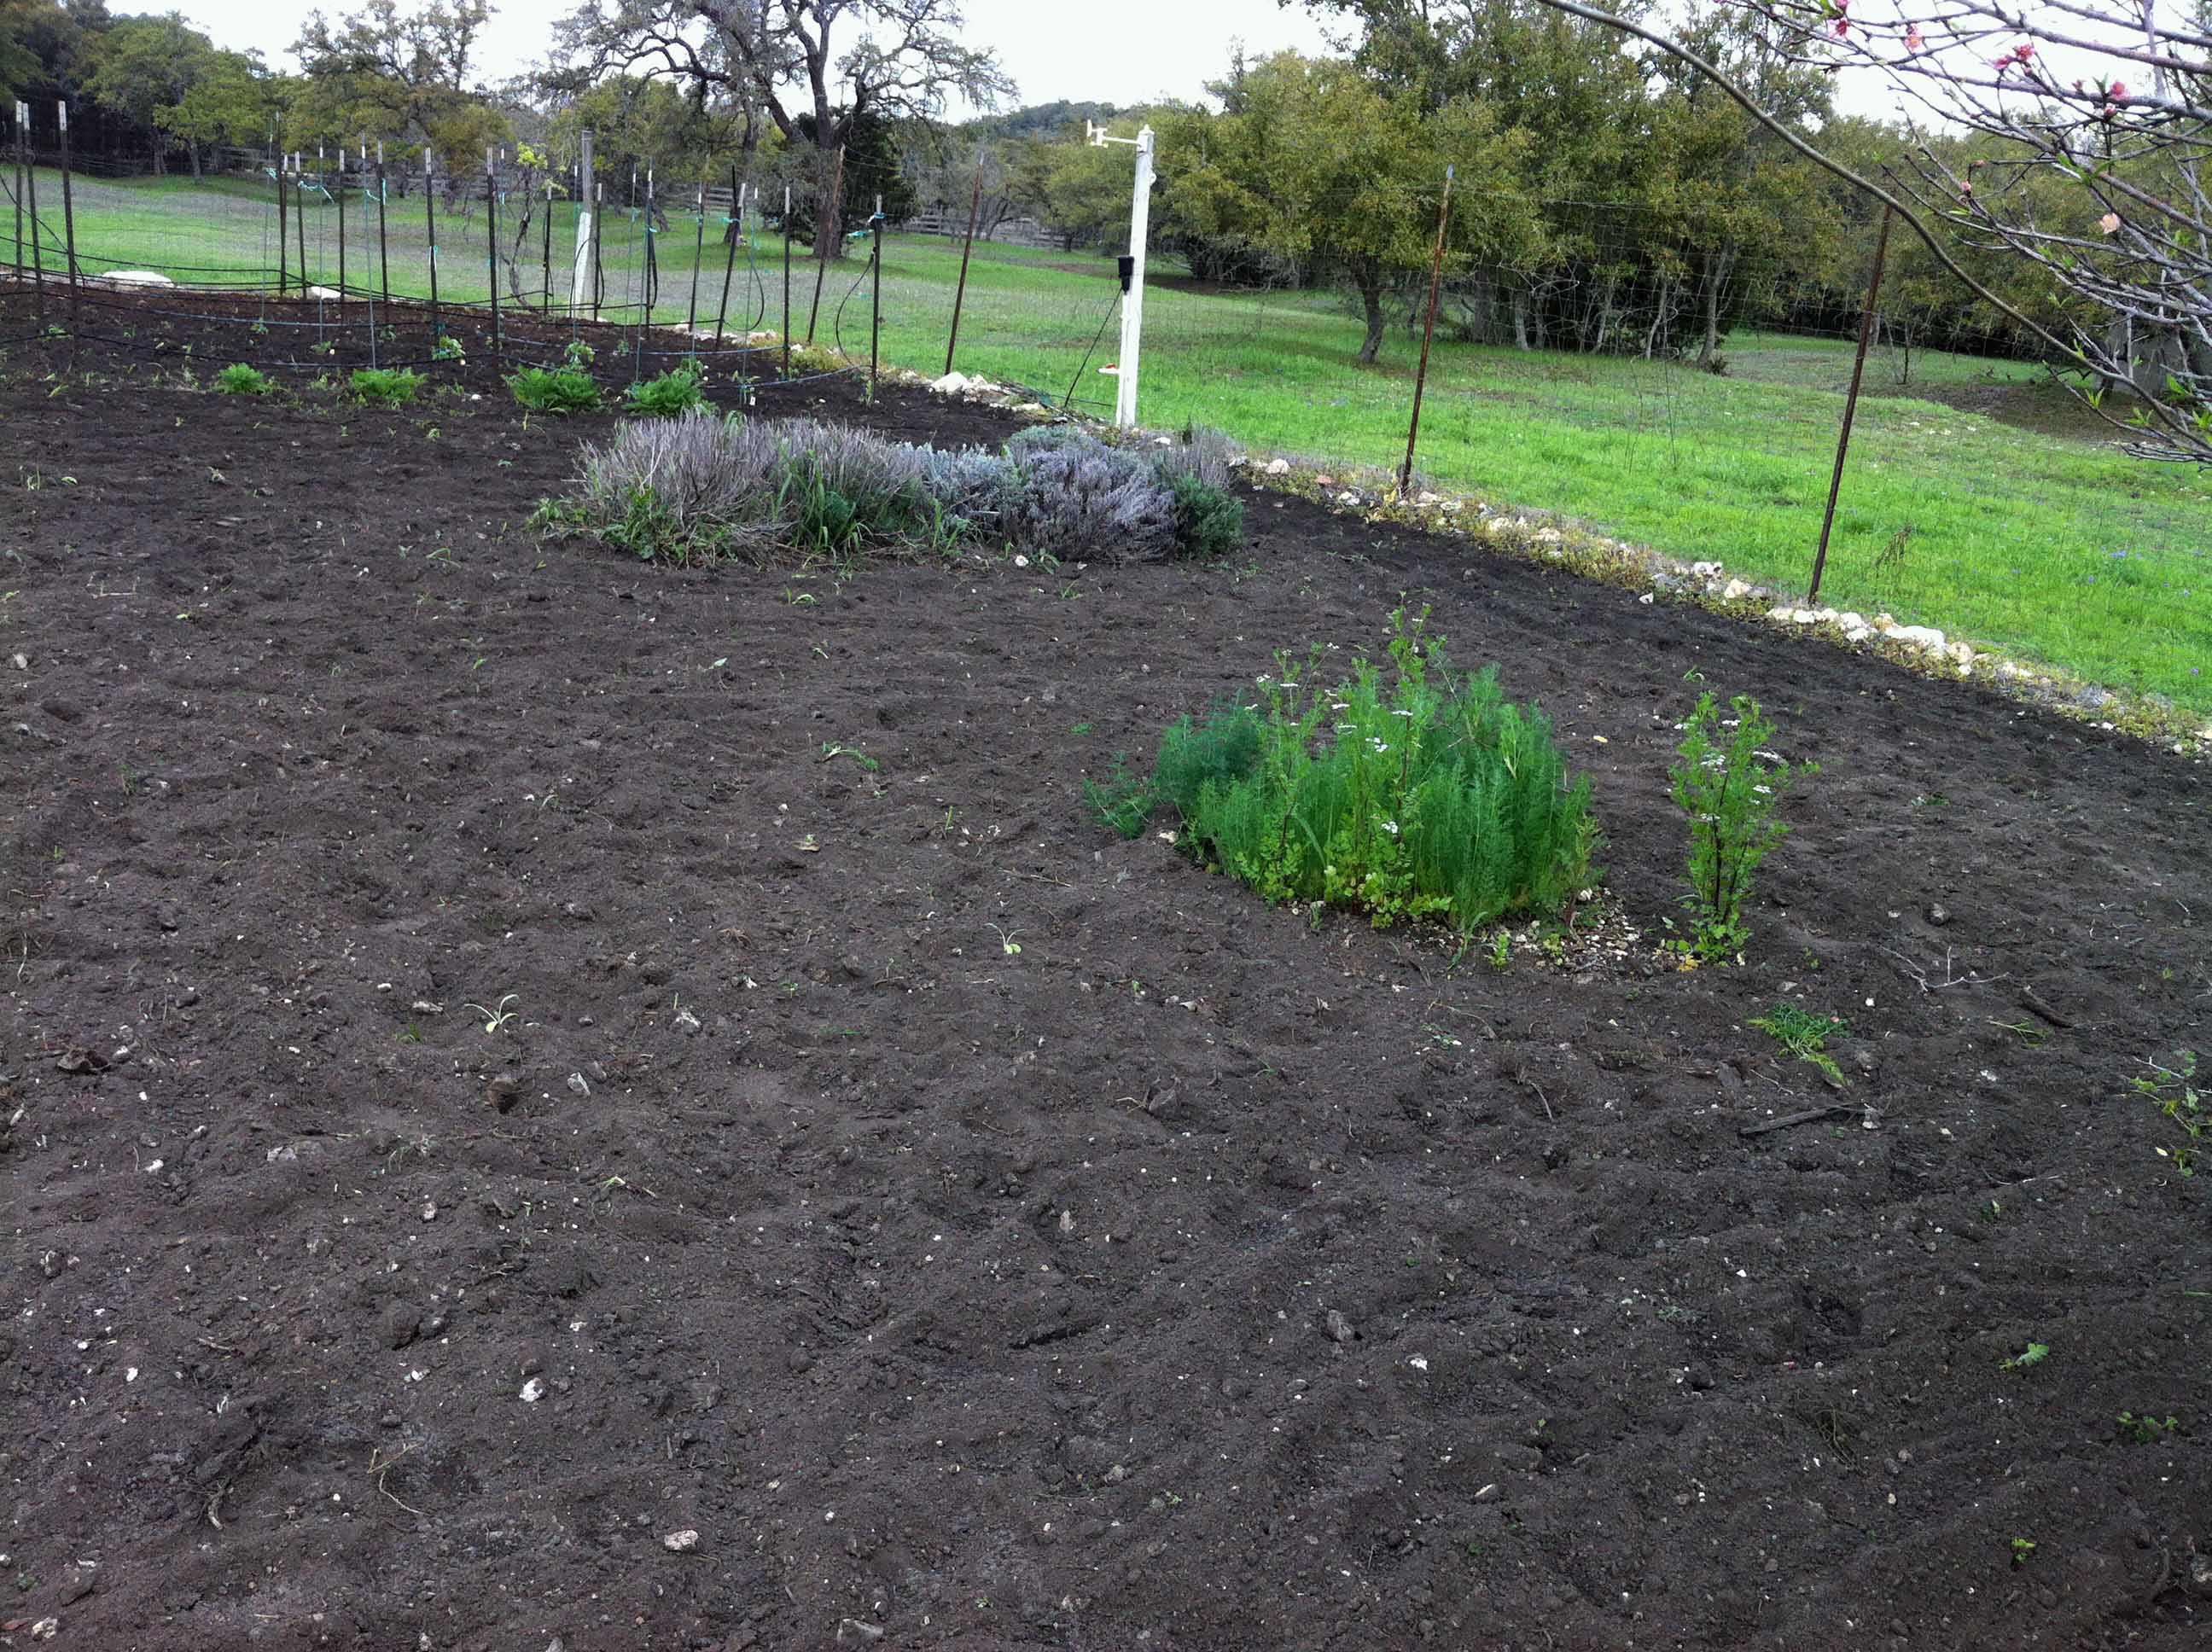
The planting is now complete. See the Garden Map link above for the layout of this year's garden. Not much to see of course since I plant mostly seeds but here are 3 pics that show the young tomatoes, peppers (lettuce from last year in the background) and the Dill, Cilantro, Carrots and Lavender from last year. Some new plants are very small and don't show up here. They are predicting a couple of inches of rain over the weekend and into next week so that will be perfect if it actually happens. The soil is already great for the seedlings and won't need to be watered unless we don't get any rain at all. This year I planted half the corn I normally do since I just haven't had much luck with it in this climate. Also, I've planted twice the rows of Sunflowers I usually do. I'm attempting to use them to partially shade my tomato and pea plants as the summer gets hotter. Also, we ran out of Sunflower seeds early this year so I will double up on producing those. Next update will be when the seedlings are coming up.
March 13, 2012
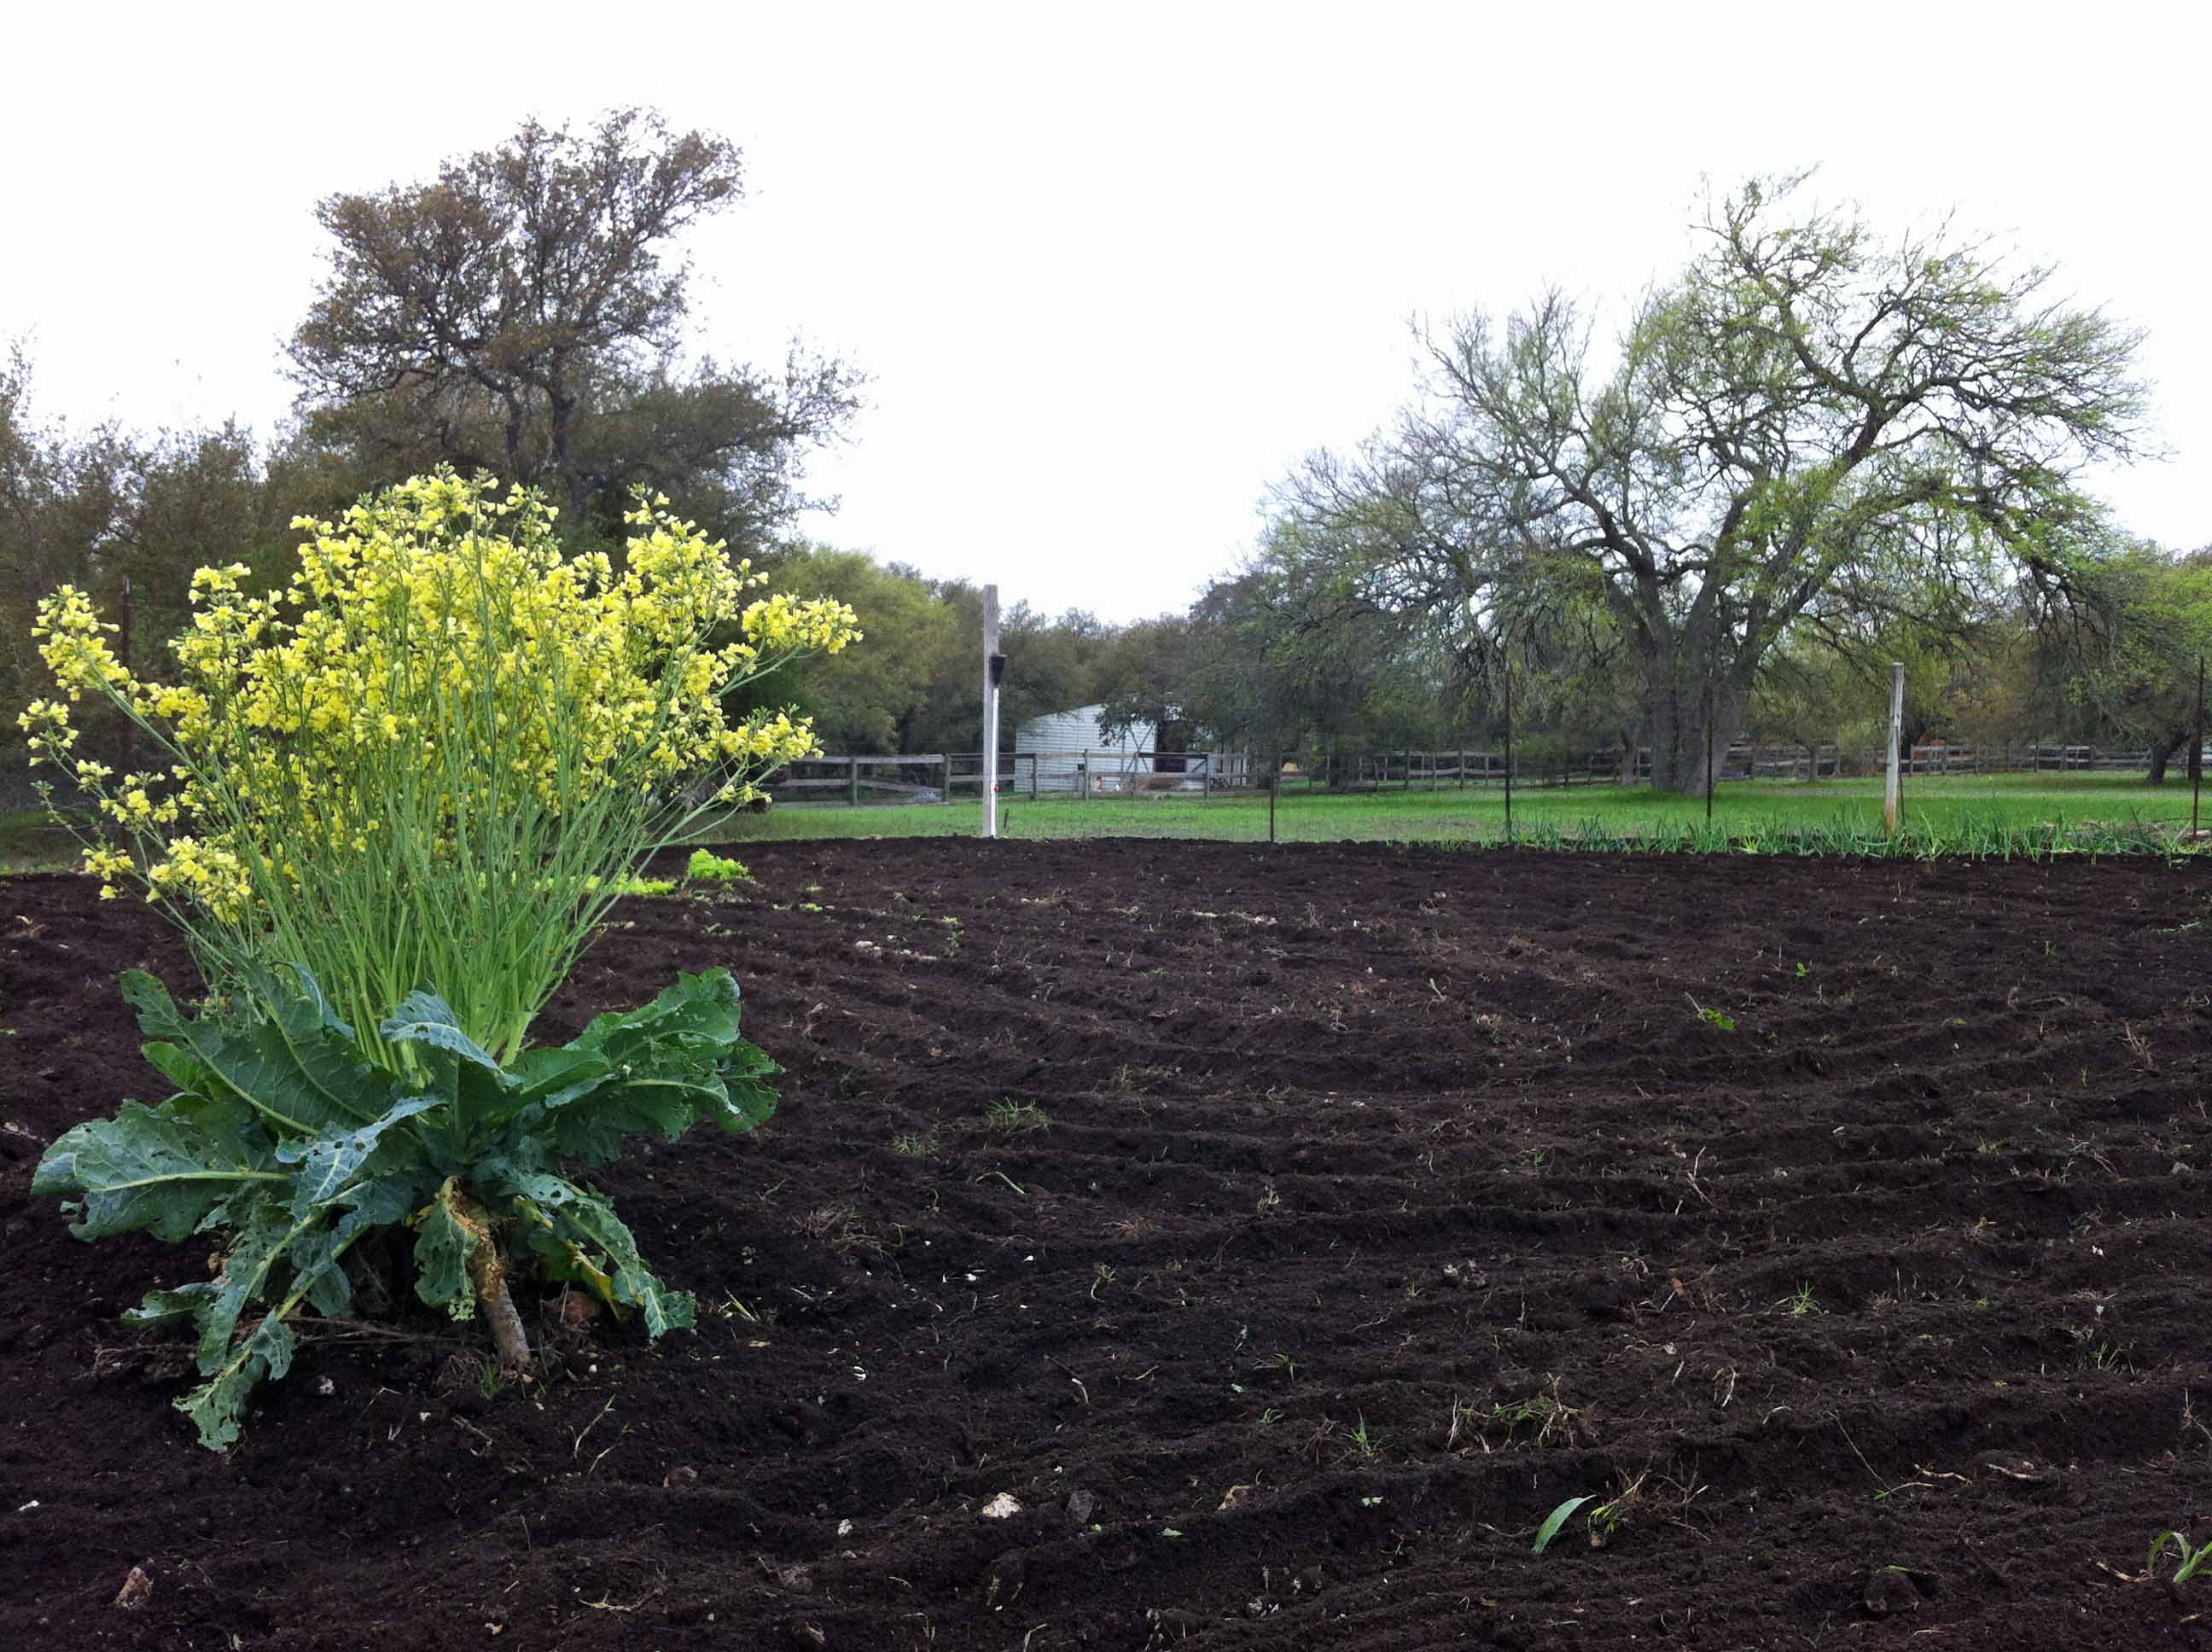
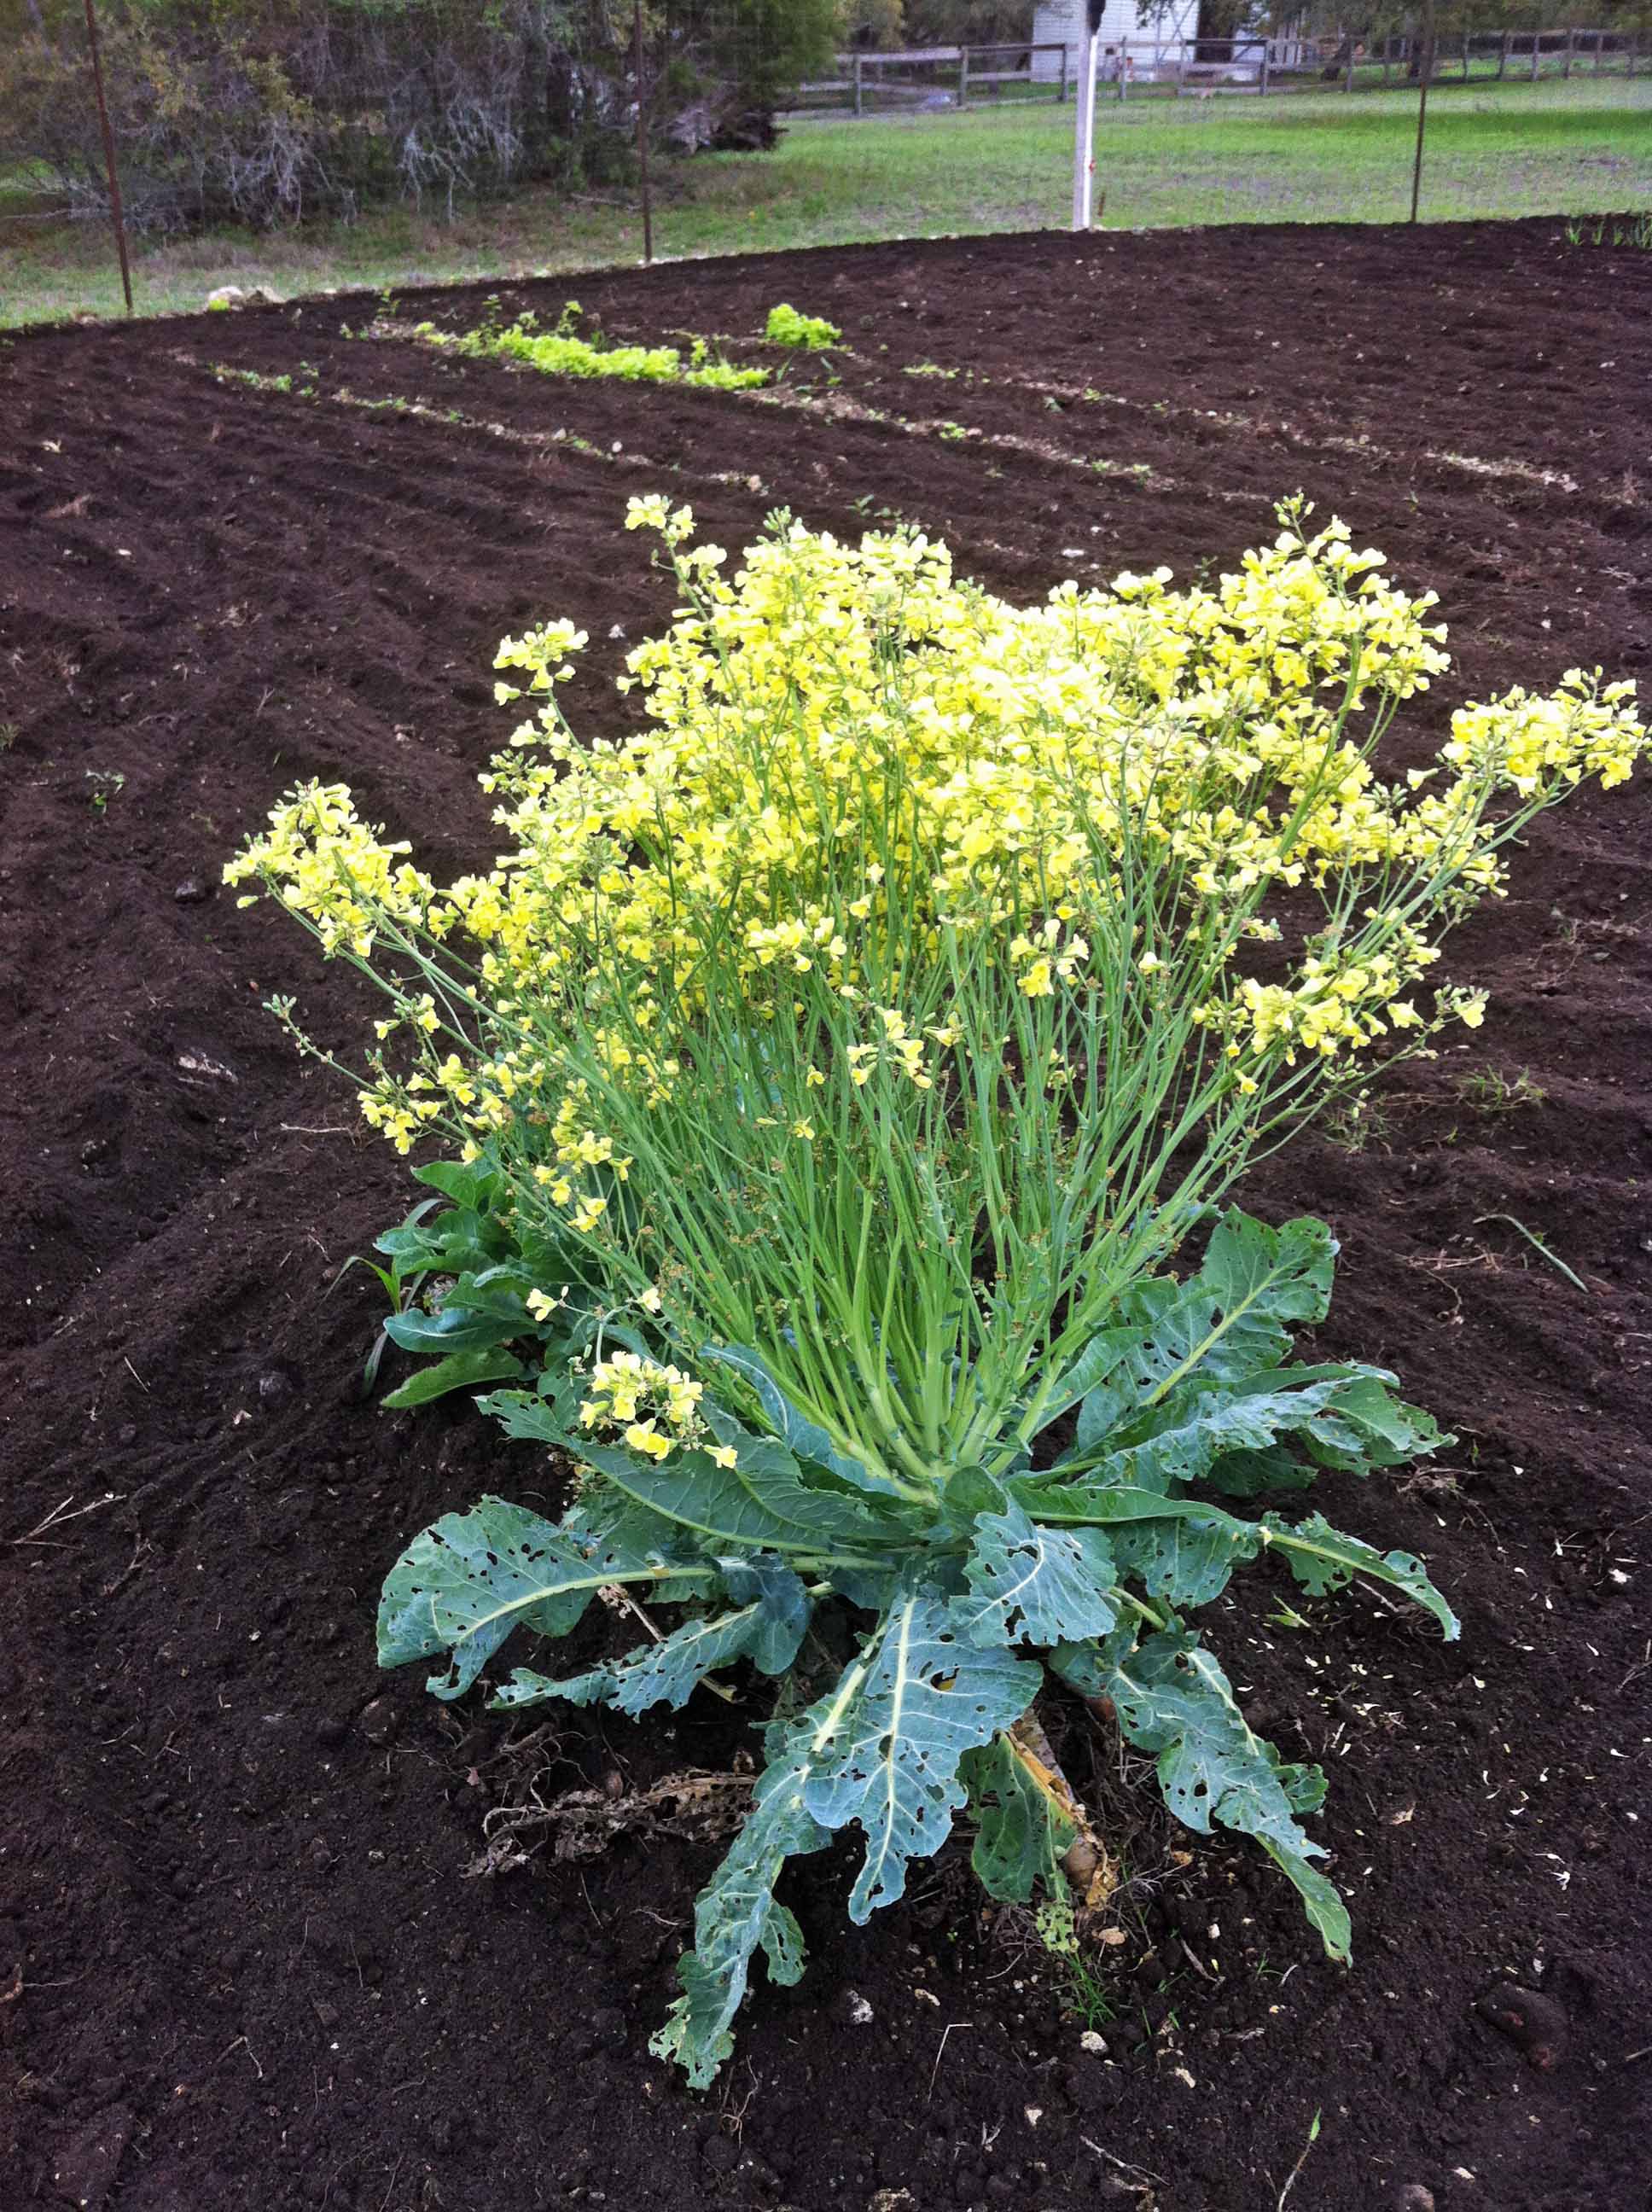
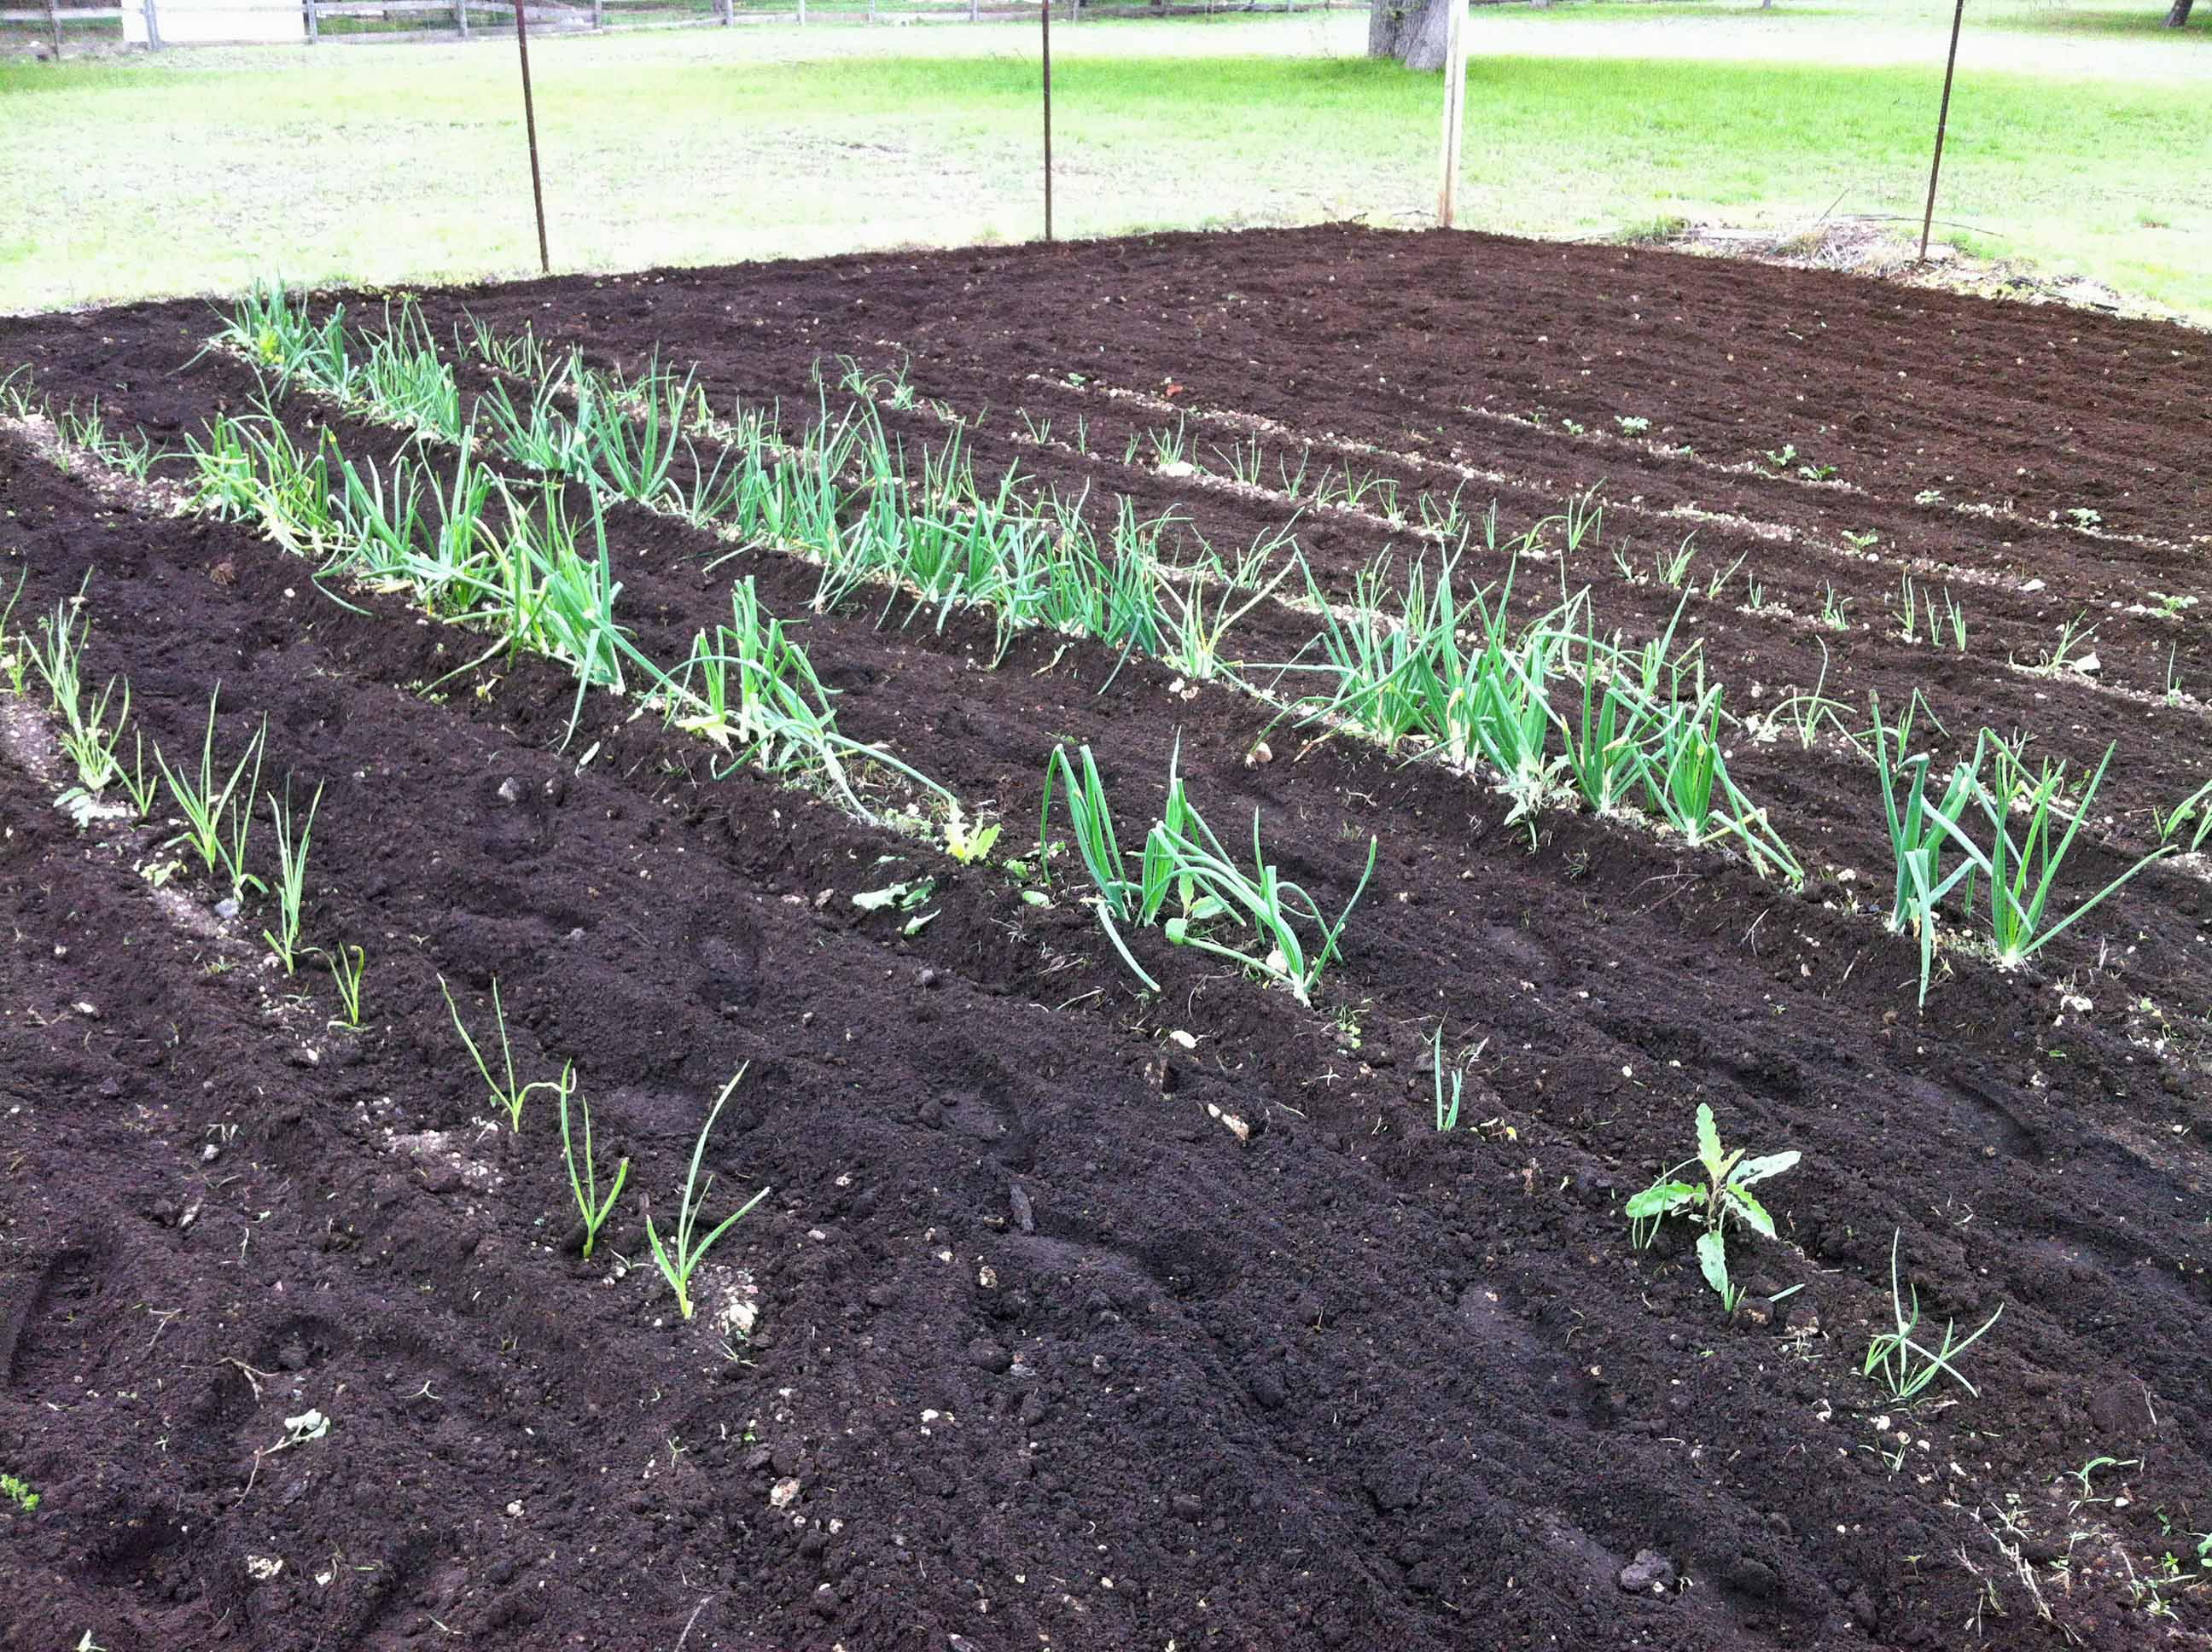
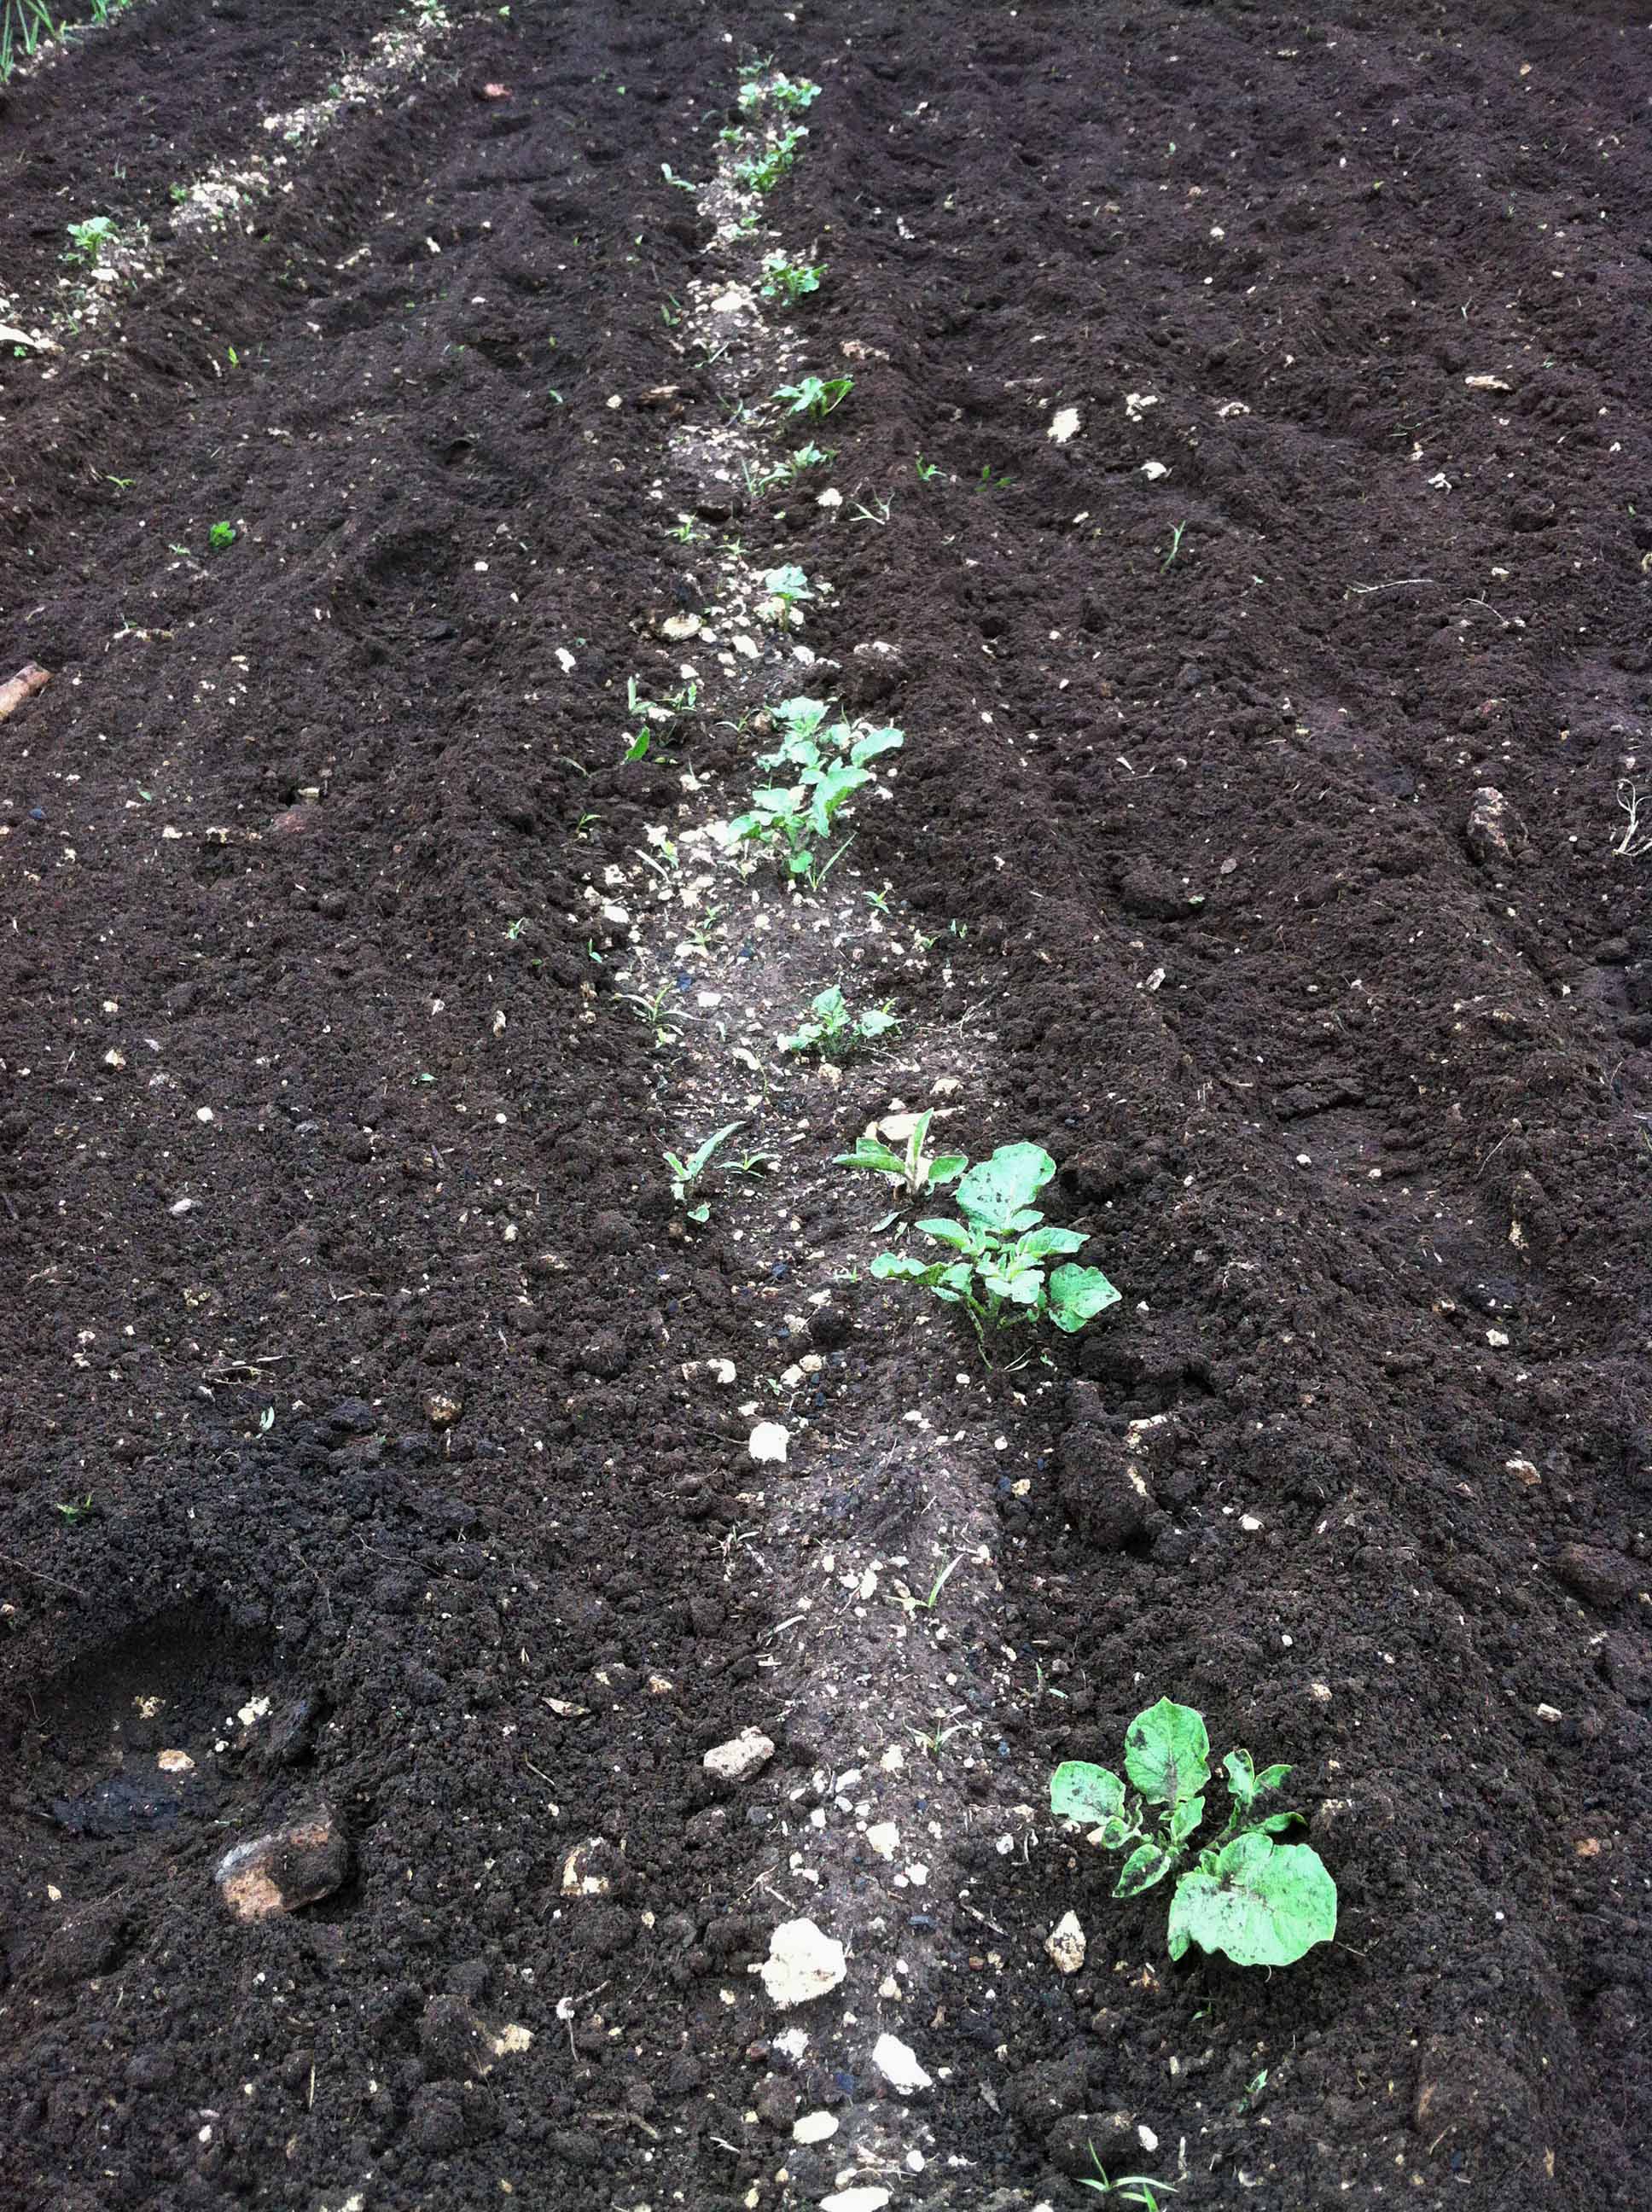
The final tilling and prep for planting was today. I will be planting seeds Thursday and plants Friday. As you can see from the pics, a few things survived the winter as they usually do. Dill, Cilantro, Lettuce, Carrots, Onions and a very large Cauliflower plant. This is the first Cauliflower I've planted and it's just huge. I did plant some garlic, additional onions, lettuce and potatoes in January. Last pic is potatoes. We've had a very warm winter and only a couple of hard freezes. We've been harvesting lettuce for a few weeks now and it is producing well. I started tomatoes and peppers from seed about 6 weeks ago. I'm not happy with their progress and will most likely buy some plants as well.
